Harvesting Worms With A Worm Trap. A How-To Guide.

Harvesting worms with a worm trap sounds very weird, I’ll admit. In fact, I usually have to say it twice when I tell someone about it in person. Even when I am literally hoding the trap in my hands. It is, though the most user friendly way of separating the vermicompost from your worms. At least for the average homeowner with a worm compost for their kitchen scraps.
I’m not sure where I first heard of such a thing. The internet searches I do now come up with entries newer than when I stared doing it, so maybe I came up with it! I don’t think so, but I’m not sure where it came from. If you have ever used a worm composting tower, it’s the same principle. The worms naturally want to go up for food, so we facilitate that by introducing food above the pail of compost and the worms are attracted out of the compost and voila, worm free compost.
Eventually.
Worms do everything on their own time, so patience is a virtue.
Harvesting Worms With A Worm Trap – The Trap
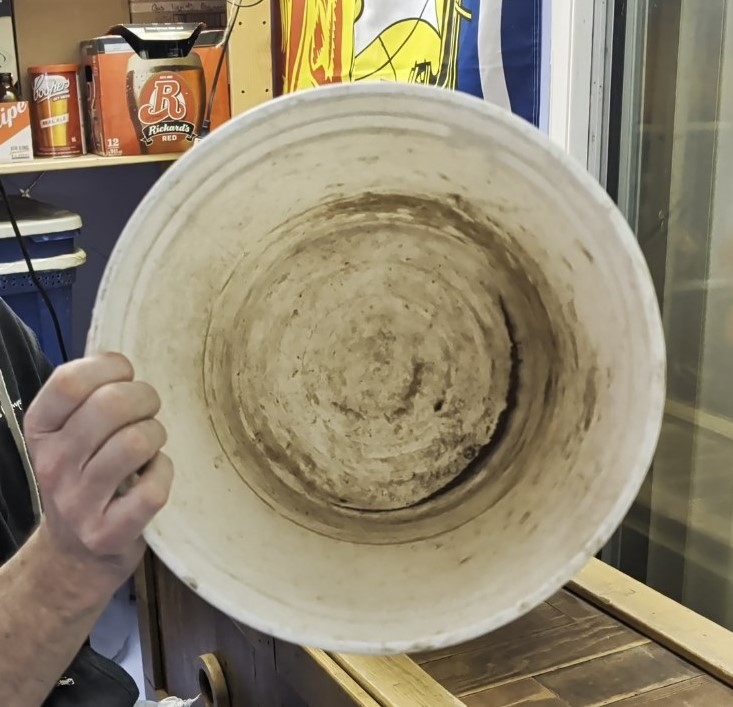
To start with, you will need pail. A 5 Gal pail, or something along that line. Depending on the amount of compost you are dealing with. You will also need a lid. It is nice if the lid fits the pail, but this part is not necessary. As long as the lid covers the top of the pail, the worms will most likely not “escape” from the trap.
As you can see below, it is also not necessary for the pail to be clean, though it is nice to start with a clean pail. Just make sure it didn’t contain any nasty chemicals. But, since you are reading a blog about harvesting worm compost, you probably already figured that part out.
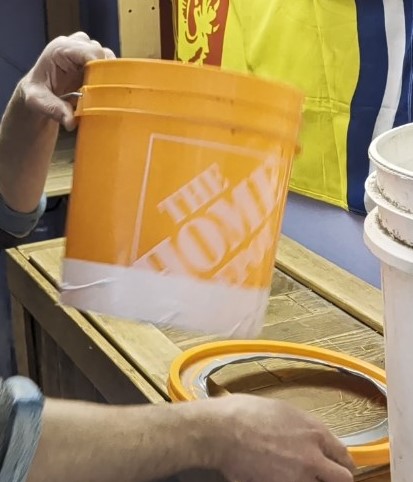
Next you are going to need a smaller pail.
I want to call this a paint pail, but I’m not sure why. Probably because I find them in the paint section of the hardware store. It’s just a smaller pail than the first one. You will also need a lid for this one. Again, not necessary that it fits, but it is helpful.
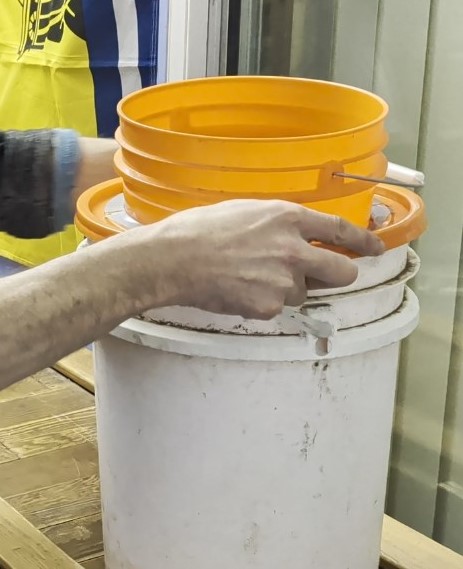
Cut a hole in the lid for the bottom pail that fits the top pail. As seen in the picture below. I wrap the hole with duct tape just so it seals a bit better. The worms aren’t actively trying to escape, but they may get lost so the fewer paths they have the better.
The top pail should fit at least half way down through the hole. If it slides right down to the first rim, that’s okay, you just don’t want it to slide the whole way through.
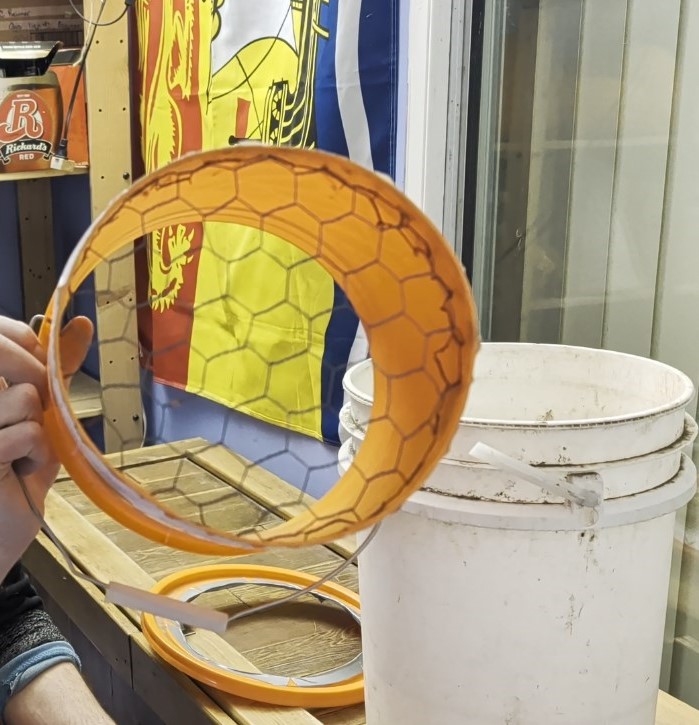
Next, you need to cut the bottom out of the small pail.
It doesn’t need to be the entire bottom, like the picture below, but the bigger the hole, the faster the worms will go through it. Once the hole is cut attach some screen to the bottom. I used this chicken wire, because that is what I had. I smaller wire mesh would work also. Just as long as the worms can get through it. It also acts to hold the bait separate from the compost, so it needs to be somewhat sturdy. This is, essentially, the trap.
I attached this using a staple gun on the inside of the pail. The white tape seen in the picture above is to protect my fingers from the stale points on the outside. Whatever you use to secure the mesh to the pail is great, just as long as it can hold a pound or two of weight.
Harvesting Worms With A Worm Trap – Setting the Trap
Okay, now that the trap is built it’s ready to use. The first thing is to place the finished compost in the bottom pail. I use a migration composter, which helps to start the separation process. To be honest, if I would be more diligent utilizing the migration method, this process would be easier. Though I would probably still use the trap to try an get as many worm back into the composter as possible.
The important thing about this step is that the small pail needs to be able to sit on top of the compost, so you will need to harvest enough compost into the larger (bottom) pail to do that.
As you can see from the picture below, starting with a clean pail is not necessary, because it’s not clean anymore!!

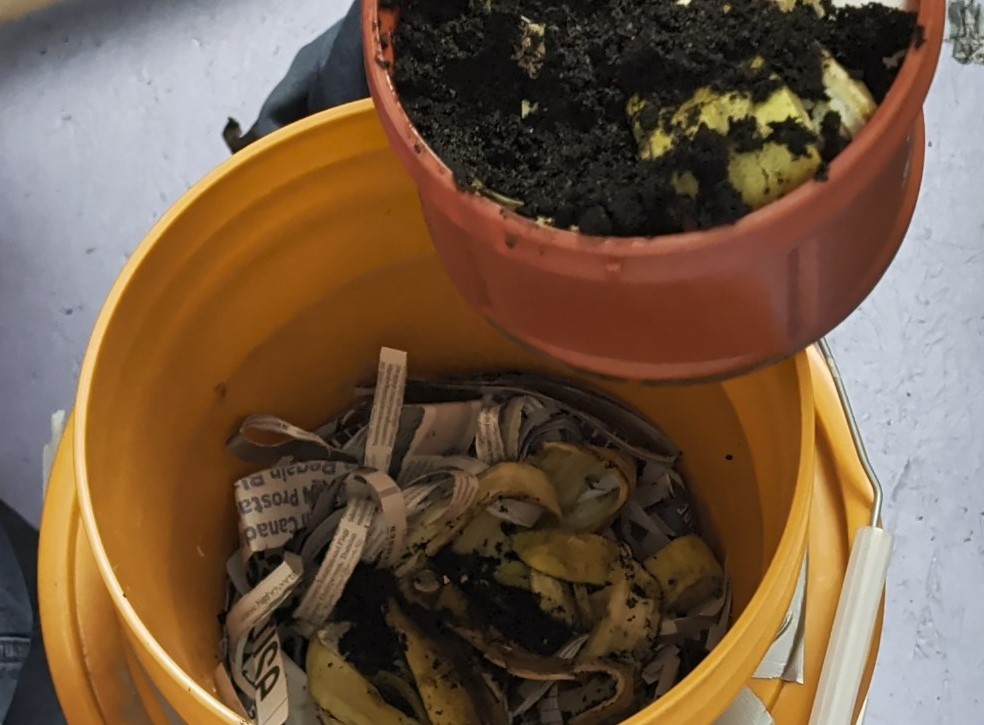
Next, set the lid for the bottom pail on it and slip the small pail into the hole so it sits on the compost below.
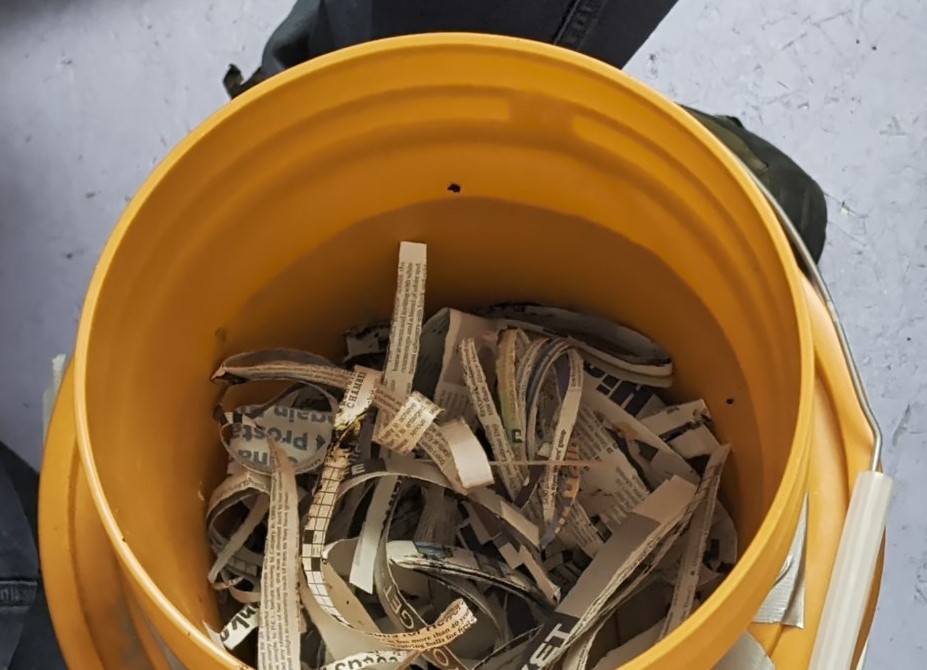
Place some shredded newspaper into the bottom of the small pail. This separates the bait from the finished compost and also deters the worms from going back down into the compost.
Time for the bait. Take whatever you are going to use as bait, and place it onto the shredded paper. I find banana peels work, but whatever you usually feed your worms will wok out fine. I mean, ultimately it doesn’t take too much convincing to get the worms to come out of the compost and into fresh food.
It doesn’t take to much either. Just a handful or so. Depending on how many worms are in the compost, you may have to set this a few times.
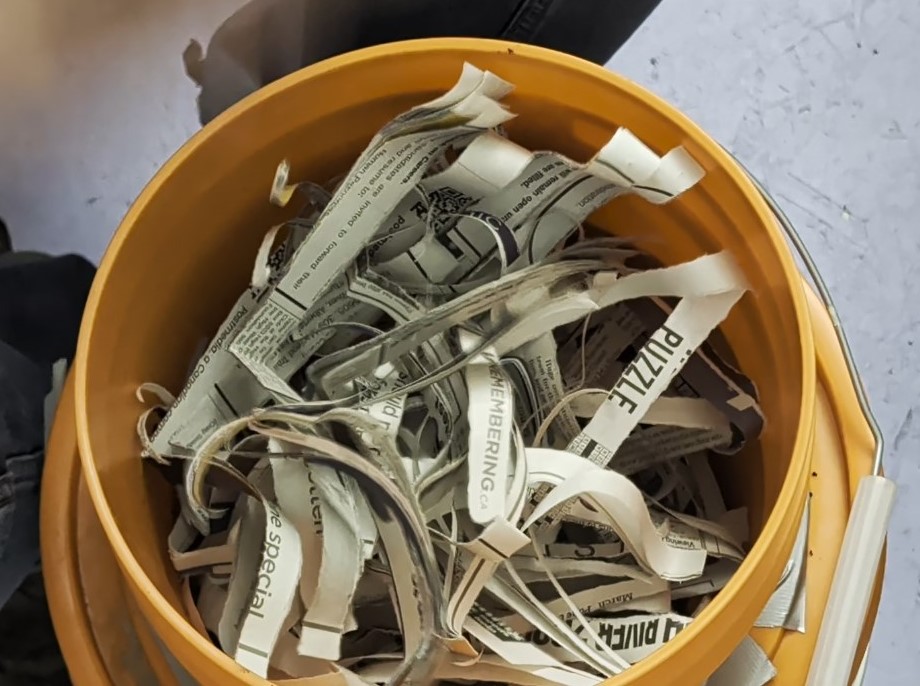
Once the bait is set, I always fill the rest of the small pail with more shredded newspaper. One of my pet peeves is fruit flies in my house. I have found that a healthy layer of dry, fluffed up, shredded newspaper helps to keep the fruit flies from breeding around my worm compost.
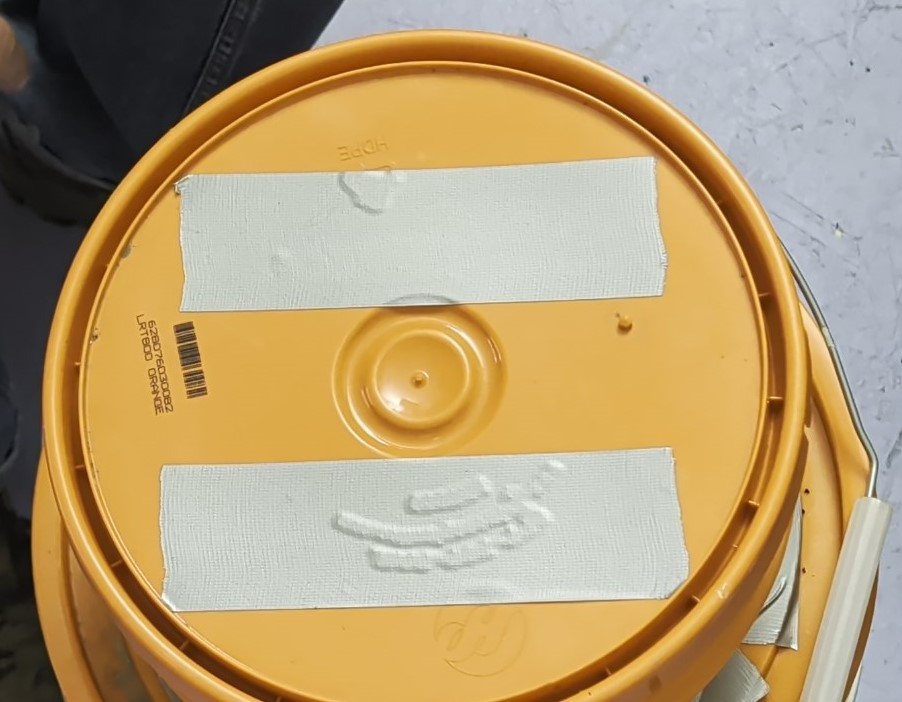
And, that’s pretty much it. Set the lid on the small pail and your done. All that’s left to do now is wait. Say set the lid on, because you don’t want to “seal” it on. Once the worms have found the food, they will stay around the food. As long s there aren’t any gaps in the system, they should all stay in the trap.
How long??
Depending on how many worms there are, the temperature of the room they are in, how hungry they are, that sort of thing, I will come back in a week and see how it’s doing. At that point I will decide If I captured enough worms to justify emptying and resetting the trap, or calling it good and just emptying the trap to start processing the finished compost, or waiting for a few more days. Keep in mind you are never going to get them all. Even if you get all the ones that you can see, there are tiny ones that you can’t see. So, if you came back in a few weeks there would be more worms. So, it’s up to you when you think you have them “all” and can move on to the next step.
Want to watch the video?
I filmed me doing this and put the video on YouTube, if you want to watch that also. For the visual leaners out there!
Here is the link