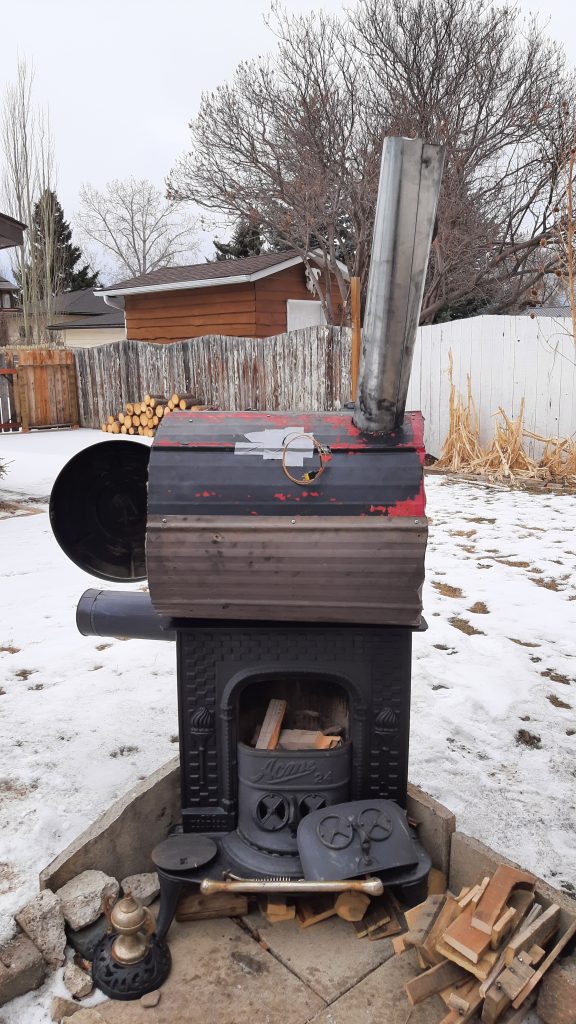
Homemade Kiln – aka The Franken-kiln!!!
Homemade Kiln – The homemade kiln is, to say the least, outside of my comfort zone. Literally. I’m not big on playing with fire. Especially between my house and garage!
But, if I’m going to make some pottery, I have to be able to “fire” the clay. For the pottery that I want to create, I need to get the kiln to about 1300 C. That’s Hot!!
The clay I have to learn with, is not the clay I will use in the end. This clay was chosen, because it is one of the easiest to work with, to learn how to make pottery on a wheel. I have to keep that in mind while testing this whole thing. I believe it may like a higher temp. I’m not trying to make fine plate ware here. Just Olla Bowls. So, the pieces going into the kiln right now are not pretty, but I am testing and learning the whole thing. The whole system is homemade.
Attempt 1
After some research online, I thought I would try using just this metal garbage can I have had for years. It was once my metal recycling bin, but since we moved, it has become mainly unused.
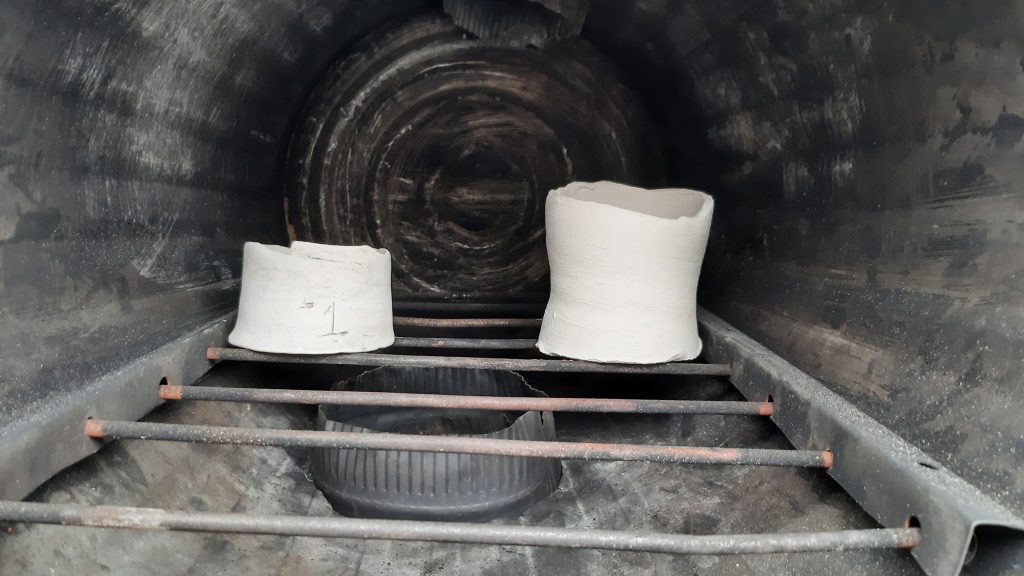
I cut out a hole in the middle of one side with a jigsaw and metal blade. Then, a smaller hole on the opposite side, but closer to the bottom this time. The wood stove I have to use has an opening on the top. The intention is for the kiln to sit on that hole, connected by a short piece of stovepipe. The smaller hole is there for draft/chimney. The stove’s stovepipe is closed during this operation, to drive all the heat through the kiln. I attached the lid with a hinge, though now I don’t think that is necessary. Once this thing gets going, the lid should stay closed.
The rack was built out of some metal scraps. I will probably add some additional rungs if this thing works. They are a little too far apart. One step at a time.
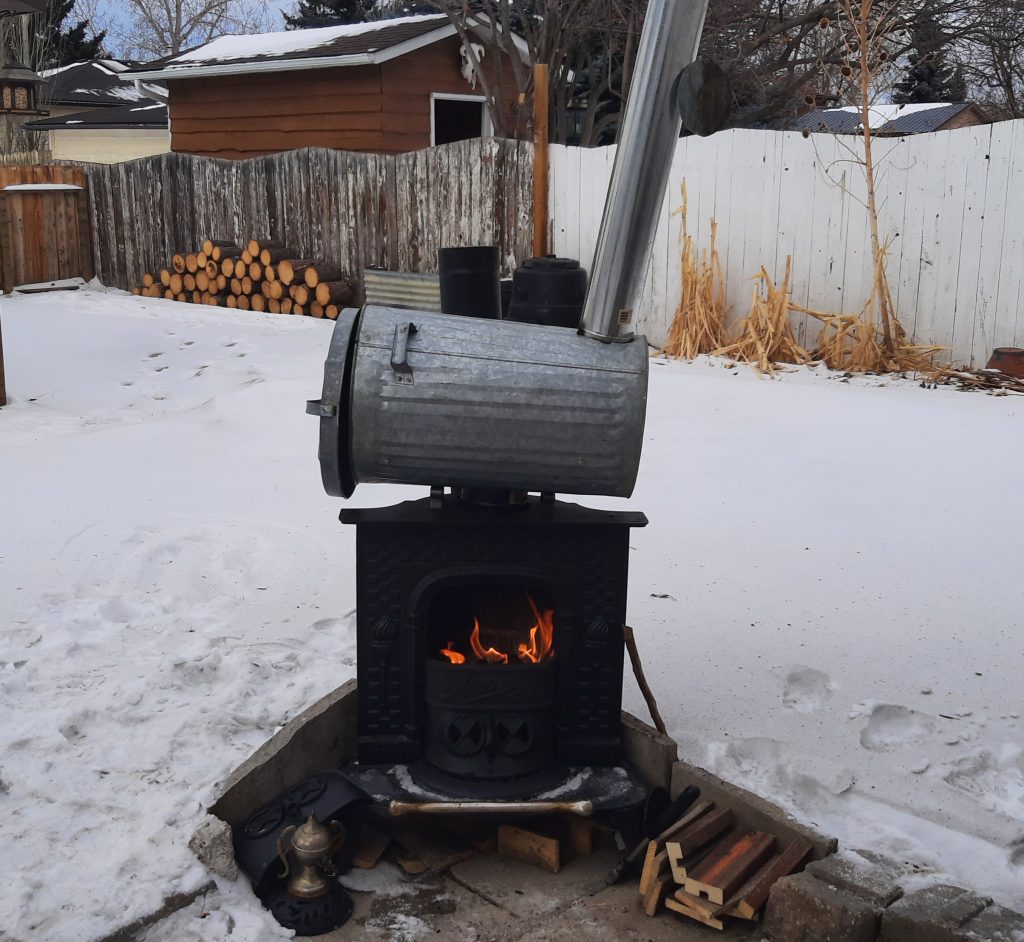
Within 20 minutes, this kiln was at 500C, and the top end of any thermometer I had at the time. From there it was just see how hot it will get, and test if this contraption will survive the heat.
Attempt 1 – The Result….
Well..,
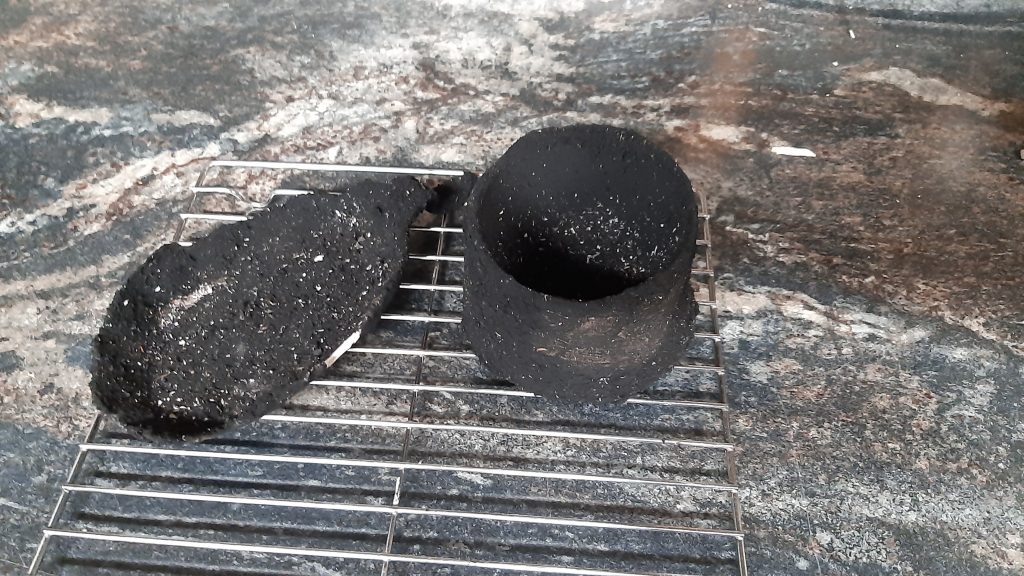
The main things I learned about working with a kiln, so far?
1. It is an all day affair. We are talking 8 – 12 hours of feeding the fire every couple minutes. After about 5 hours, I was running out of firewood, and patience.
2. After about 600 C, it’s hard to sit next to or deal with that fire. It’s hot!!
3. All this takes a lot of wood. Dry, hardwood. And,
4. The first iteration of my kiln, is not enough.
So, back to the shop.
Homemade Kiln – Attempt 2
A bit more research. I am not getting out of this without spending, at least a little, cash.
Basically, I am loosing too much heat. I need to keep as much of that heat in the can as possible. For as long as possible. Have you ever tried to insulate a garbage can with 2 layers of rock wool insulation? Me either. But, a few curse words later, here it is.

Fire resistant does not mean fire proof, so I wrapped the insulation in some pieces of roofing metal and screwed it all together. This step was slightly easier than the wool wrap.

It may not be pretty, but at this point, it may be on fire in a few minutes, so I’m not worried about aesthetics right now. Two more test subjects ready to go. One was in the first attempt.
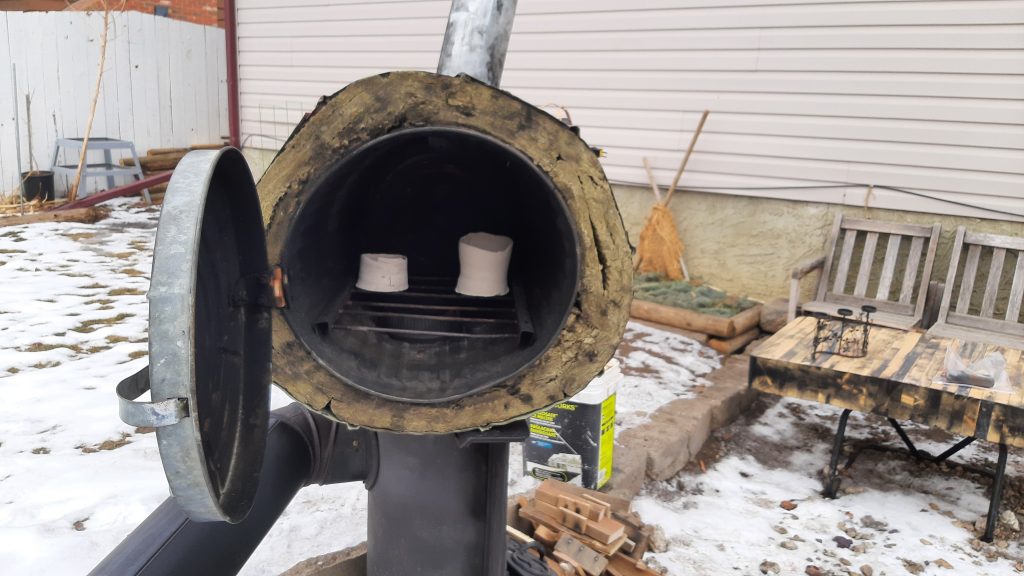
The other thing is, I need to know what the temperature is. The small fire box means the temperature will fluctuate, which is not good for the pottery. So I have learned. Another purchase for this experience. A thermocouple capable of reading up to 1260 C. Close enough. There was a delay in test number 2. The thermocouple needed a probe attachment. Once that came, and I could mount a thermocouple inside the kiln, we are good to go.
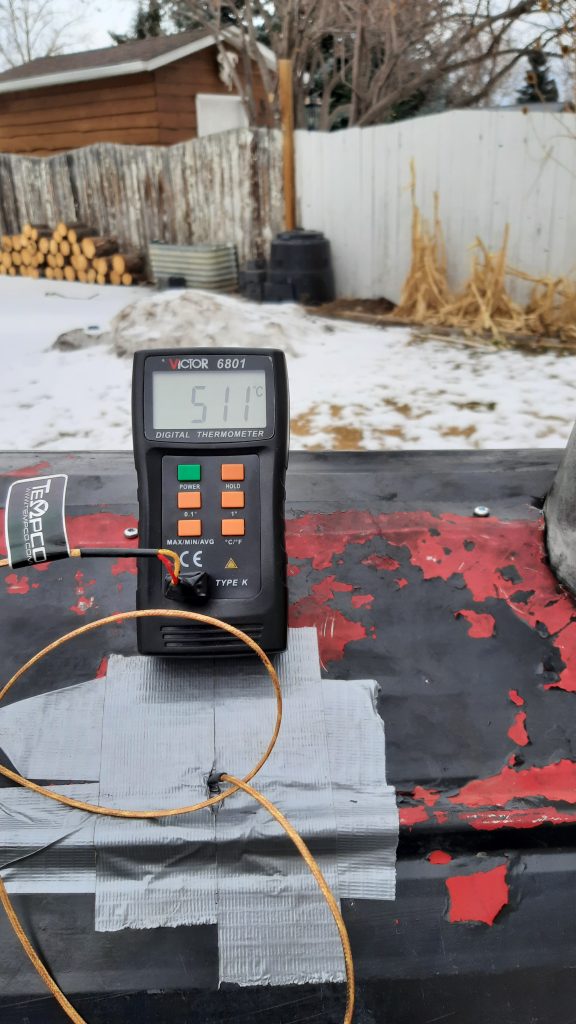
After 20 minutes, we were at 500 C. It took about 2 hours to get to 800 C, and the top temperature for test 2 was 870 C. Not quite enough, but I was running out of hardwood and started burning some smaller pine twigs that couldn’t keep the temperature up. So, the whole thing made it to about 6 hours and 850 C.
Attempt 2 – The Result
What we have, is encouragement.
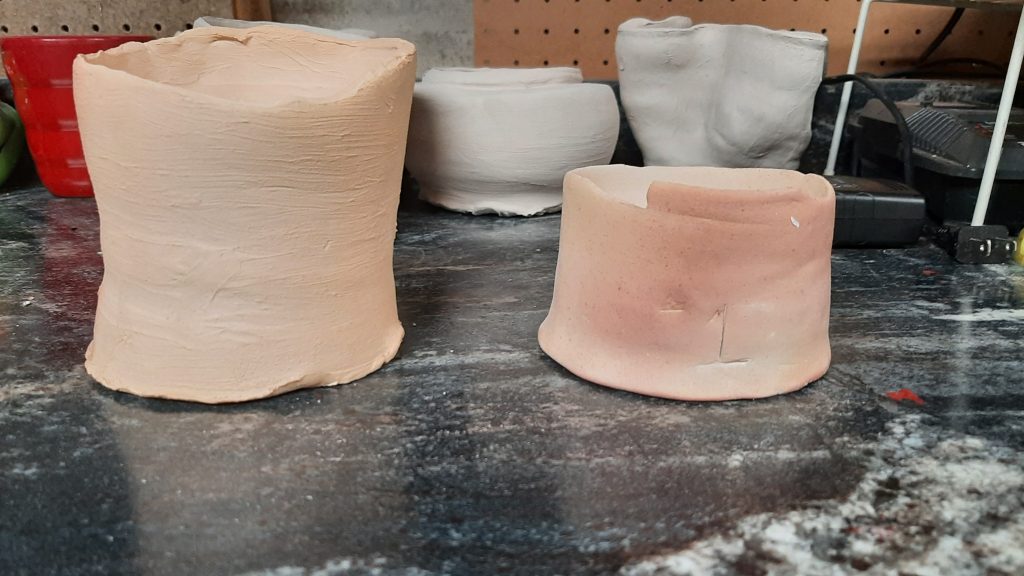
I have to collect more firewood for attempt number 3.
So stay tuned!