Worm compost (vermicomposting) tips and a couple tricks,..
Working with a worm bin. Unfortunately, I have dealt with little pests and problems from time to time. One big thing to remember with composts, is that flies, smells and molds, are all signs the balance is off in the bin. To much or too little moisture, air movement and food supply levels, are a few things that can throw off the ecosystem in your worm bin. Another thing to remember is that it is an ecosystem. The worms are the most visible component, but there are an array of beings in the bin that all play an important part. I have one bin with a spider web in the lid. I let it be, because there are no flies in that bin, and spiders don’t eat worms. It’s not a big spider, just saying..
Flies, and more specifically fruit flies, can happen all of a sudden and can persist for weeks. I have heard banana peels, especially the ones where the tip is wrapped in plastic, are a bad culprit for fruit fly eggs.
Whatever the source, here a few things that I do to help keep the bins from getting out of balance.
1. Freeze the food first.
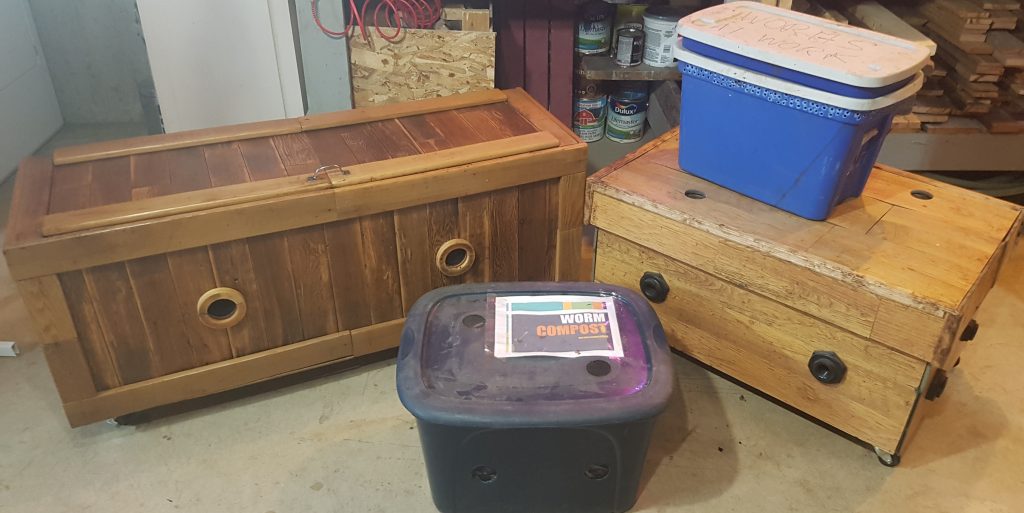
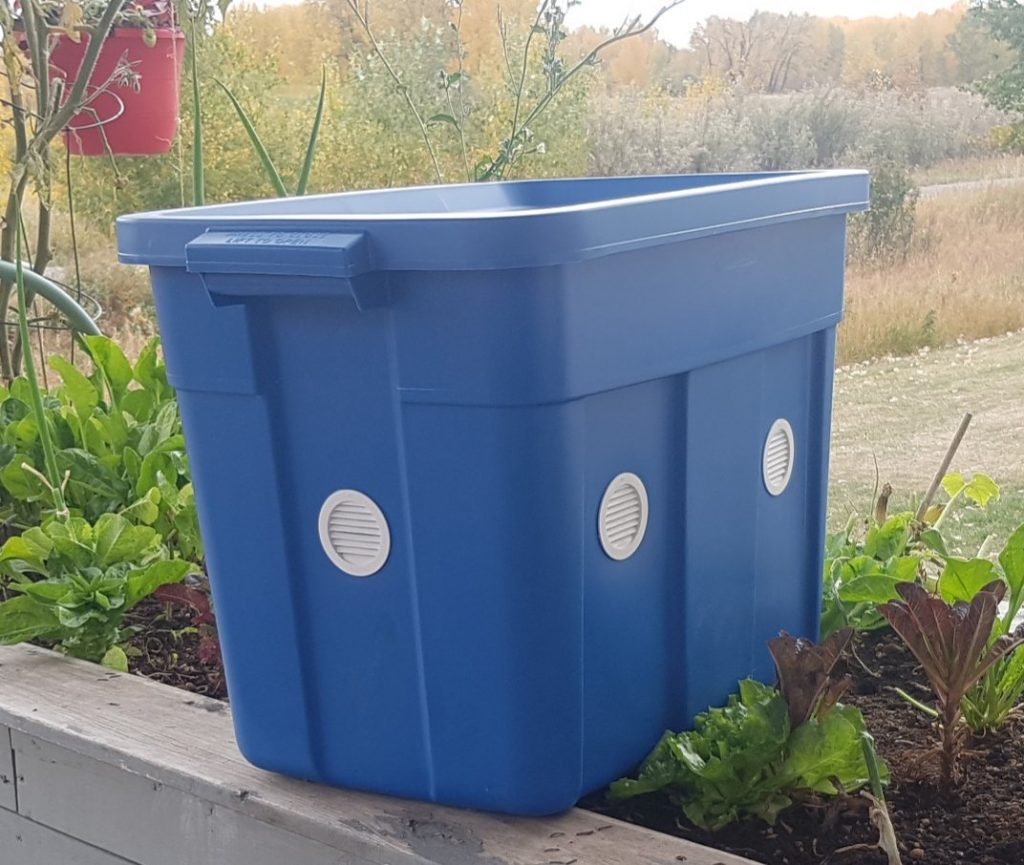
I have multiple bins in various stages of compost, so I find it easy to keep a 5 gallon pail in the deep freeze and a small bin in the kitchen. We have a fancy porcelain compost receptacle for the kitchen counter. Although, I find the big yogurt containers from the grocery store actually work just as good, if not better. They are stackable, dishwasher safe (enough) and recyclable when you are done with it.
I fill the pail in the freezer and then take it out a few days before feeding, to let it thaw out. Keep in mind I have A LOT of worms to feed, so a pail may be overkill for your specific situation. A couple yogurt containers on a rotation will probably suffice in most cases.
Having said that, if I am going to feed the worms within a couple of days, I may not freeze the food first. Freezing the food beforehand helps to start the decomposition of the plant material. It breaks down the cell walls, and helps to hide the food smell from the fruit flies that may be flying around. This process also brings out a lot of the water in the food. Be prepared for the extra moisture, and food scraps that have been frozen and thawed have a funky smell. I know some people who freeze the food in plastic sealed bags. Its a quick open the bag – dump and bury.
2. Make sure the food is buried
When I open the particular bin to feed the worms. I remove the dry part of the paper barrier (more on this in a minute), gently mix the compost around to break up any big clumps, and get the air to move around. Then, I move it all to one side, or part it in the middle, and place the new food on the bottom of the bin. I make a little windrow and bury it with the existing compost. I also make sure if there is any left over food from previous feedings, that is buried as well.
3. Moisture Content
If there is one Worm compost (vermicomposting) tips that is the most important its moisture. The recommended moisture level is that of a wrung out wet sponge. Basically, the compost material should be just about soaked. You should be able to squeeze water out of a hand full of it. Be gentle though, there are worms in there. Standing water is not good. This is why there are worms on the sidewalk after a rain. They are not good swimmers.
Usually, having a dry compost is not the problem. Most veggies are mainly water when they start to breakdown. However, spraying a little water and mixing the compost around will bring the moisture level up. The issue most common is having too much moisture.
A little too much moisture can be remedied by adding some shredded newsprint on the bottom of the bin to soak up the moisture and then mixing it around over the next few (very dry) feedings. If things get really out of hand, the standing water., (It’s not water. There I said it.) can be bailed out and used as a starter for aerated compost tea, or poured straight onto the soil around plants.
This is…..worm pee…..essentially. It is full of nutrients, but is quite anaerobic and can be smelly. If you are going to spread it directly around plants, I suggest outside plants…also it will stain anything it spills on, so a word of caution. But so, so good for the soil.

4. Paper barrier
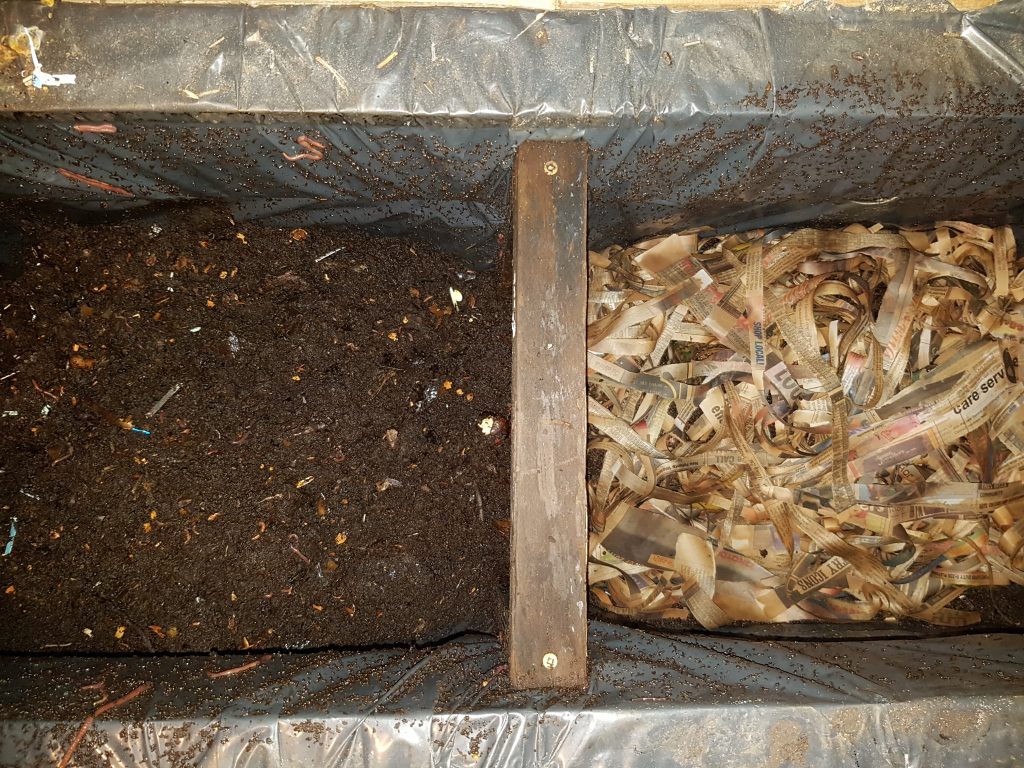
In recent years, I have adopted the technique of placing a 4 – 6 inch layer of shredded newspaper on the top of the compost. This seems to confuse the flies, and hides the smell. It works. In the horizontal migration bins, the paper is placed directly on the compost. When its time for feeding, I remove the dry paper and mix in the wet with the compost. Once the feeding is done, I put the dry paper back and add a little to maintain the desired depth.
In a vertical system, the top layer is paper, checking that the bottom of that level gets changed as it gets wet. This is the part where little kids can help out a lot. Who doesn’t like ripping paper?
In times of desperation, spray the top of the paper with a neem oil mixture. This will kill the flies if the population gets out of hand. The oil doesn’t hurt the worms, and I don’t soak the paper, just wet the top of it. On one occasion, while trying to bring back a tower system for a client, I was using a apple cider vinegar trap outside the bin. It accidentally fell into the paper. Well I thought “there goes the whole clew”, but the paper absorbed the entire spill. The next morning there were no more flies. I don’t recommend that method, however, desperate times…
One final worm compost (vermicomposting) tips on food.
There are a few things the worms do not like. Some things will kill them, others they just will not eat. Food that sits in the compost will decompose eventually, however, it may smell and attract unwanted things into your bin.

Things to Not put in to worm bin:
Meats, bones, fat and anything oily or greasy.
Dairy products including butter, sour cream, milk, whole eggs (limited egg shells are ok) and cheese.
Canned sauces, peanut butter and other processed food.
Citrus foods like lemons, limes and oranges.
Onions and garlic.
Spicy foods such as hot peppers.
Yard trimmings that have been treated with pesticides.
Plastic, metals, glass or other non-biodegradable items.
Soap
Paper that has a glossy finish or colored ink
Poison ivy, oak or sumac or other poisonous plants.