Grow your own food wherever you have the space is the basis of Eat MY Shrubs. Incorporating multi-function plants that bring beauty to the space, and nutrition to your plate! What could be better. Especially if it lives in a low maintenance garden.
Taking it one step further
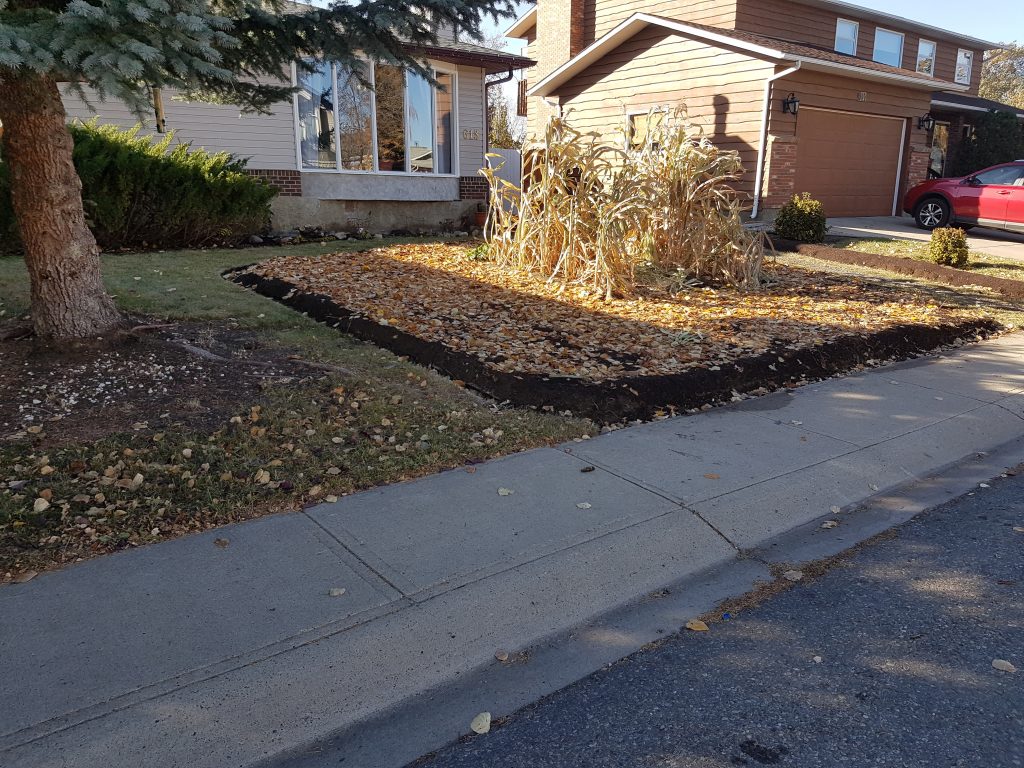
Below is how we are turning our front lawn space into a healthy, functional, food producing, space. On the budget of, “I don’t want to spend any money. But, I know I have to spend some, so we are going to minimize how much we spend, in dollars and cents in general.”
But first lets step back.
The next picture is what this house looked like in 2014 when both trees were in the front lawn.
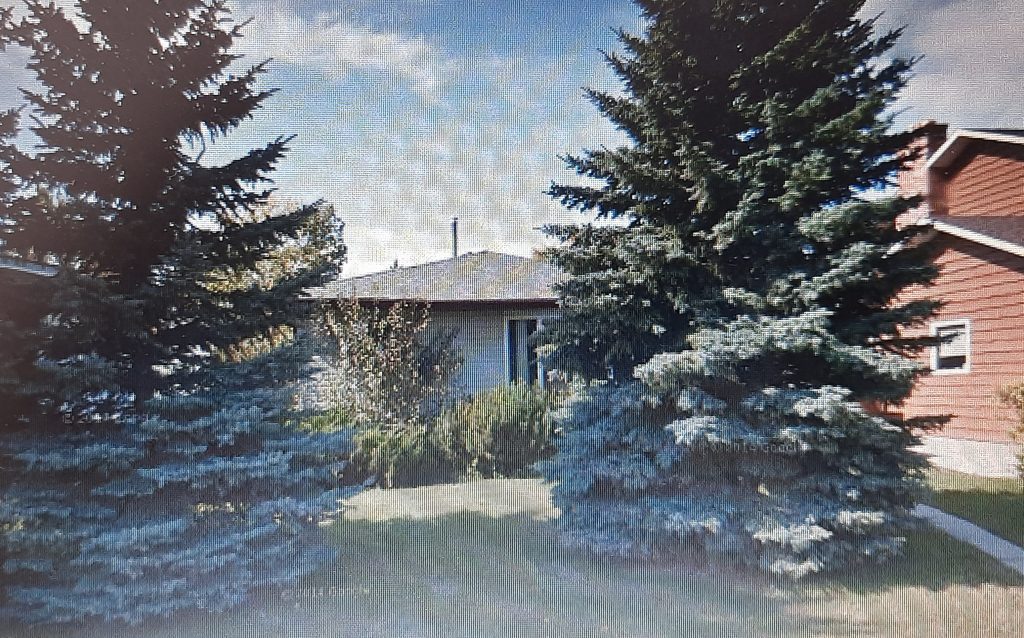
Seriously??? TWO giant Spruce trees in the front lawn. The neighbor to the south has one as well, which is growing together with ours, because they are planted so close together. For some reason, (I’m not asking. I’m just grateful it’s gone) one of the trees was taken down. And a garden was put in over the root zone of the old tree.
Obviously not a good one.
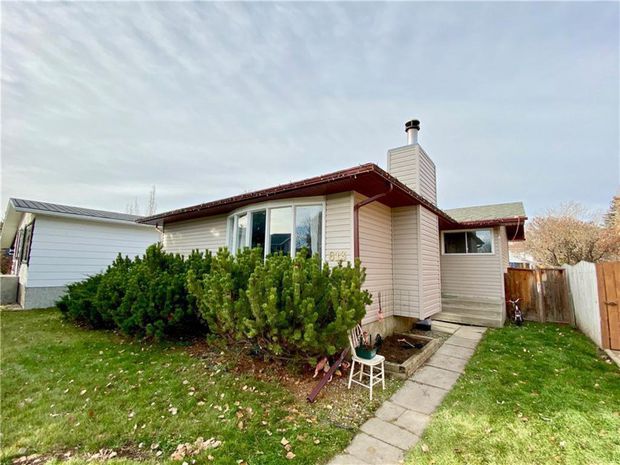
This was the picture (below) from the time when we purchased the house. The garden is not even in the picture of the front of the house for the real estate listing. It was that bad.
Before we moved in the owners thought it would be a good idea to prune the under growth of the Mugo Pines in front of the house. Luckily the poor pruning decision/execution didn’t matter. The pines have no place in my design, so they were cut down completely anyway. The stumps are still in the garden, but the plants are gone.
We removed the garden materials and weed barrier from the “spruce stump garden??” So we could plant some sort of vegetable garden for the first summer. I didn’t want to commit to any permanent plants until we get to know the place a little more.
We expanded the area to cover a 12 foot square. It just worked out that size to cover all the damage from the tree removal and garden that replaced it. It cleaned up the lawn. Once we removed all the things we didn’t want in the existing garden. We marked out, edged by hand, and flipped the lawn area over. Shook out as much soil as we could from the sod chunks and put the rest in the compost pile for the summer. We were doing other excavation work at the time in the back yard. (More on that to come) So, we used some of the top soil from the back yard to make up this garden for this year.
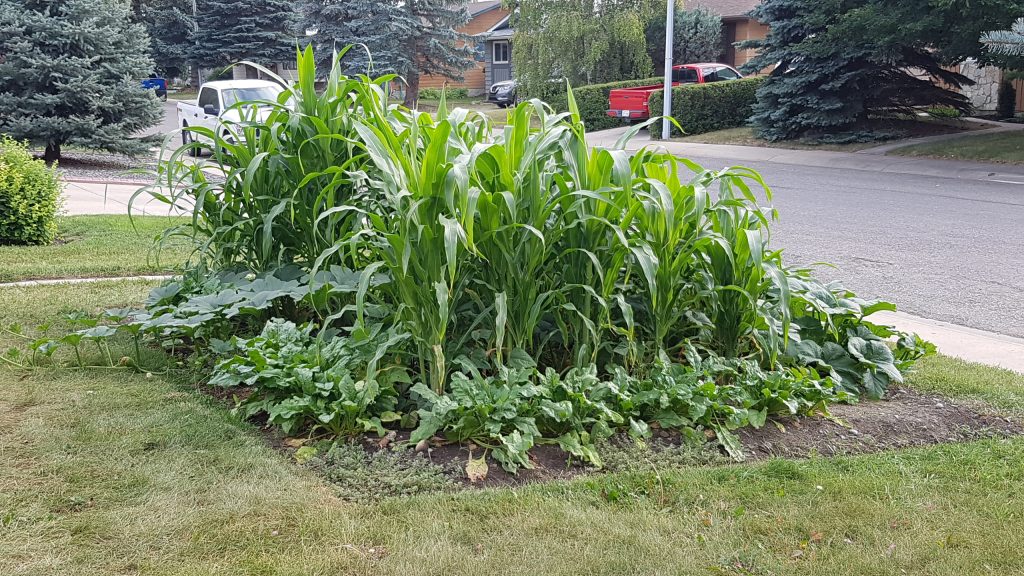
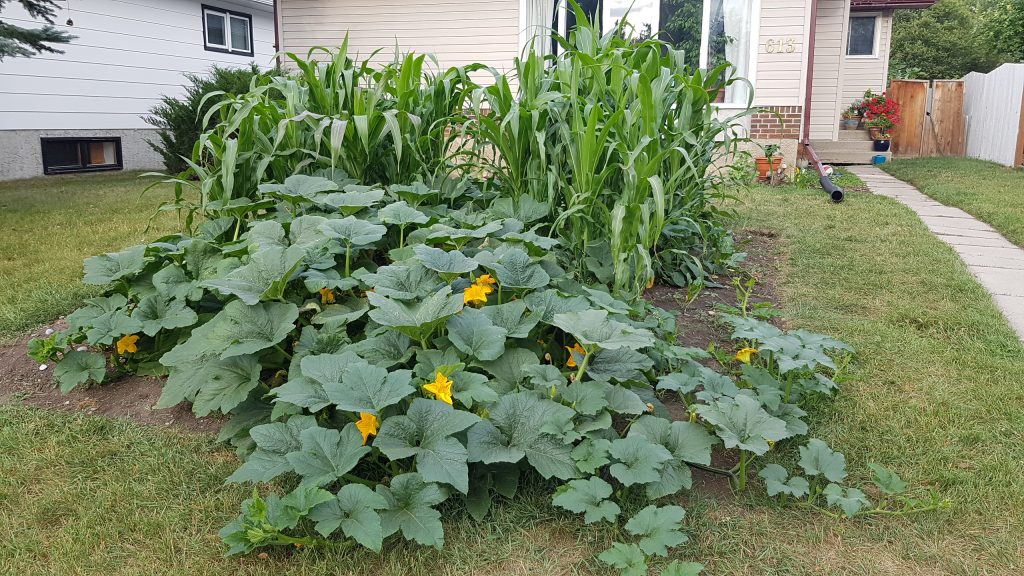
These pictures were taken the following fall. The first rendition of the garden went well, so we are expanding. Keeping our budget in mind.
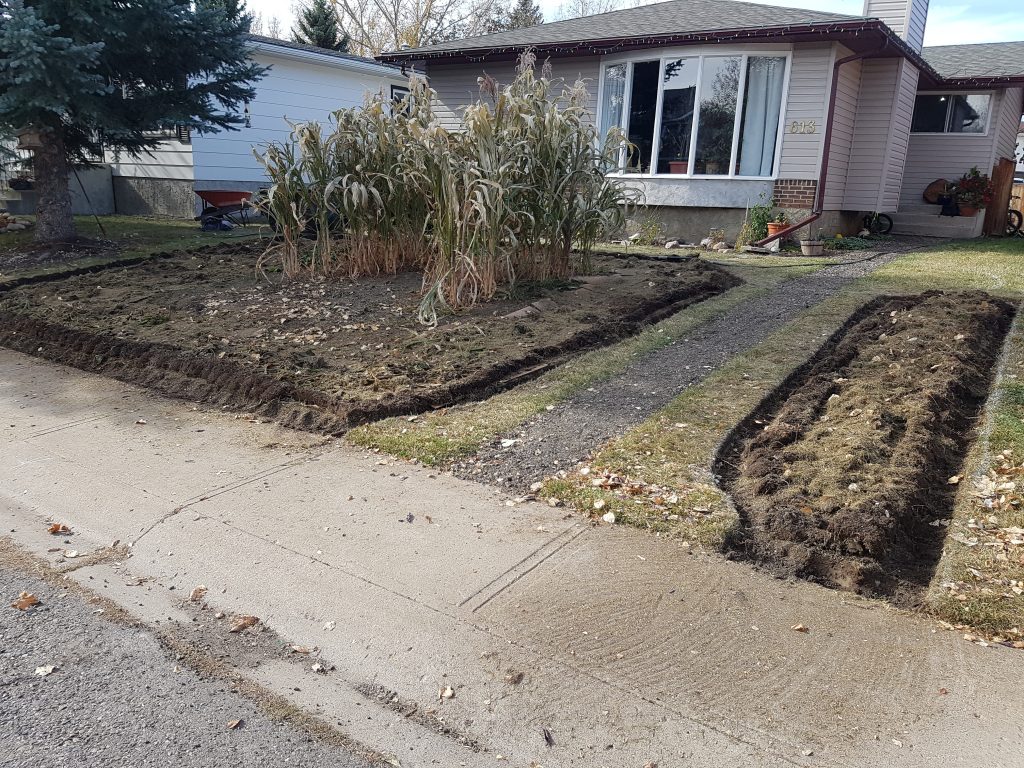
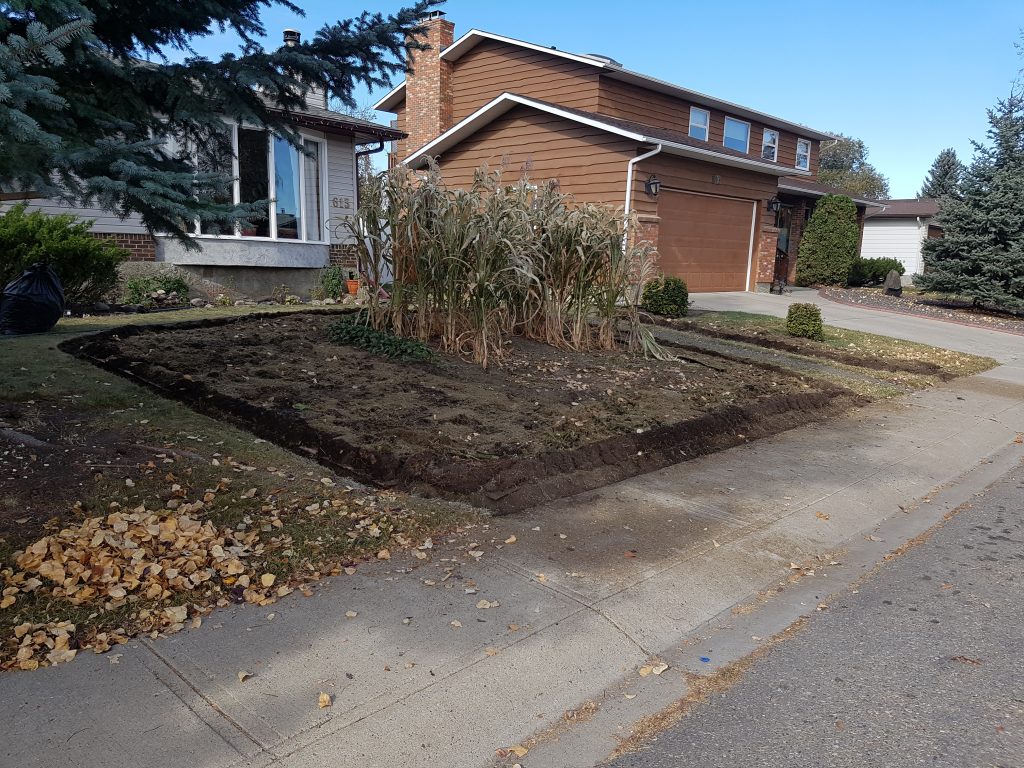
First Step To Grow Your Own Food – Remove Grass
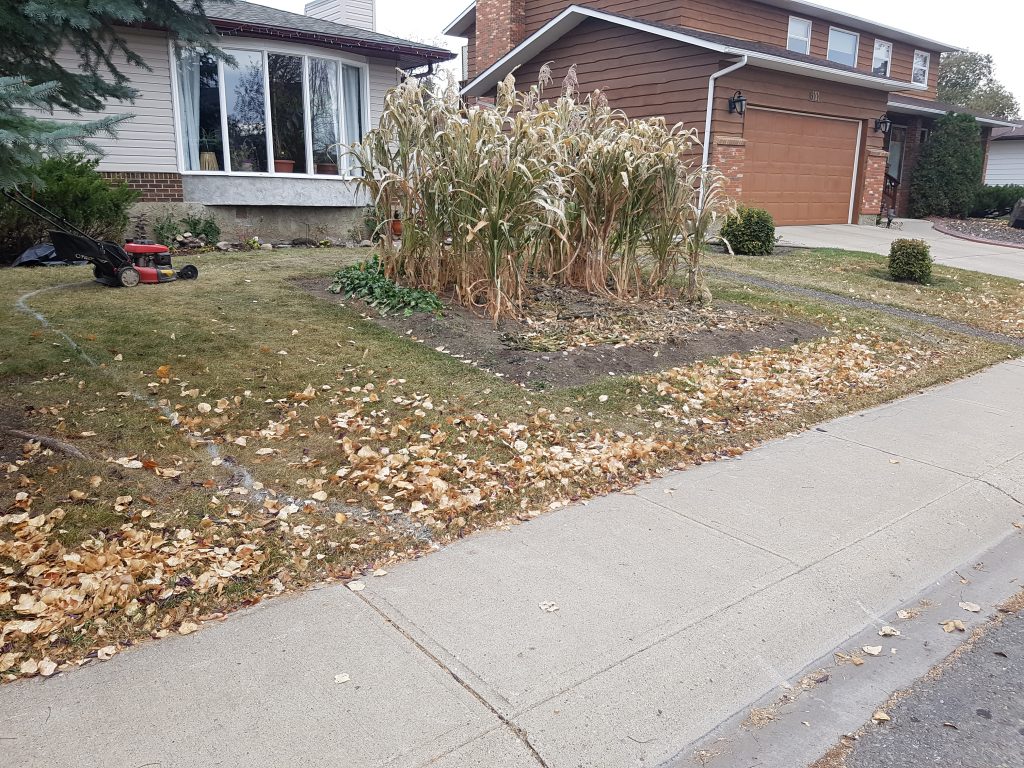
Basically, I put the mower deck down as low as it would go, and attached a raking blade, with little nylon rakes that stick down below the blade. It took out most of the grass leaves and damages the roots system as well. I collected the debris and raked up what didn’t get picked up by the mower.
WORDS OF CAUTION !!!!!
THERE IS A CHANCE THAT YOU COULD THROW A ROCK OR SOMETHING WHEN MOWING THIS LOW WITH THE RAKES ON. PLEASE KEEP AN EYE OUT FOR PEOPLE AROUND YOU WHILE DOING THIS FIRST STEP. IT IS A GOOD IDEA TO WALK OVER THE AREA FIRST AND PICK UP ANYTHING YOU CAN. BROKEN WINDOWS ADD TO THE COST OF THE JOB ESPECIALLY WHEN THEY ARE NOT YOUR WINDOWS.
Next comes prepping for cardboard ground cover.
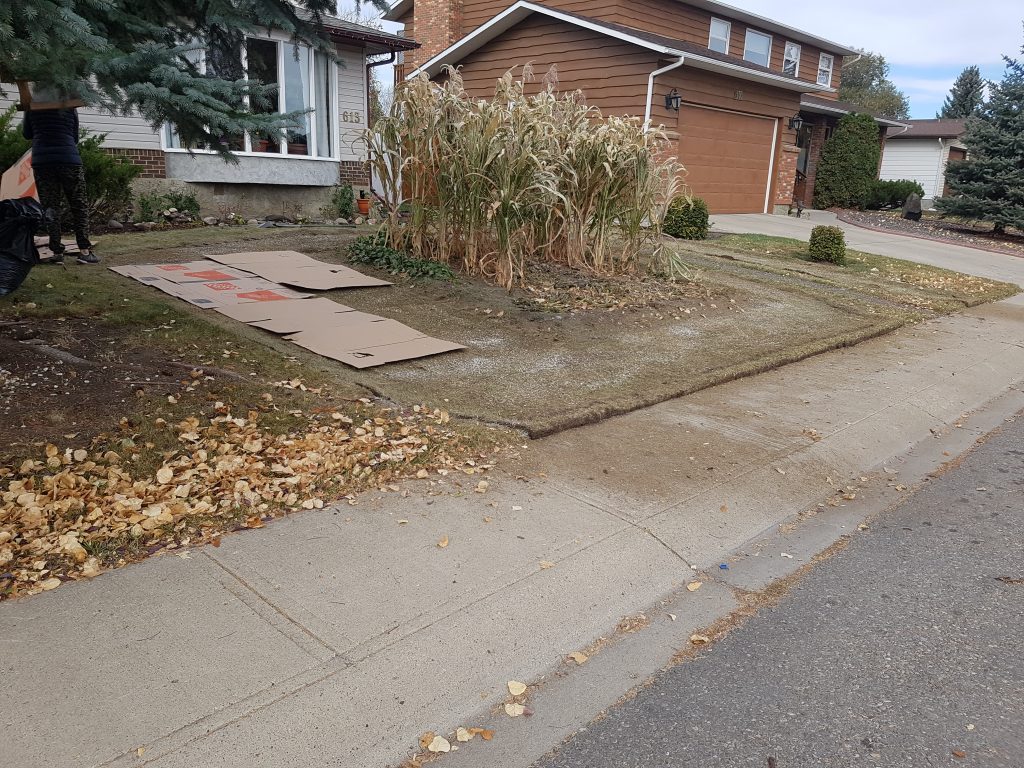
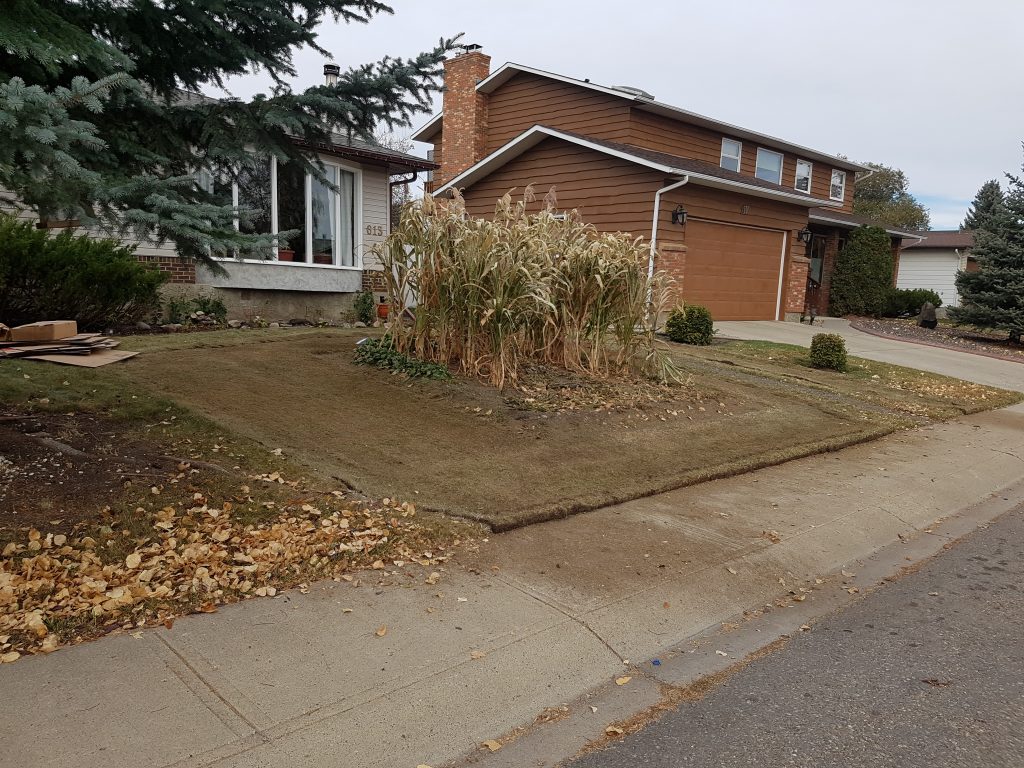
We edged the new garden outline to basically remove a 8″ strip around the whole perimeter. We just left it in place for now. I also added some crushed oyster shell. (Looks like white powder in the picture above.) It will help to break up the compaction in the soil, and add calcium as it breaks down.
Once that was complete we covered the whole area with cardboard. I had saved all of our boxes from the move (almost a year previous) for this reason. So worth it!
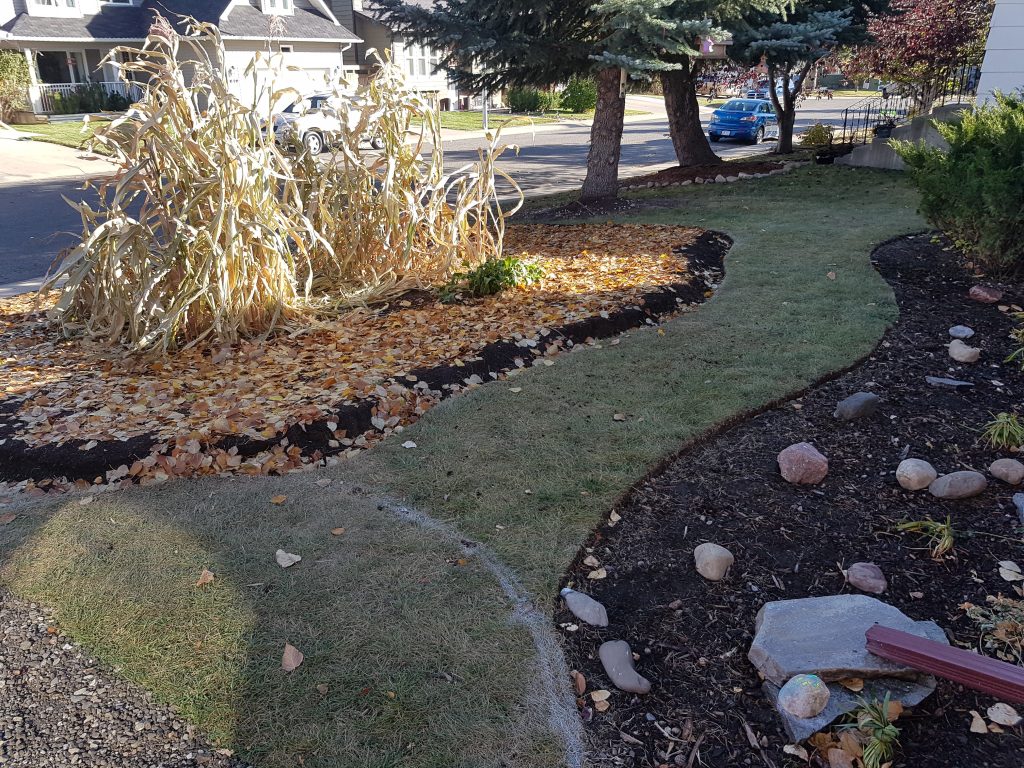
Now flip the edge and cover the cardboard
On the left side of the picture below you can see the edging strip now flipped over. This will give us a nice edge to work with. There are other plans to complete further down the road. Having a sharp, live edge will be easier to work with for the adjacent project, when it happens.
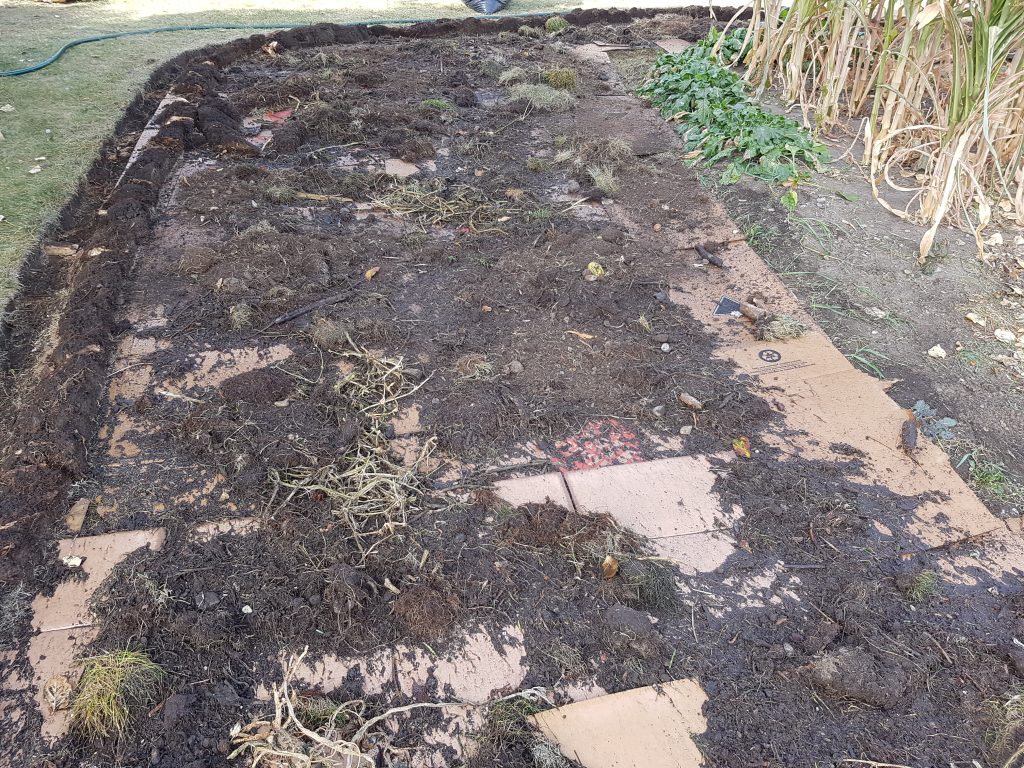
A lasagna style garden construction is what we are going for. So, on top of the cardboard we layered and filled in with what compost we had collected over the summer. Remember the grass from the first garden that went into the compost in the spring? It went into this part of the garden expansion. Also, the grass and debris that I collected during the first step.
I cheated a little, to be honest, because I had a credit from a local landscape supply store. From returning those large delivery sacs from a few projects. I used that and got a cubic yard of their organic compost. I just had them dump it in my pickup and I shovelled it into a wheelie and raked it out one afternoon.
Finally To Grow Your Own Food- Groundcover
The issue I have had in the past with garden spaces like this one is the wind in the fall and winter, blowing my groundcover all over the town. The leaves in the picture below stayed fine, as long as I kept them wet. Once I put the hose away for the year. They were gone the next breeze. I’ll have to think of something before the snow melts. Everything is covered and frozen for now.
What’s Next to Grow Your Own Food??
Next (Spring 2022) will be to add some garden soil in the spring and start to plant some perennial “keystone” plants. Well….the garlic is already in so that has started already. Check back later in 2022 and see the progress.