Consider worm composting (vermiculture) as livestock management, or animal husbandry, of the organisms in the ecosystem, with compost being the product. At least this is a good mindset to begin composting with worm. Soon you will consider less that you need to compost your food scraps, and more feel like you have to feed the worms.
Visible organisms such as worms and mites, or microscopic ones like nematodes and protozoa, it is the organisms collectively in the compost bin that are the key to the composting process.
There are three categories that these organisms fall into:
Primary consumers, Secondary consumers and Tertiary consumers. For the most part, the later categories feed on the previous category, with the Primary consumers actually consuming most of the feedstock.
Vermicomposting is a method of composting that uses the habits of specific
worms, usually red wigglers or European night crawlers, to consume the food. This is not to say though that
worms are the only organisms in the compost, or even the most numerous. They
are merely the most visibly present primary consumers.
Worms, mites, fungi and actinomycetes are just some of the beneficial primary consumers possible in a vermicompost. Other visible consumers that may be in a worm compost bin include beetles, mites and spiders. Each compost will contain its own unique ecosystem. Therefore, knowing the population of specific microscopic consumers present, would require a laboratory.
Temperature and moisture
There are two variables that needs to be monitored when composting with worms.
Worm compost is dependent on the feedstock added. If the size of the feedstock is too large, or if the feedstock is too wet, the organisms may not be able to do their job properly. The holes created by the worms do not stay open . Therefore, air is not able to penetrate the pile. This creates anaerobic conditions which could harm or kill the good organisms. The organisms all produce liquids as well, so moisture content management is paramount in vermicomposting methods.
If the bin is set in direct sunlight, the temperature in the compost will increase. To high of a temperature will harm or kill the organisms in the bin. The opposite is also true. If the temperature is too low or the conditions are too dry, there will be negative feedback as well. The composting process slows considerably as the temperature lowers, and dry conditions allow for any fly eggs to mature, among other issues.
The moisture content of a wet sponge
The rule of thumb to keep in mind.
Worm composting is a controlled method of continuous composting. The balance needed for the ecosystem to thrive is maintained by the feedstock. Consideration is given before each addition of material, or feeding. Conditions are kept close to optimum.
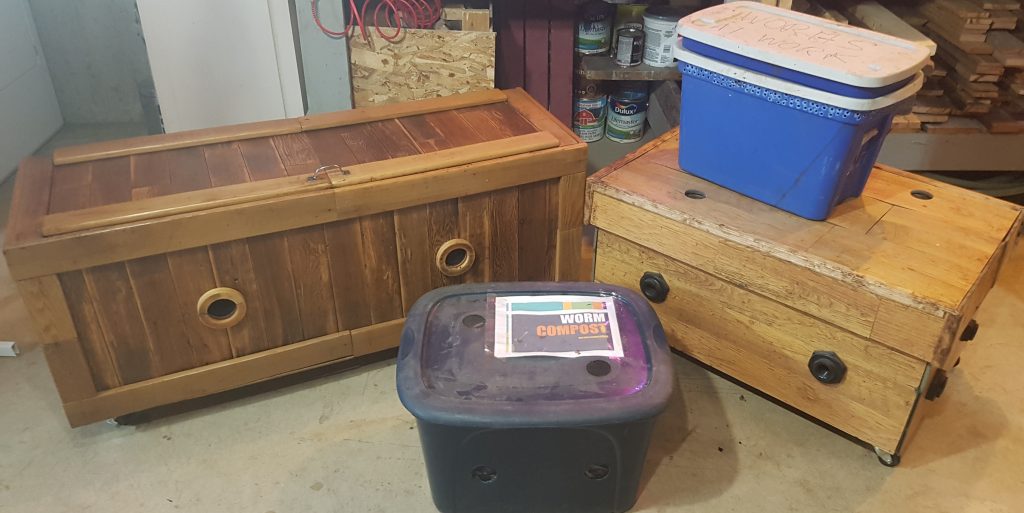
Worm composting management
A compost pile managed as an ecosystem, that requires food, water, and air, will thrive more than one considered a pile of inanimate rotting material. Temperature, nutrient balance, moisture, and oxygen content are adjusted to maintain optimum conditions. These variables are adjusted for the benefit of the organisms.
Any problem that arises can be remedied, and if the problems become to numerous for whatever reason, composting is a human improvement on a natural process. It can therefore be left unattended. Eventually, Mother Earth will take back control, and the process continues without us.
Feeding your worms
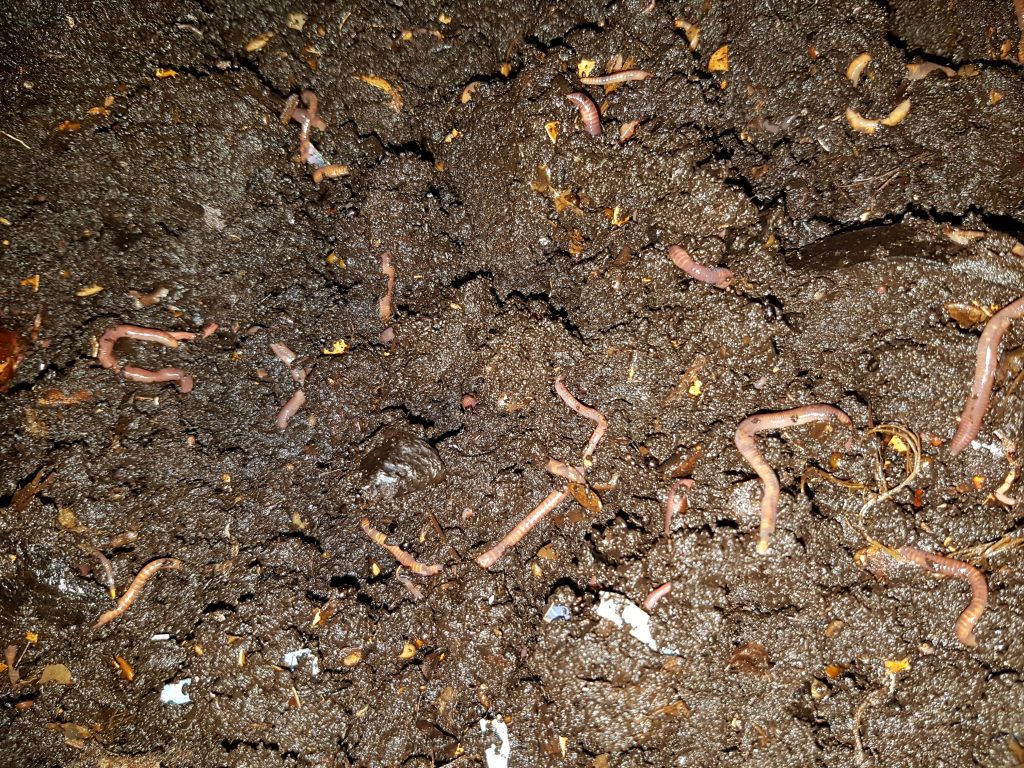
Worms will consume most vegetable kitchen waste. Carrot tops, banana peels, coffee grounds, etc. The smaller the pieces the better. The size of a quarter is ideal, especially at first. An example, a chunk of cucumber will break down quickly as it’s mainly water. But, harder materials like Broccoli stems, take longer. This becomes less important as the compost bin matures.
See the Tips page for more information.
The notable exceptions are:
citrus, like oranges and lemons,
meat of any kind,
bread products,
milk products,
raw rice,
cooking oils,
animal feces (never crossed my mind),
diseased plants, and oddly
…Walnuts. They contain a toxin in the shell that can be toxic to other plants once you start using your finished compost.
Building a home for your worms
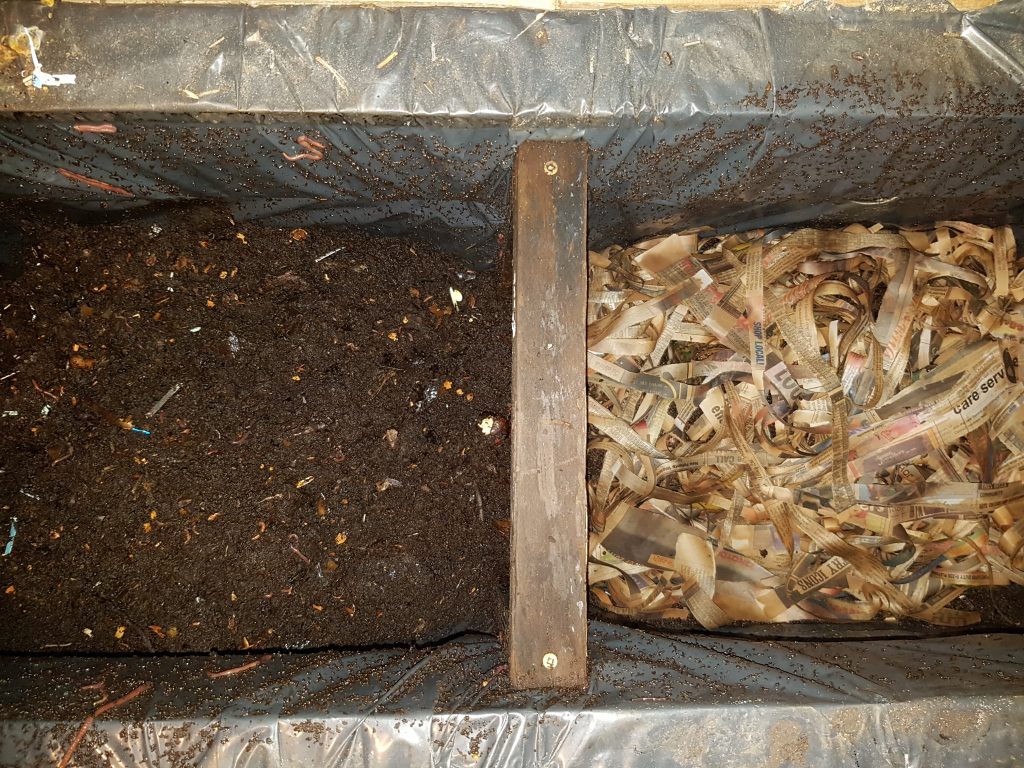
I make this easy. I use newspaper. It is readily available to me, because we get 2 papers a week free in my community, and I have done the research that the ink used in my local paper is chemically…ok….for use in the worm bin.
There are newsprints and ink out there that contain chemicals that the worms and microorganisms can not break down, so you should do a bit of research if you want to use newsprint. The same is true if you use paper from your paper shredder.
Shredded brown or unbleached paper works the best, especially if you want to boast of your “organic” worm compost.
Tree leaves work, if you have an abundance of leaves in the fall, and you are are looking for a more fungal dominant compost, say if you have a perennial shrub garden. If you are going to use the compost for a vegetable garden I would not use tree leave as a bedding material. Some leaves added to the bin is fine, but too many will alter the finished dynamics of the compost.
I do not recommend for worm composting:
Straw. It takes too long to break down and makes harvesting the finished compost difficult.
Shiny, magazine paper, or colourful flyers. Too many chemicals and plastics in them to be added to your compost. Some things may harm the organisms in the bin, others will not be broken down and then end up in your soils.
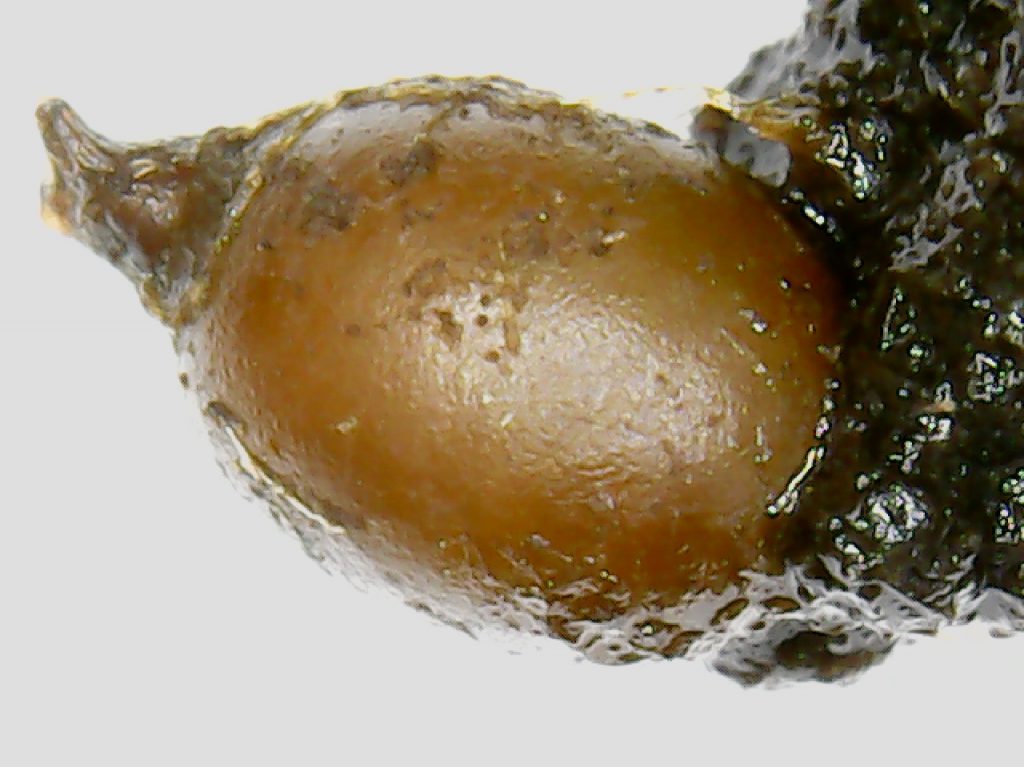
If you can get a bit of active worm compost from a friends bin, that would be ideal to start your bin.
Start small
The worm population in the bin will grow and shrink as the environment and food stocks allow. When you first start composting with worms, the population will most likely be small, and so will require a small amount of food. As the population grows, more food will be needed to feed the population.
Harvesting your compost
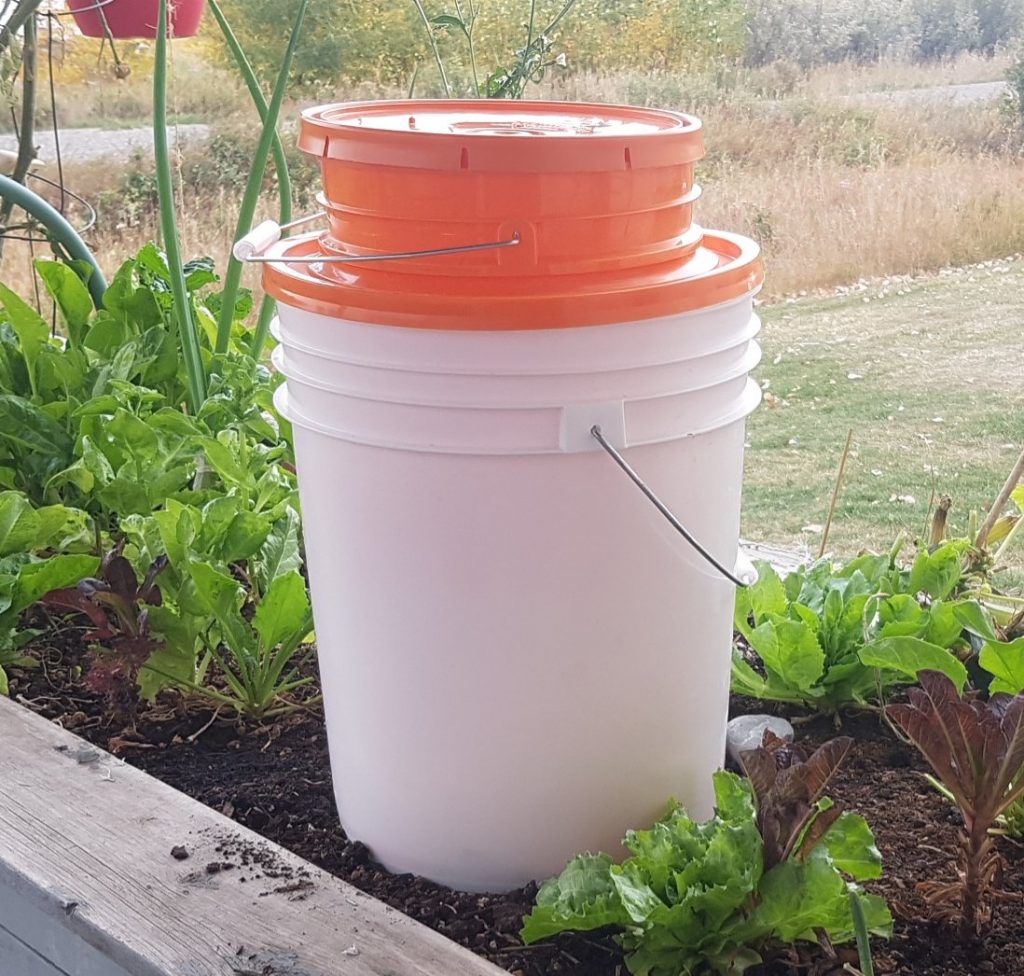
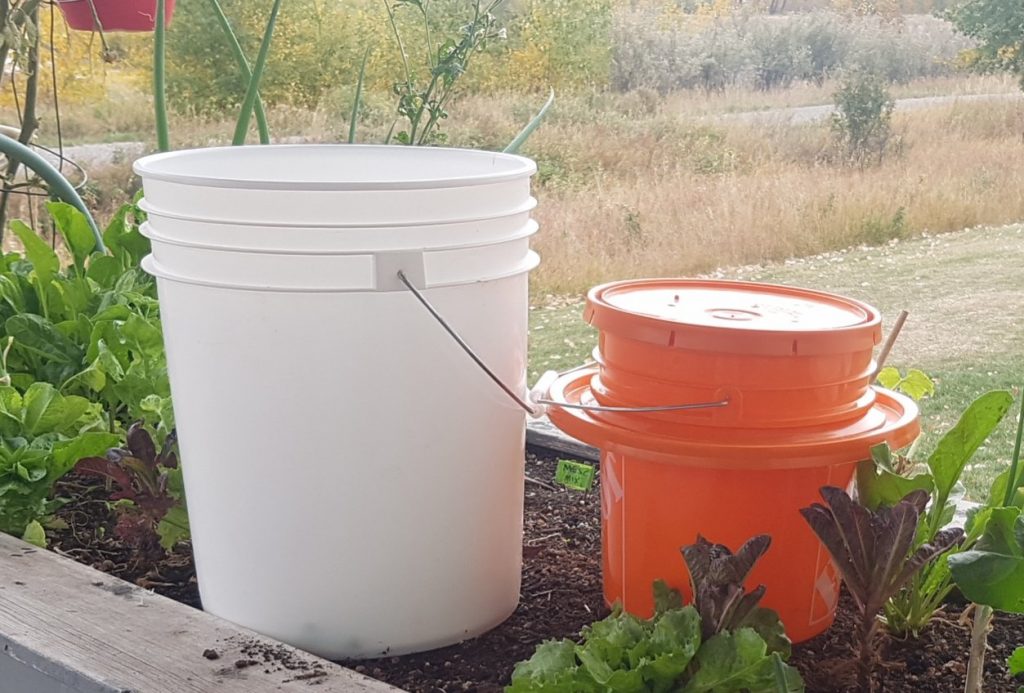
Once the finished compost has built up enough in your bin that you want to harvest it, what do you do then? If using the migratory system, feeding the worms on the other side of the screen will move the vast majority of the worms out of the finished compost. I still like to use a worm trap like the one pictured above. When a traditional, 1 compartment, bin is used, a worm trap makes harvesting the worms less tedious.
It is at this point I usually remind people not to name your worms. Try as you might, you will not save them all. If the plan is to dump the whole pile of compost into the garden right away all the better, but as the compost dries out, so will any remaining worms. After using the migratory system combined with the trap, I usually pick out a dozen or so worms as mine dries out for storage. I just put them back in the bin as I find them. Its usually one of my kids who find them and pick them out. Worm hunting, awesome.
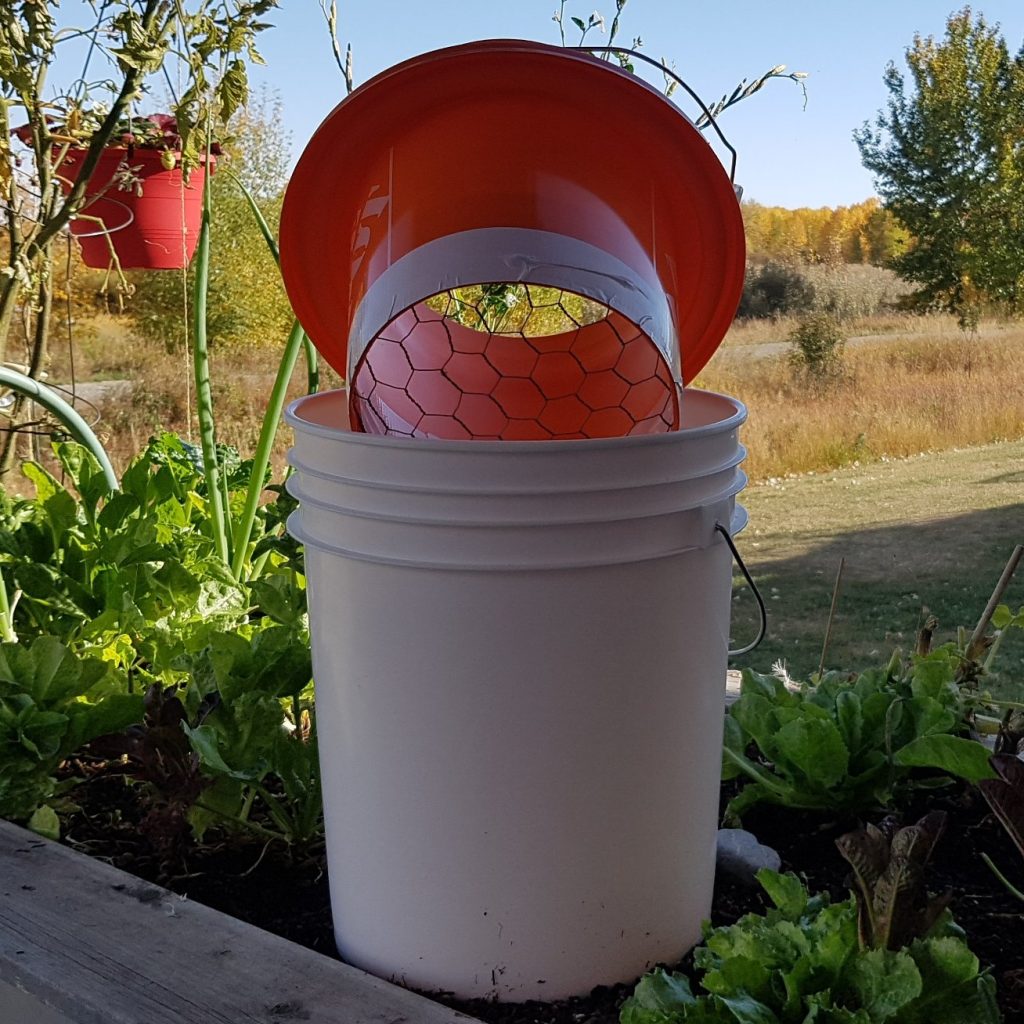
How does it work?
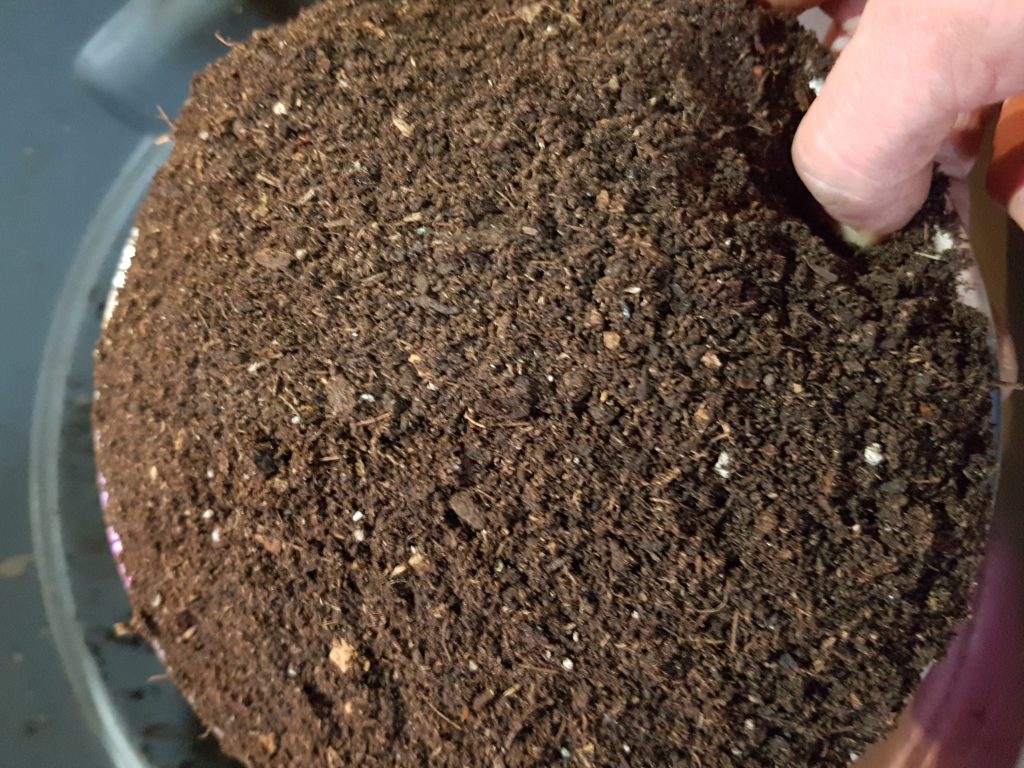
The worm trap uses the worms natural tendency to migrate up, and toward fresh food. The food is in the top pail. The finished compost is placed, gently, into the larger, pail. The compost settles in the bottom pail, and the worms want to come to the surface. The food source, helps in that decision and keeps them at the top. After a couple of days, remove the top pail and the top inch or 2 of compost. Empty those back into your bin and you are ready to start composting again, with a pail of finished compost, primarily worm free, ready for the garden.
