Wicking Beds Piped Together – The Background
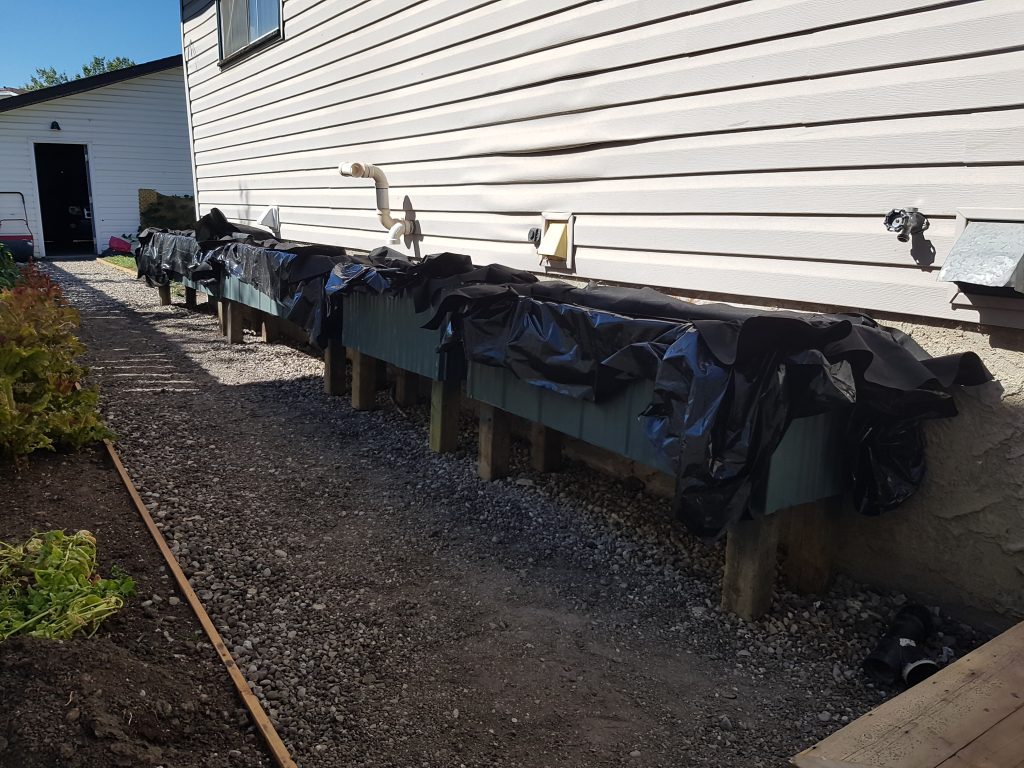
Wicking beds piped together – This bare wall of the house was just asking to get covered. A raised bed seemed like an obvious choice. This is the main path through the back yard to the shop, and the houses are quite close together. By raising the garden, we can extend the amount of days that it will get sun, and how many hours in the day it gets sun as well.
I’m all about things taking care of themselves.
Turning the raised beds into self-regulating wicking beds, means they will require a lot less attention through out the year. The end result includes a cold-frame attachment to extend the season even more. Coming during the summer of 2022.
The only catch is that the vents for the dryer, furnace, and basement bathroom are all on the wall also. The garden may interfere with sensors and proper ventilation, so I decided to cut the bed into 4. Make 4 beds and plumb them together, with enough space between to allow for air to properly move in and out of the house. I will have to, also, move the downspout from the gutters to not interfere with the back door.
In the end it will all be worth it.
To go away for a week in the summer, and not have to get someone to take over the garden maintenance, is true food freedom. When the garden just takes care of itself, with only the occasional boost from the gardener, that is organic land care in practice.
So let’s get into it.
Wicking Beds Piped Together – The Build
The Raised Bed
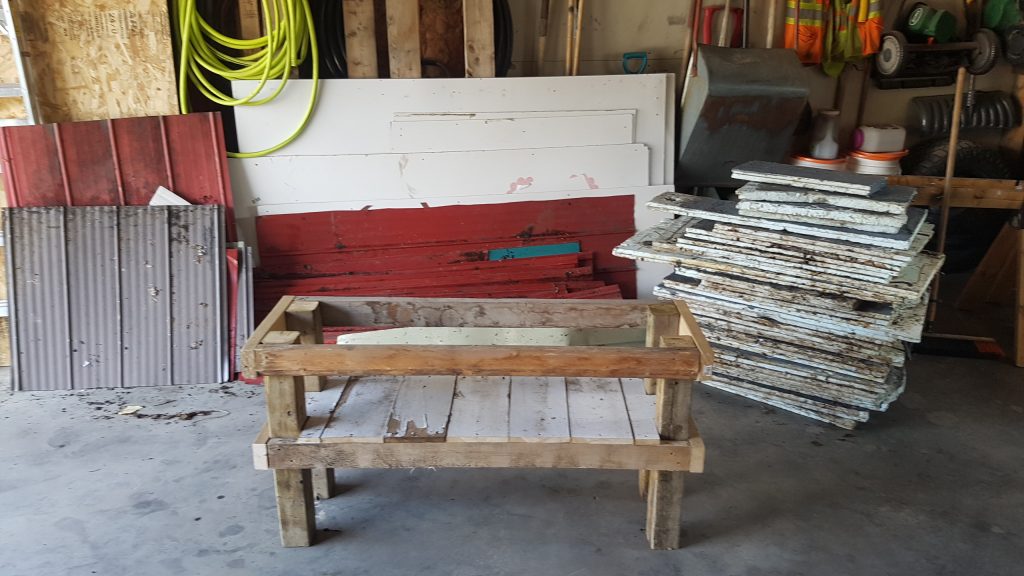
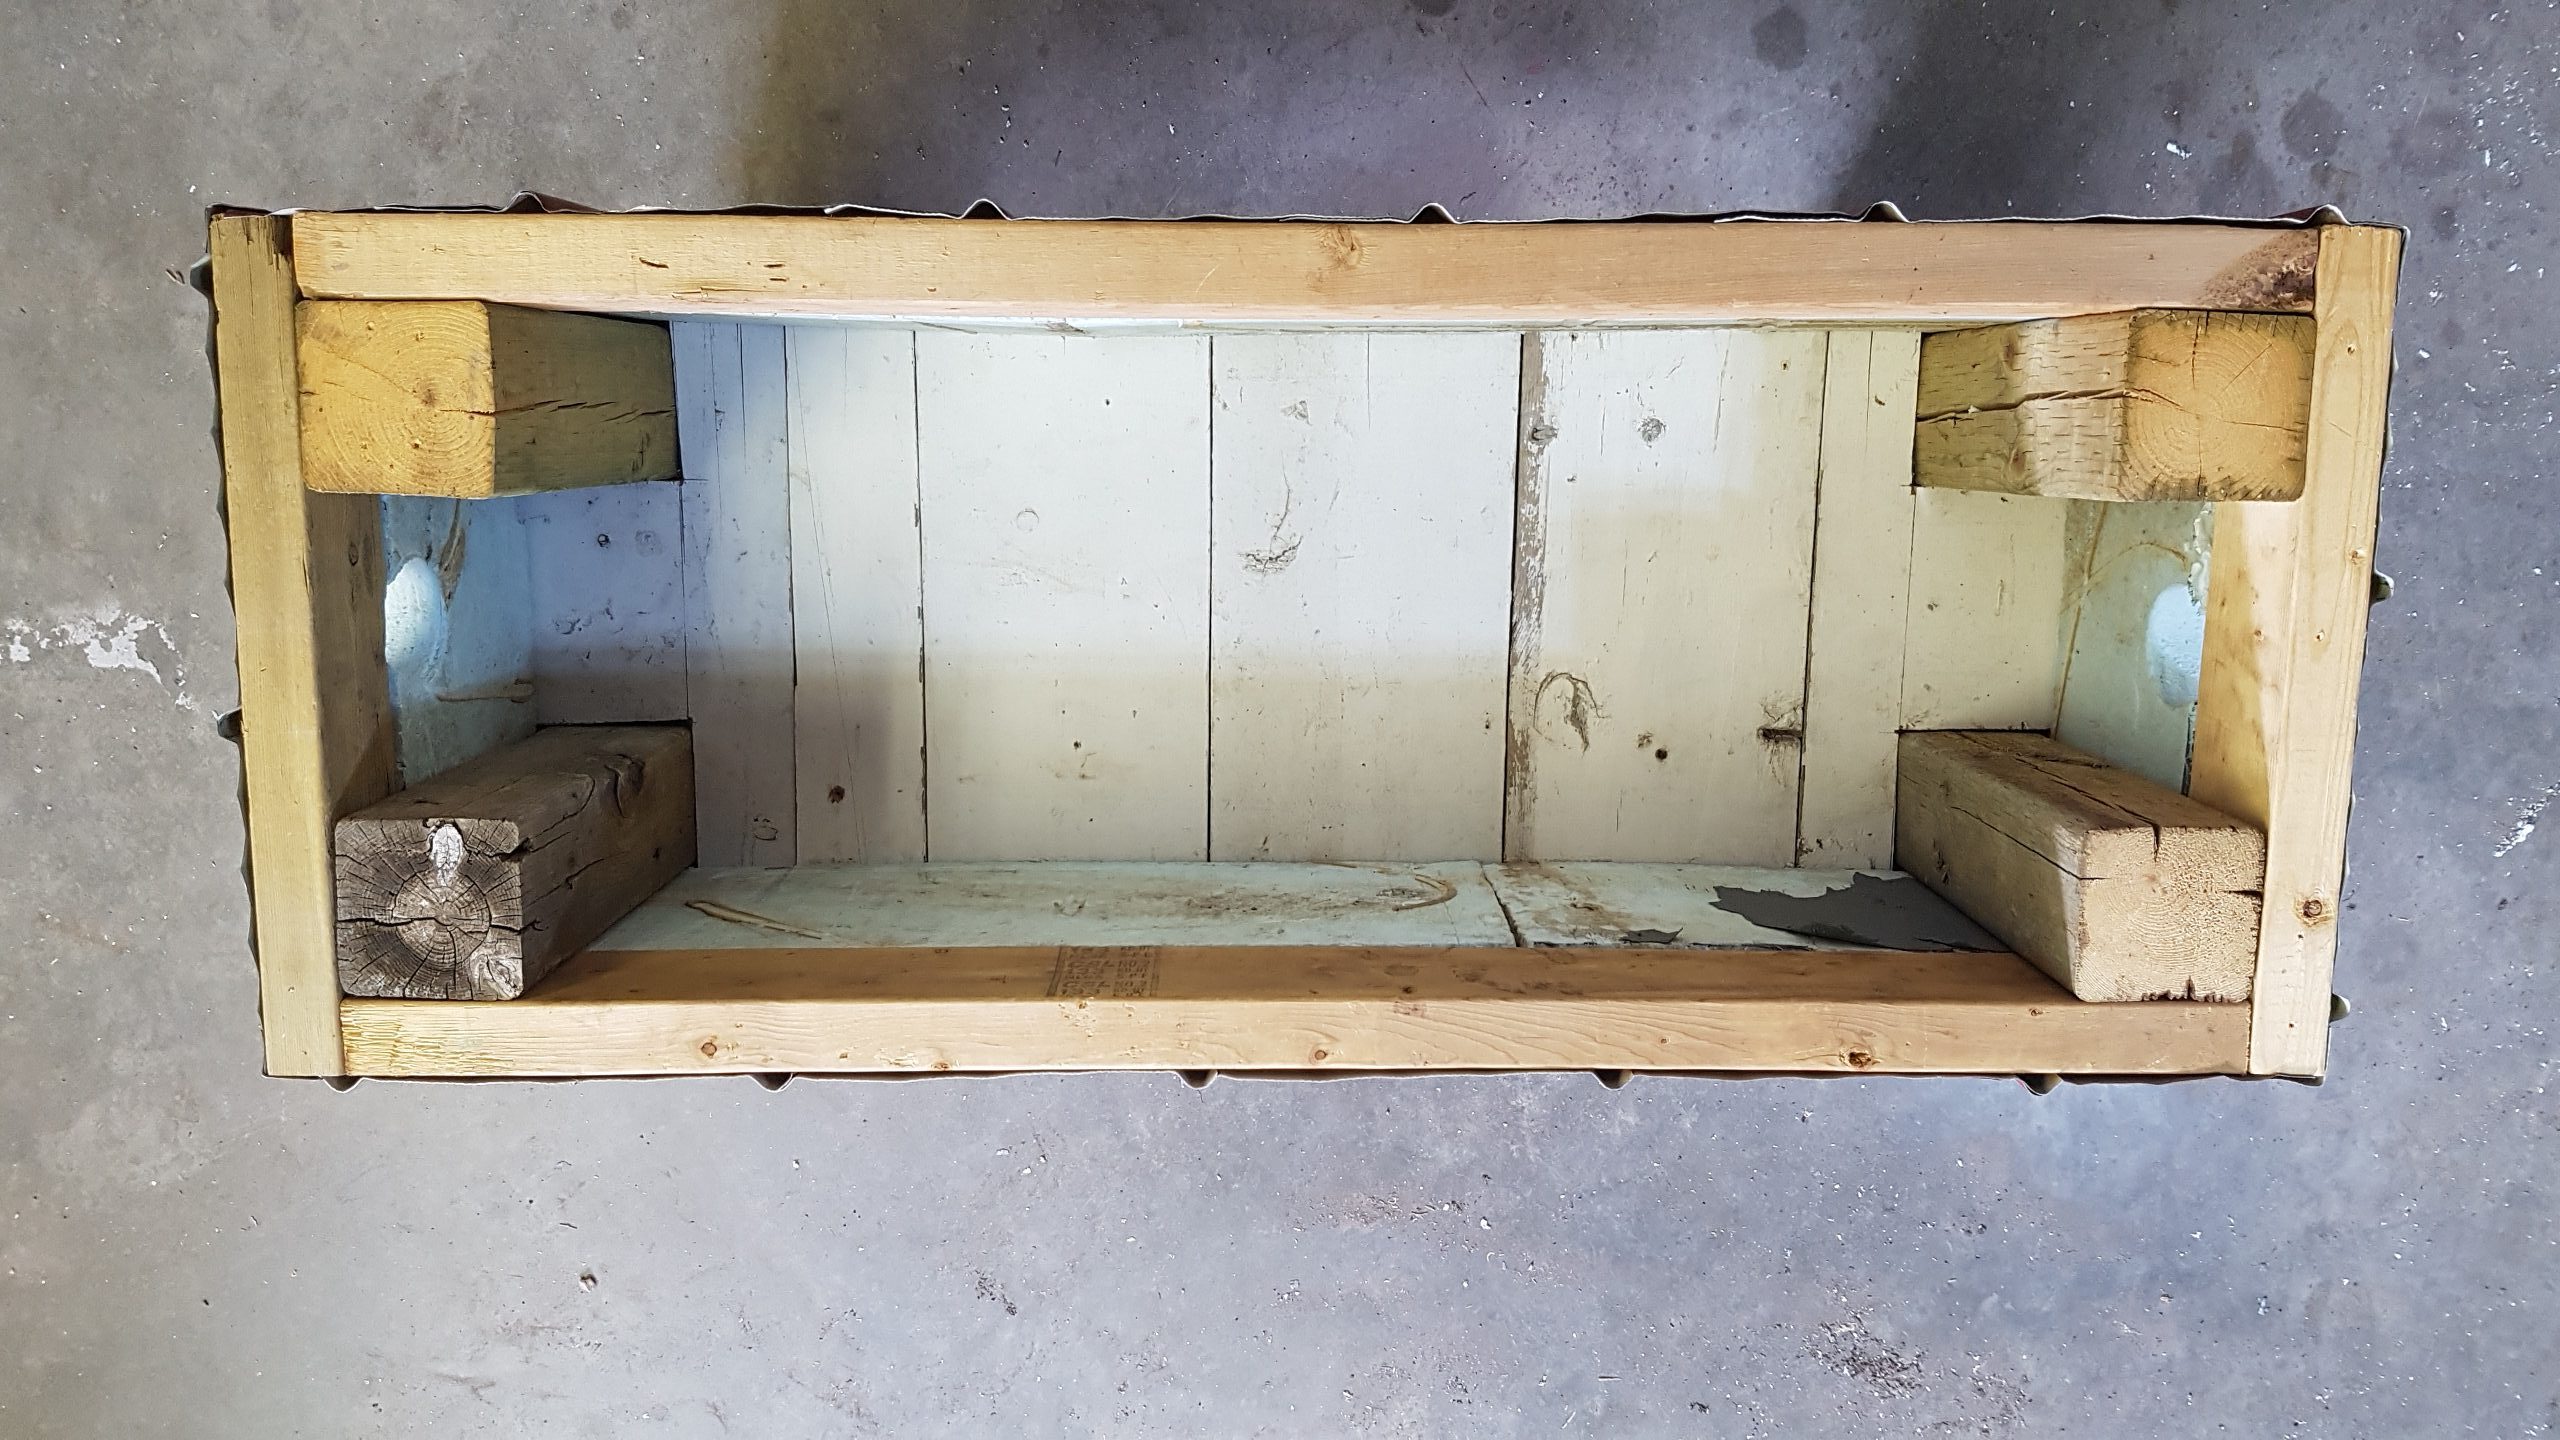
I don’t fancy myself a carpenter by any means. I can build a strong box, which is what we have here. This one is on 4 legs. These are custom built to fit just under the siding, with enough room to store split firewood underneath. Wicking beds can be made out of a number of containers, so I won’t steer you astray with a novice approach to building a raised bed. However, once the frame is built.
In Permaculture, they teach about zones, and realizing where things should be to make your life easier. In order to make the small space big, we need to utilize every inch of space, and everything has to serve more than 1 purpose. These beds will double as firewood shelter, right by the back door for those cold winter days when you don’t want to go far to get more wood. We will plant in them things that we use a lot of in the summer and things that are cold hardy for the shoulder seasons, under the cold-frames.
Extending the season even more
The plan is to extend the growing season as long as possible. As mentioned, there will be little greenhouses on each of these eventually, and they are going to have a metal façade. So, to regulate the heat through out the year, I decided to insulate them. I pulled the insulation and old roofing out of the forest of my father in-law’s, (where he was storing them for just such an occasion). They are a little banged up, but we can clean them up.
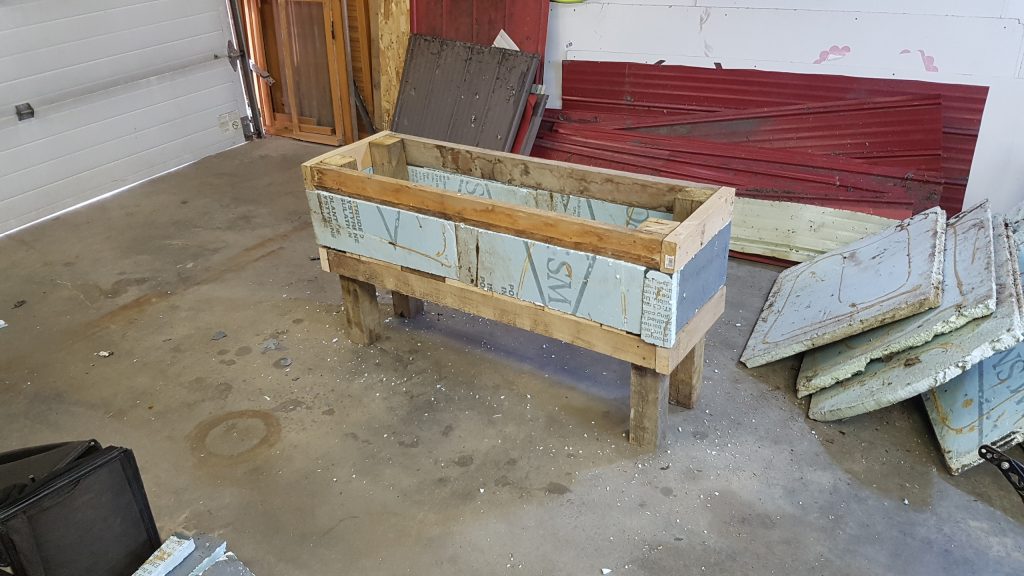
Wicking Beds Piped Together – Using Repurposed Material
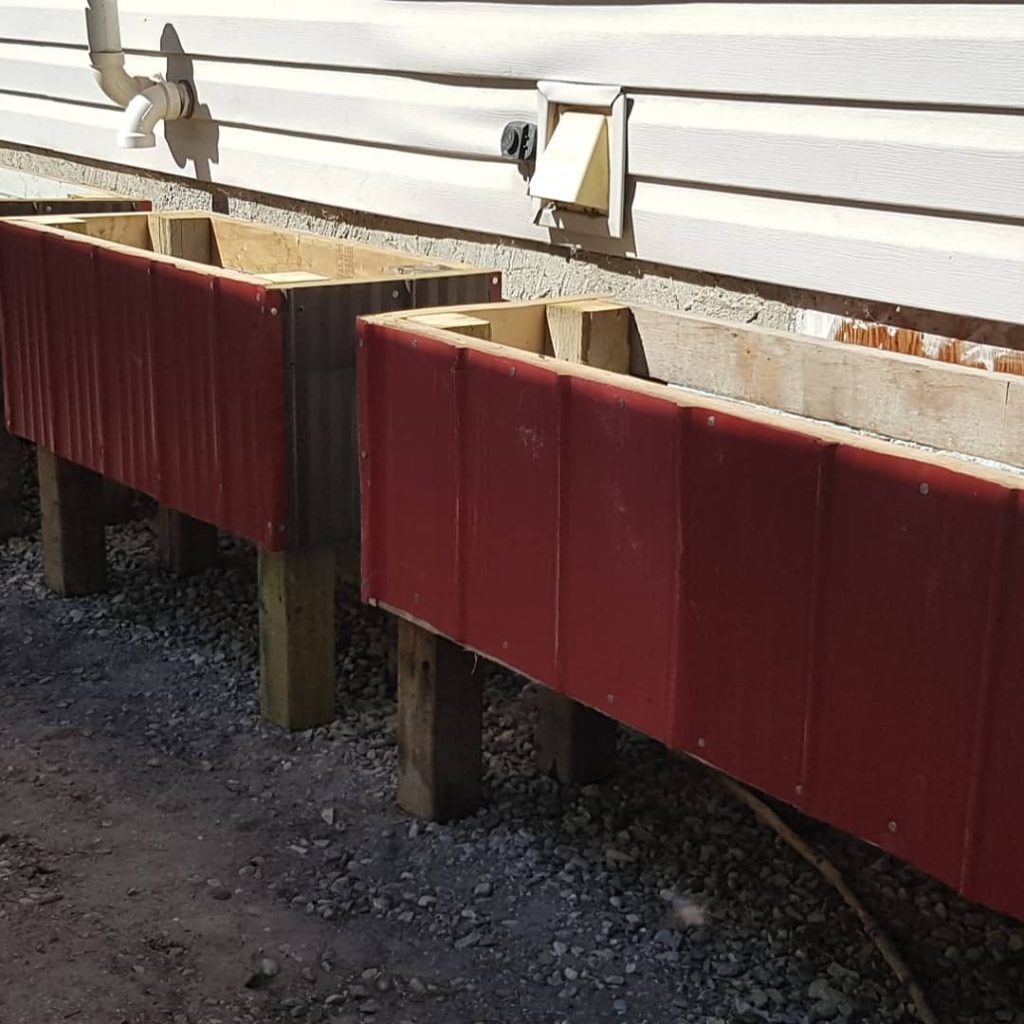
The thing with using repurposed materials, especially one’s you pull out of the forest. They don’t always come in typical dimensions. It’s where the science meats the art really. After an afternoon of trying to not slice my wrist with freshly cut sheet metal, and keeping my fingernails and roofing nails separate in my mind while swinging the hammer, the sides are on. The beds are insulated.
Wicking Beds Piped Together – Waterproofing & Piping
Most raised garden beds leak a little.
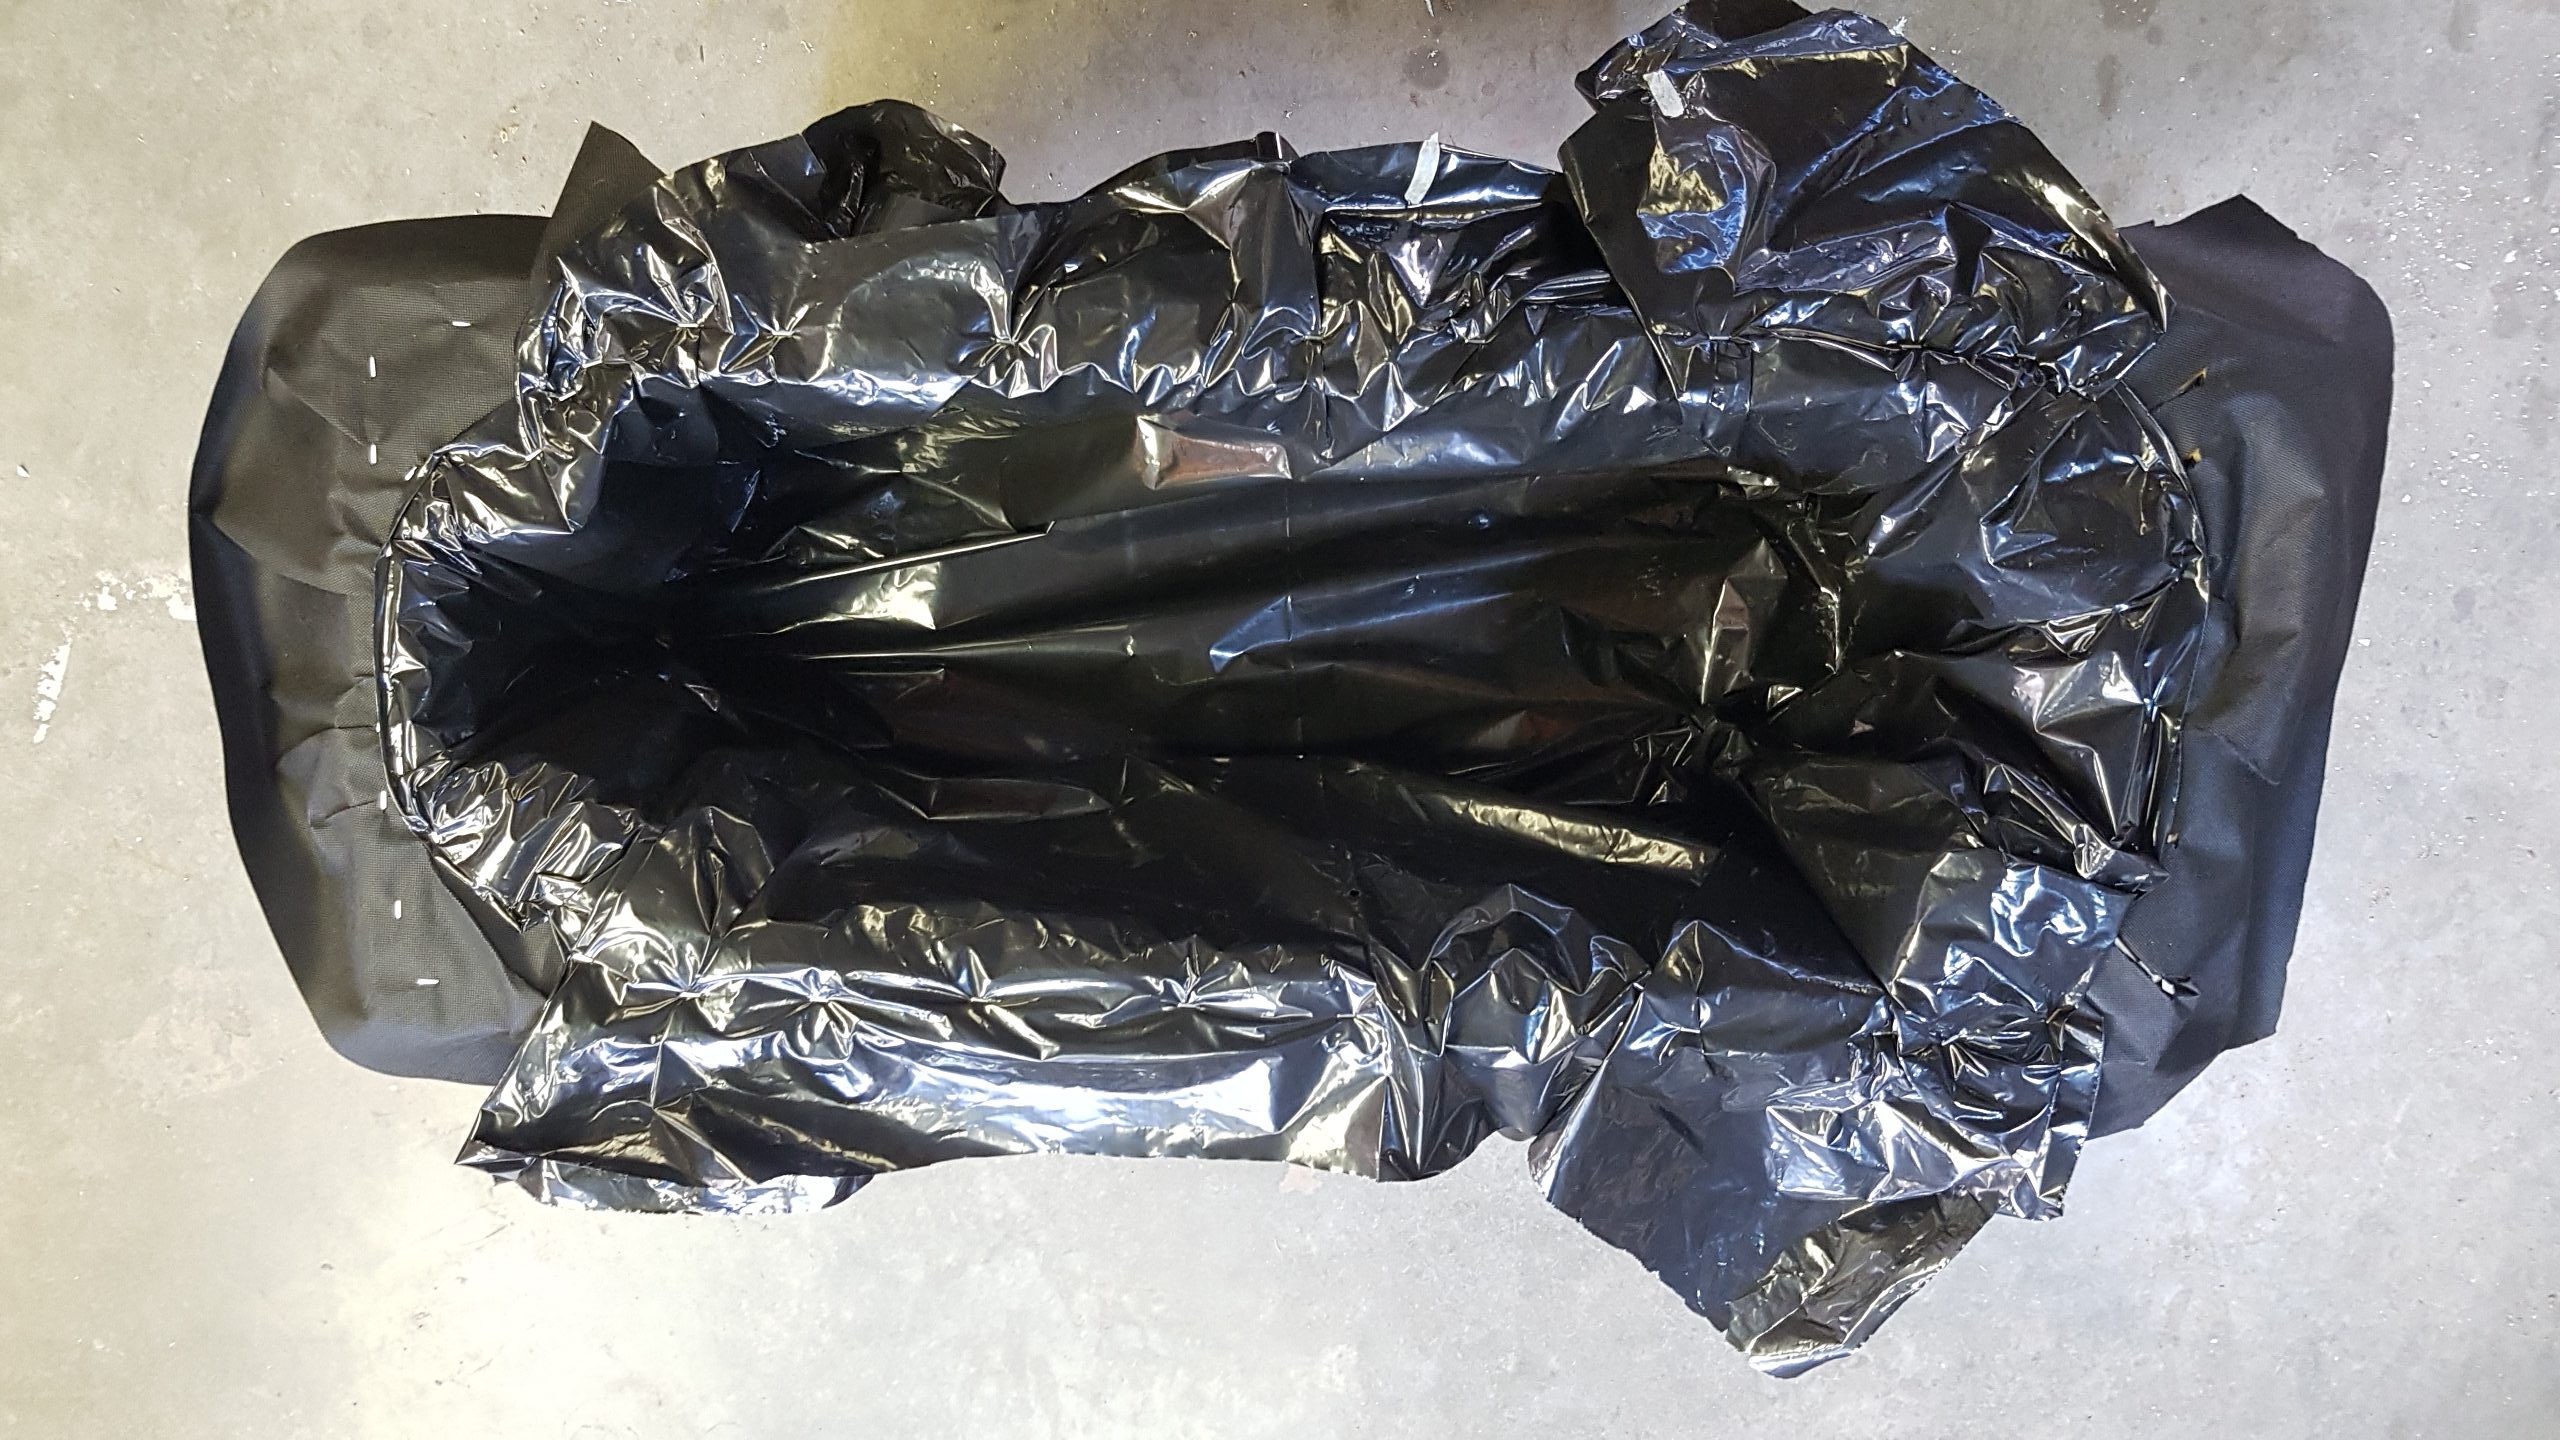
However, in order for the wicking bed to work, it has to not leak. At least, not from the bottom. Not from the reservoir layer of the bed. In order for me to achieve this, I have to use plastic. Poly film from the hardware store. It is the only part of the whole thing that is not organic. If you don’t need to use plastic film, don’t.
But if you must, putting gravel on plastic, is not a way to keep things waterproof. To protect the plastic from the wood below and the rock above. An additional layer of fabric is needed. Sandwich the plastic layer between the fabric.
Layer of Fabric
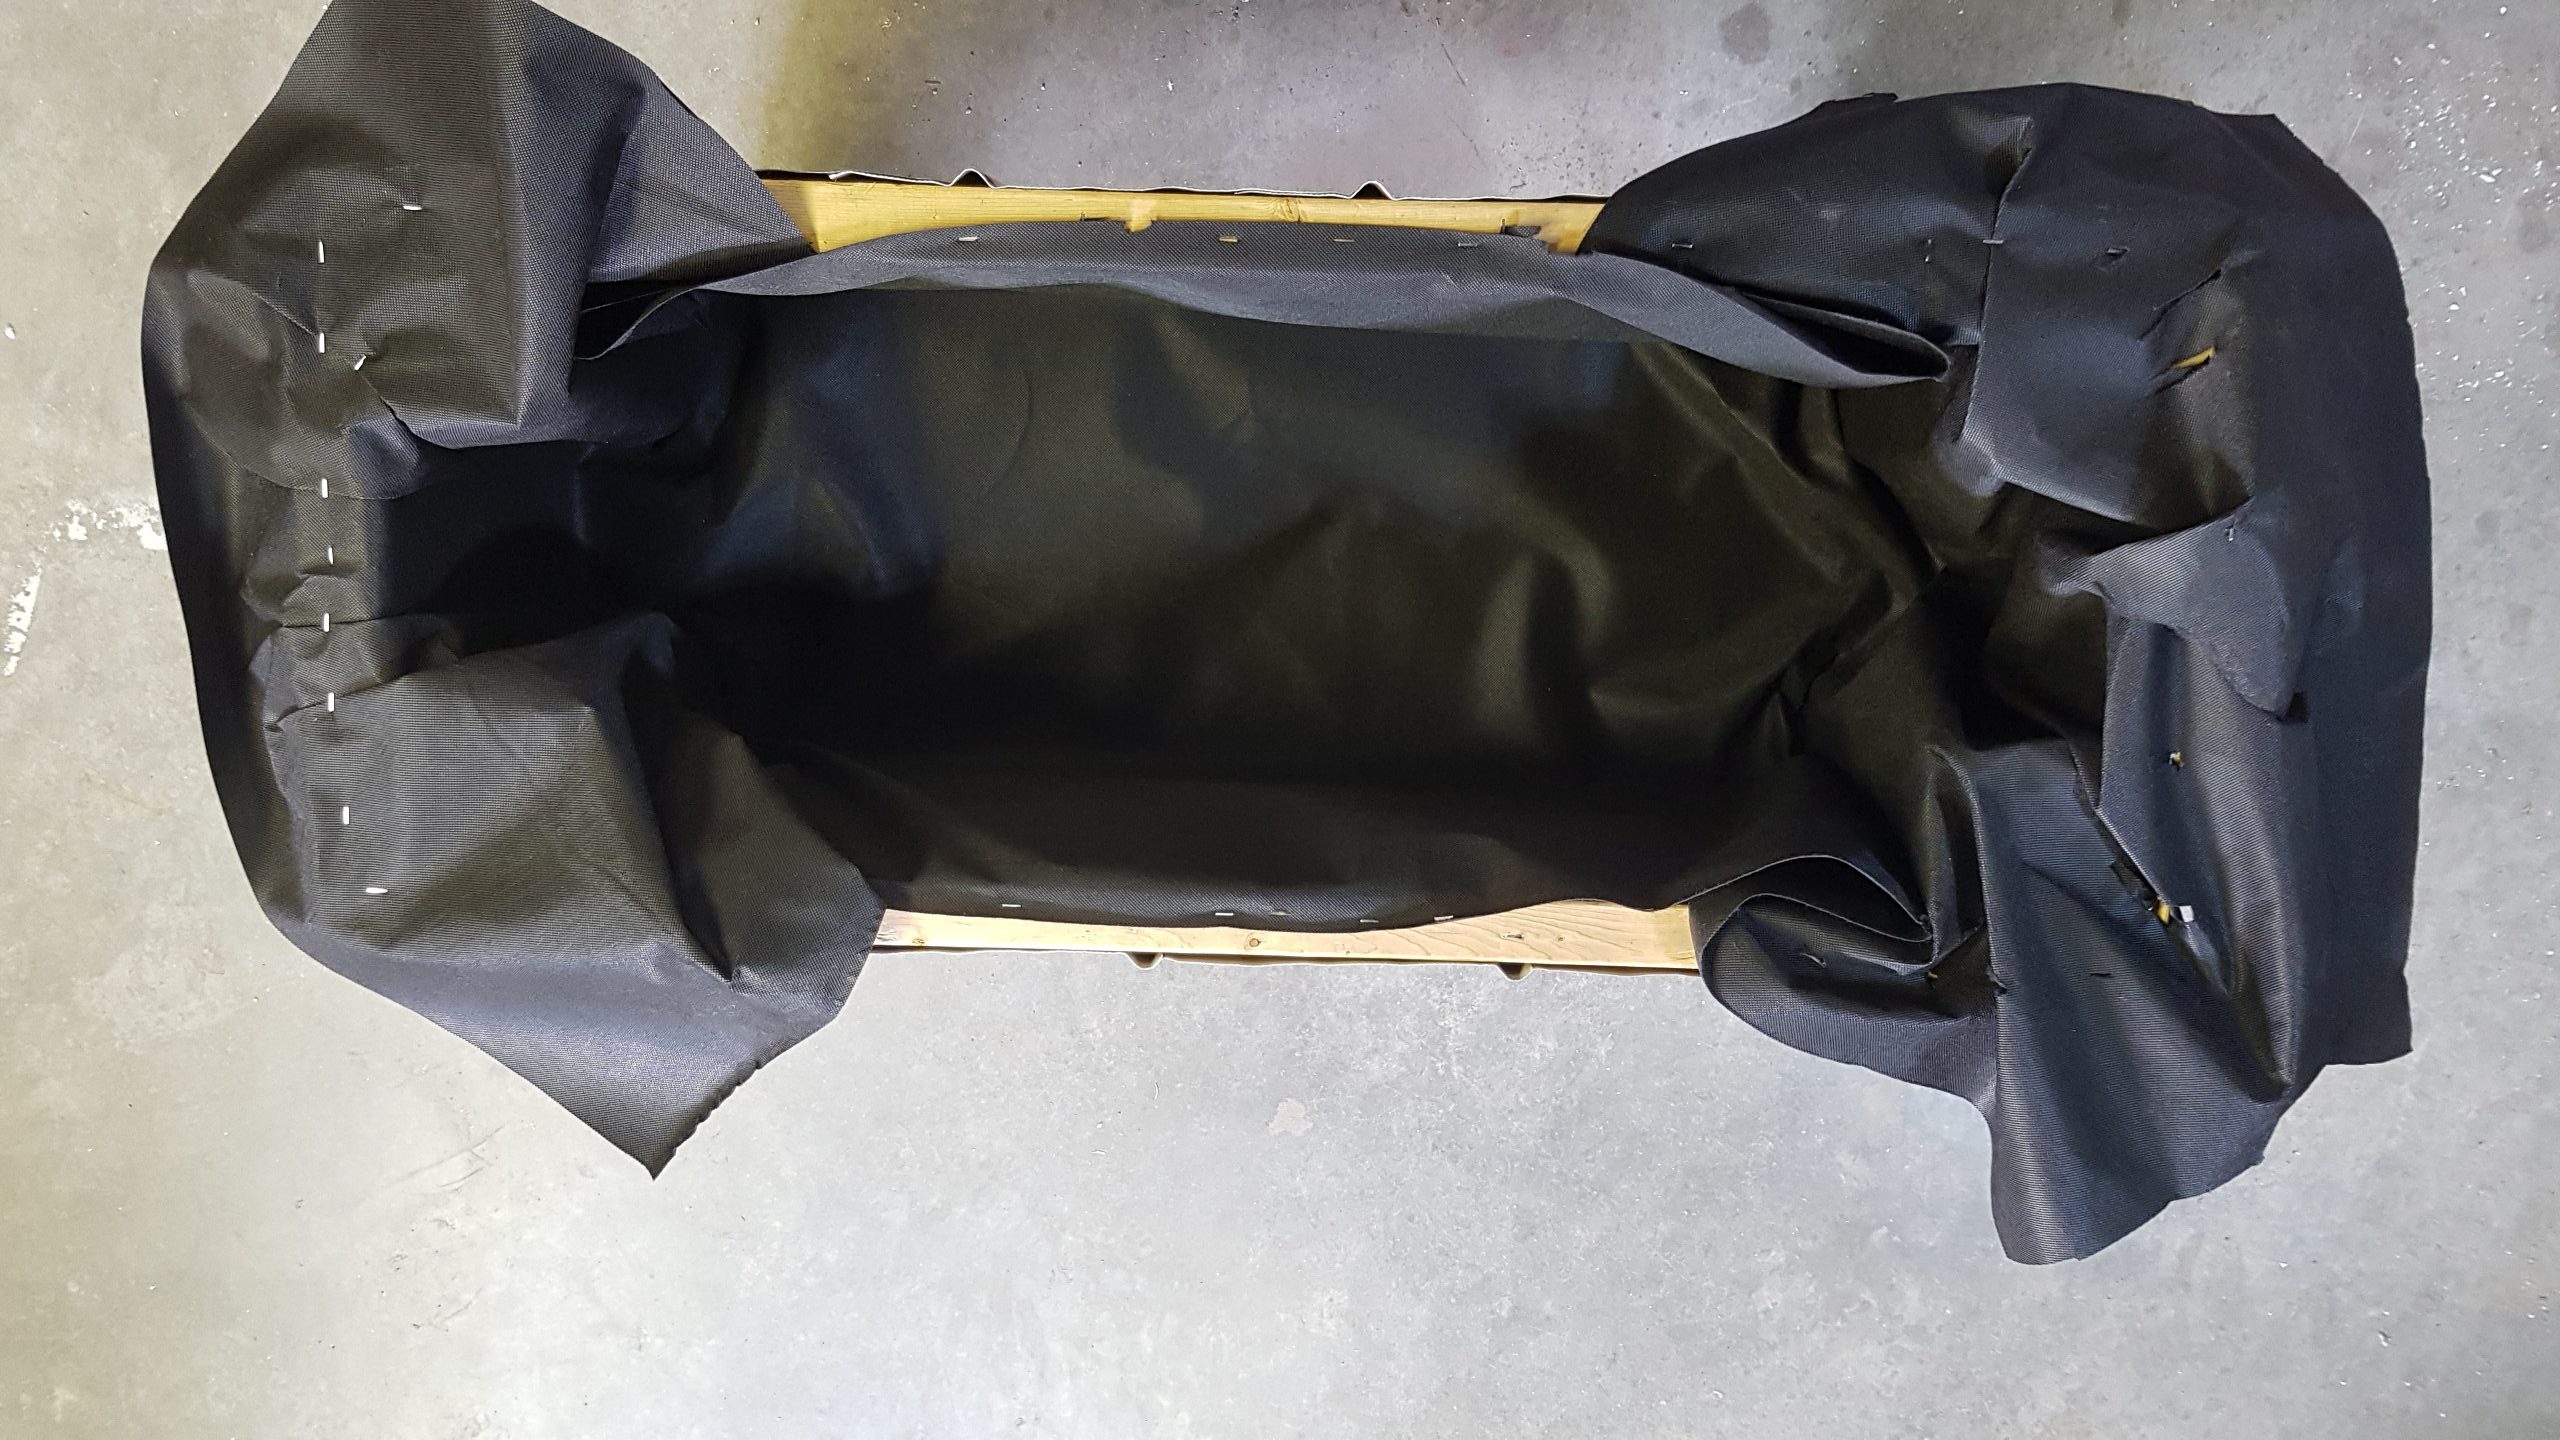
2 Layers of Plastic (3mm poly)
Layer of Fabric
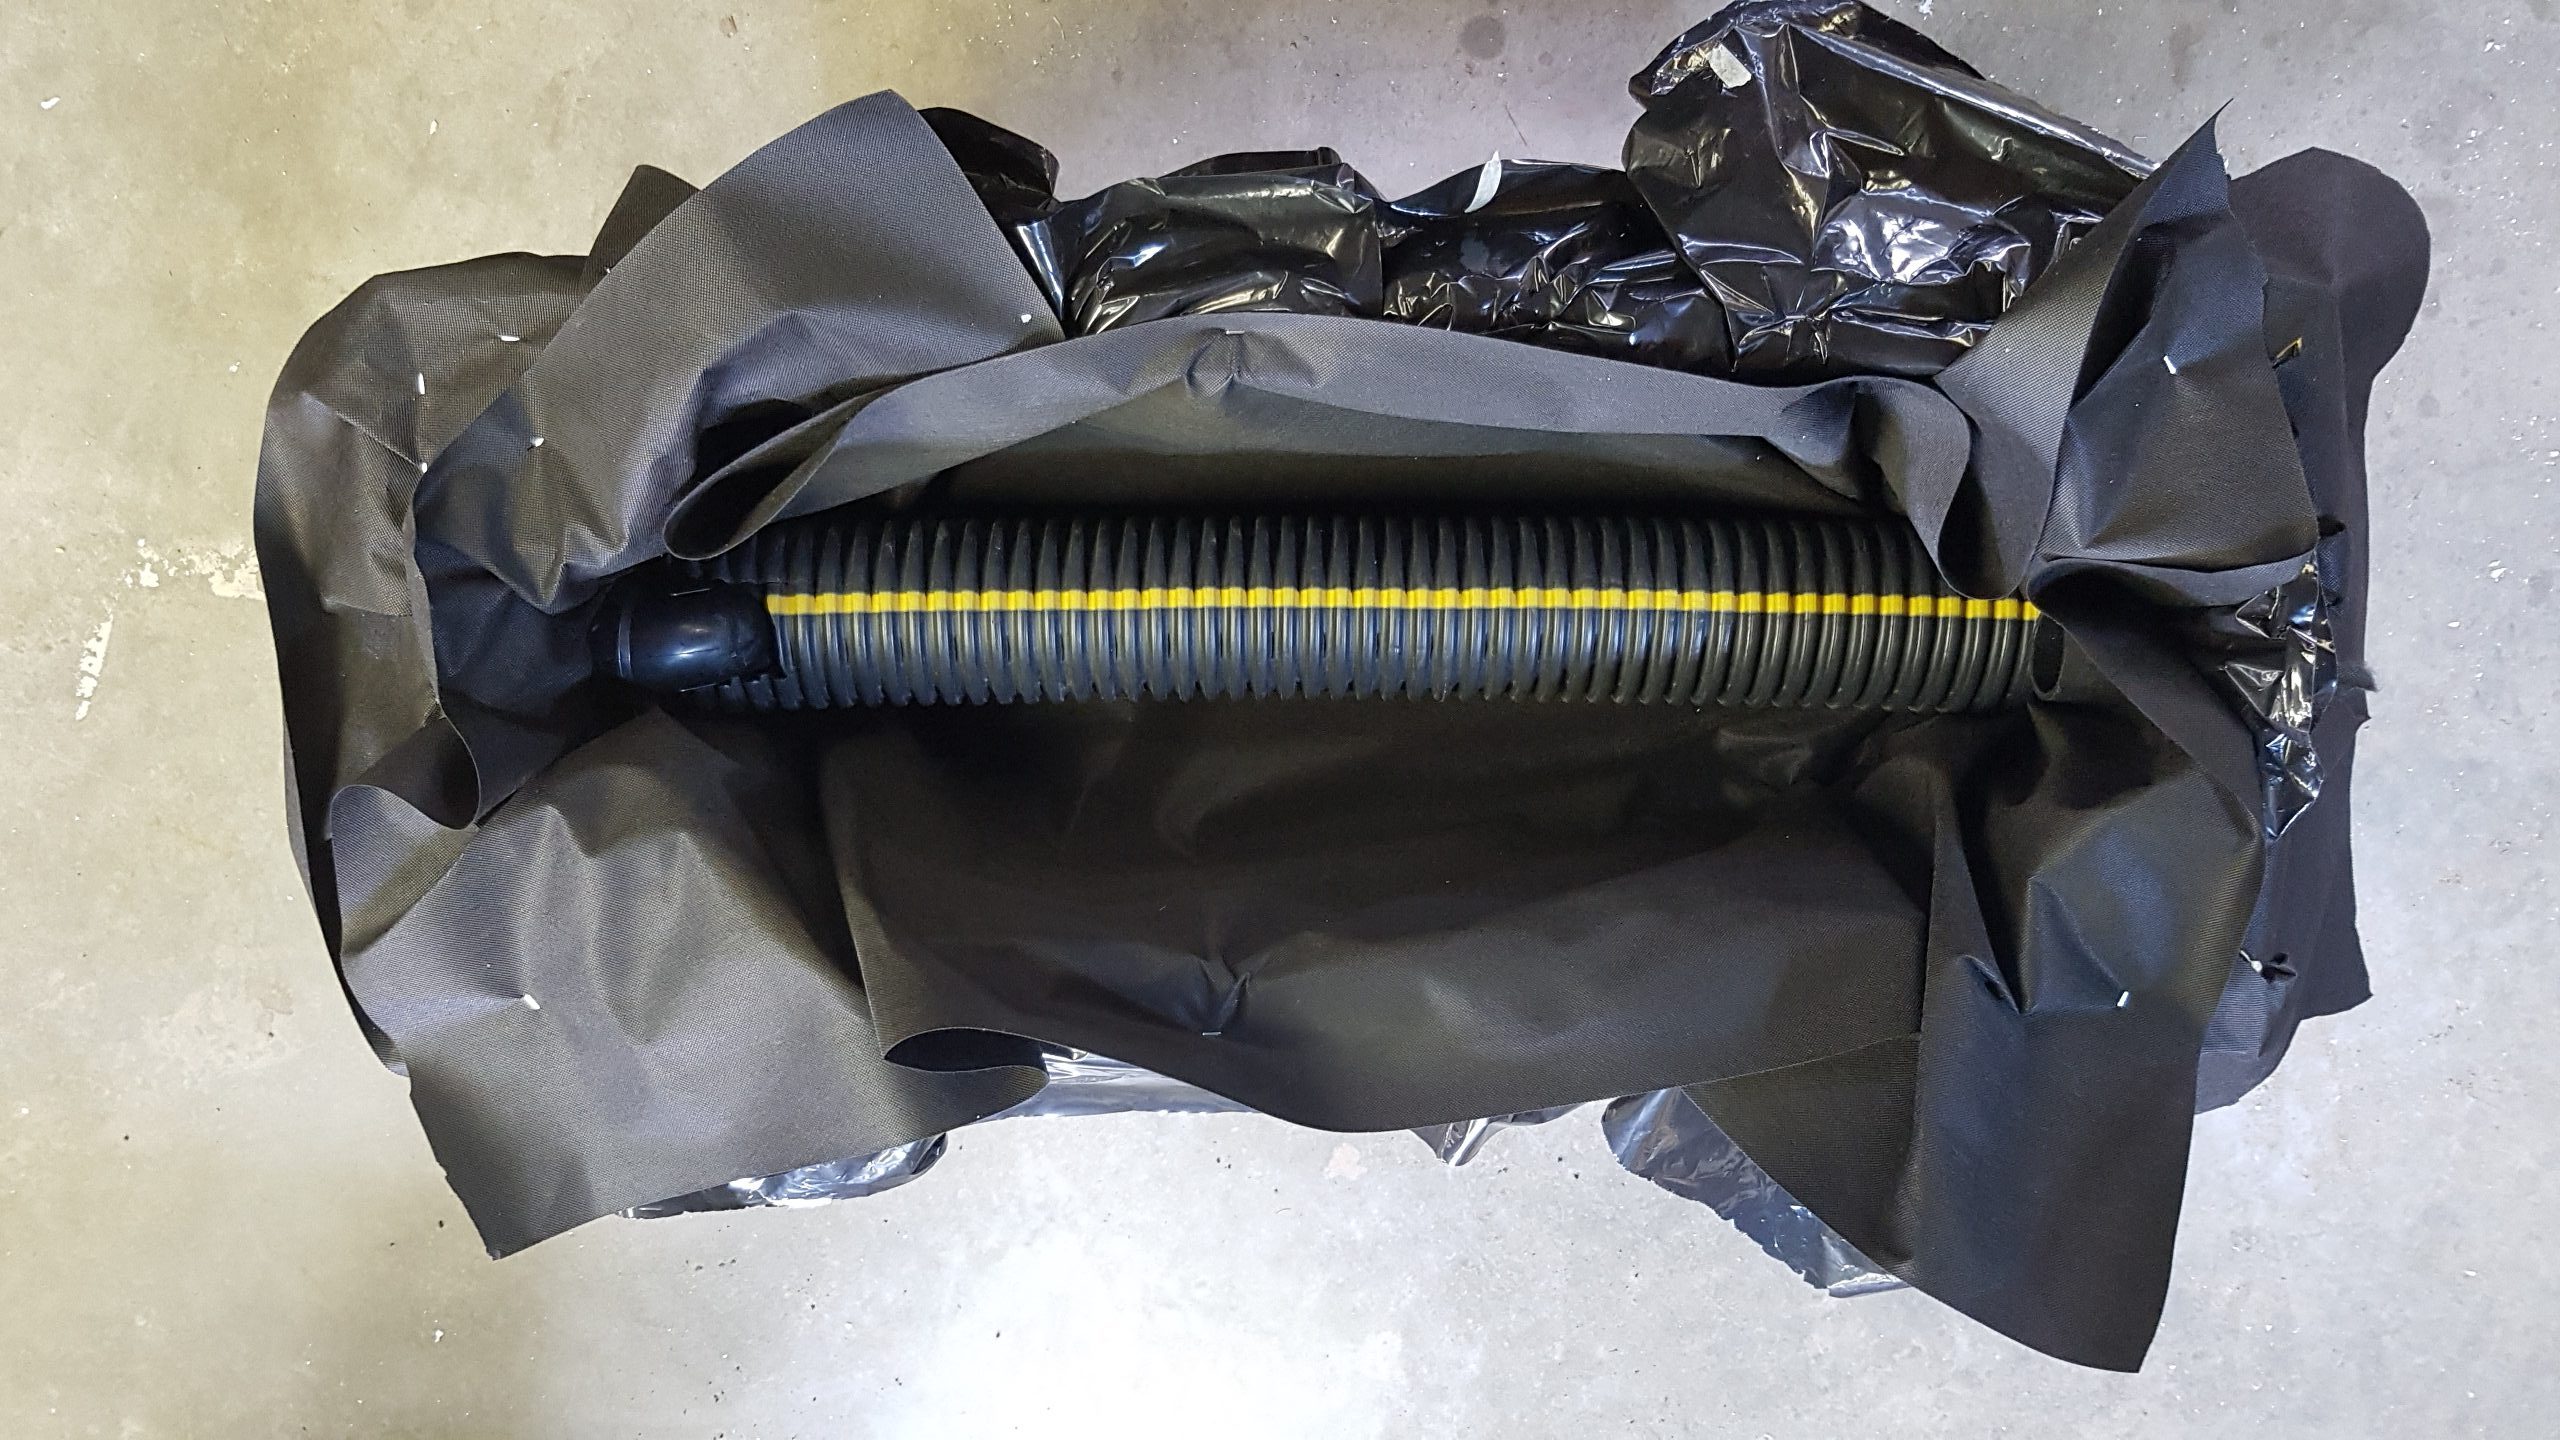
Fill and Overflow Holes
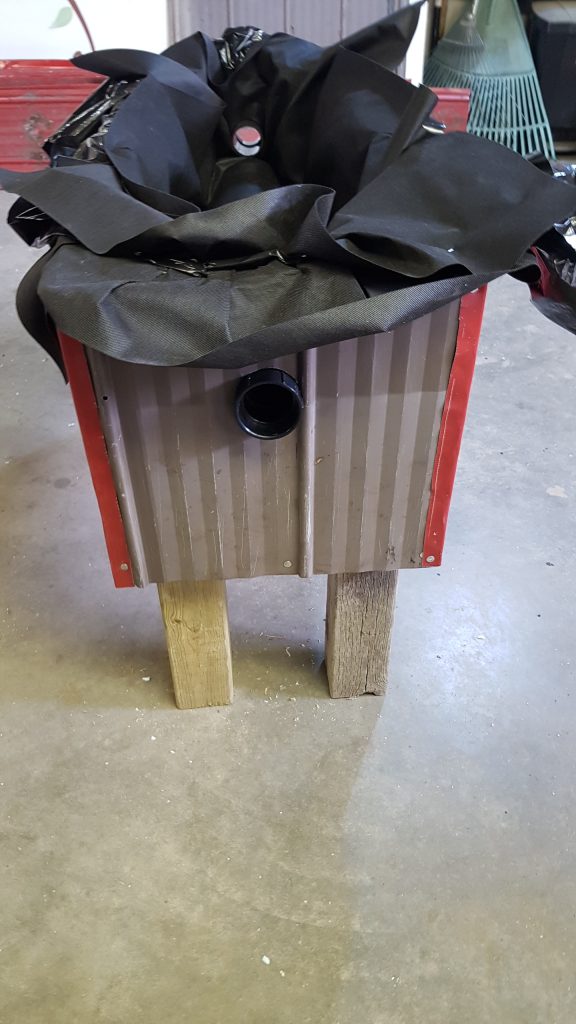
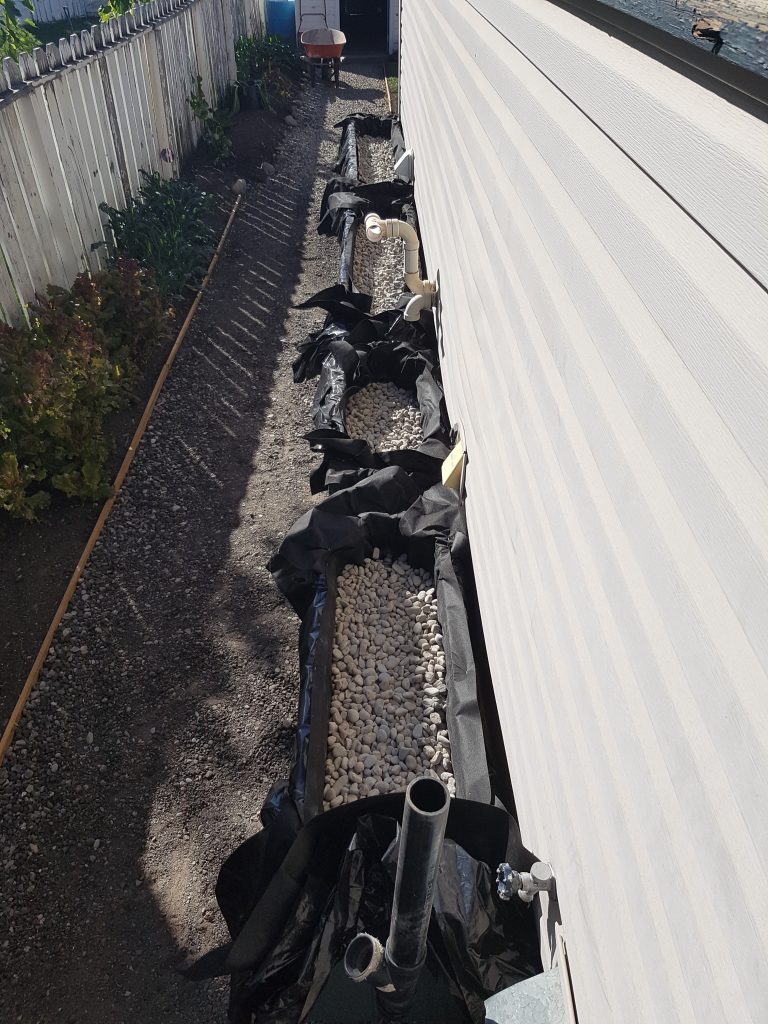
On either end of the bed is a drilled 2″ hole. One is for inflow, the other for overflow. I have written on other pages about the physics of wicking, and the maximum depth you can go with the wicking beds. However, that is not a concern here. There is just enough room for a 4″ pipe and 6″ of soil in these beds. Deep enough for the vegetable/annual roots we are going for. The piping I am using for the connections is 2″ in diameter.
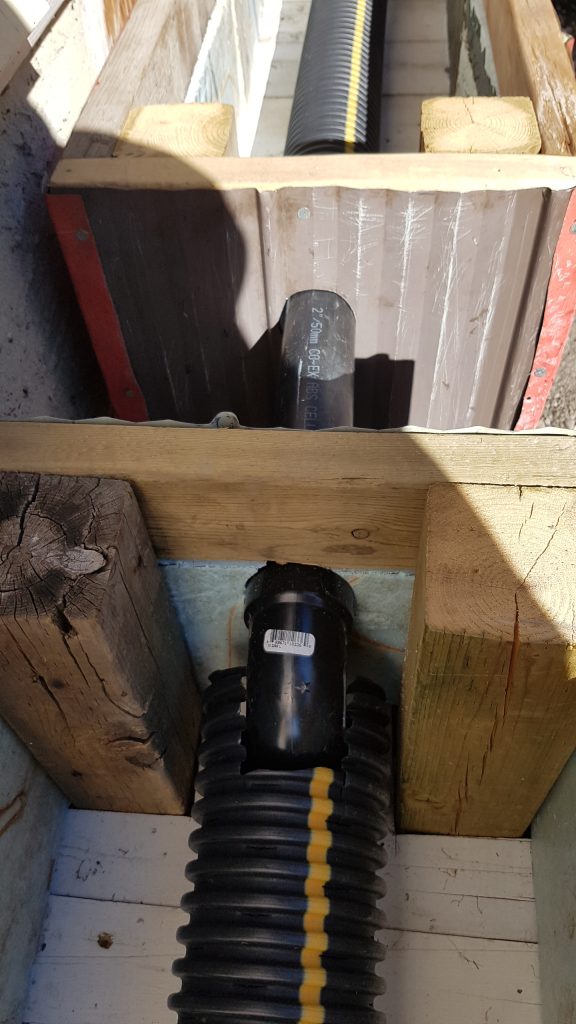
Why the different pipe sizes you ask?
Two things happen. The rain that we receive in southern Alberta usually comes in big, short bursts. A thunderstorm for example. When that happens, the water comes down the downspout with some gusto.
To counter this, the pipes go from 2″ to 4″. This slows the water down in the bed. Allowing for more absorption into the reservoir material. Use a coarse reservoir material for this reason also. The second thing is that the larger pipe acts as an open reservoir. A tiny, underground aquifer, if you will.
Wicking Beds Piped Together – Placement
Place the bins before filling them up! I can’t stress this enough. They are heavy when they are even half full, and they may settle as filled. Make sure they are on solid ground.
The lining will stretch and pull as the bin is filled. I do staple the lining to the edges when installing them. When filling then bins, watch the plastic lining and pull the staples out before it stretches to much. Wait to trim the plastic and fabric until the beds are filled. This will allow the plastic to move, and fill in the crevices and corners without causing any holes to form.
Take your time when placing the gravel. Gently place the rocks on the bottom and against the sides.
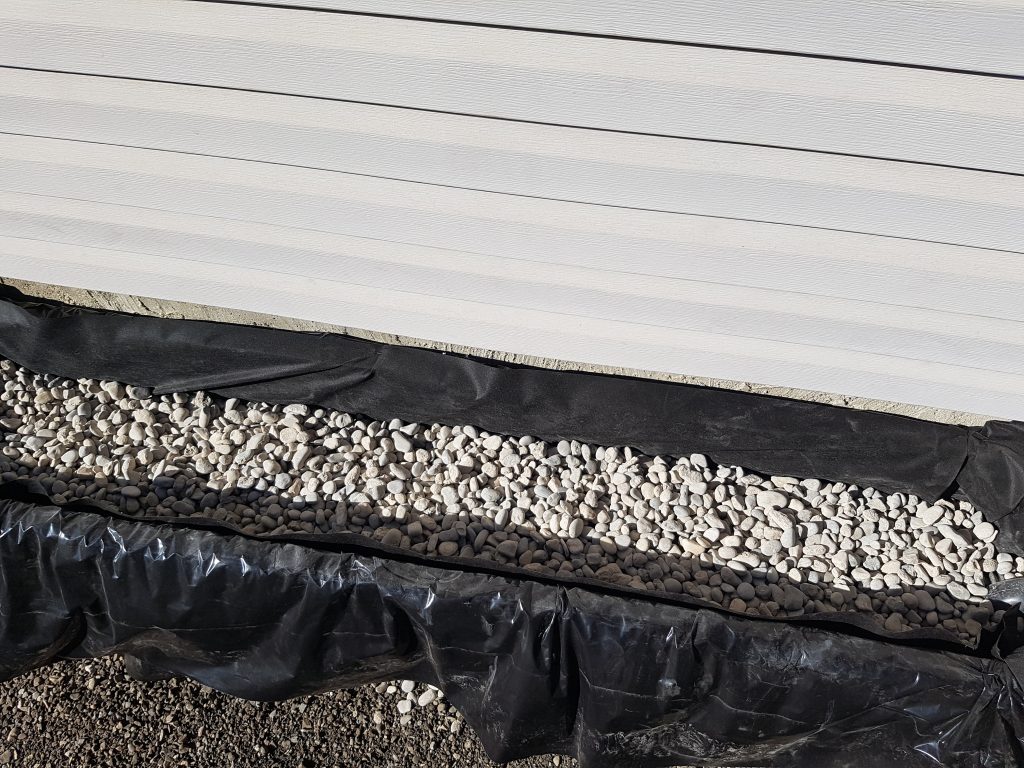
I missed the layer of root barrier in the pictures. There is a layer of root fabric on the rock layer. Between the rock “reservoir” and the growing medium. It’s there to keep the roots out of the reservoir area. Over time that can be an issue. Especially in the ground, I tend to wrap the pipe in fabric as well. Perforated pipe pre-wrapped in fabric is available.
The plastic moves and adjusts as the bed is filled with water. Leave lots of slack in the plastic when doing the final trim, to account for that.
The edges of the beds are 4″ wide. This gives a ledge to place the cold frames in the winter, and other things in the summer.
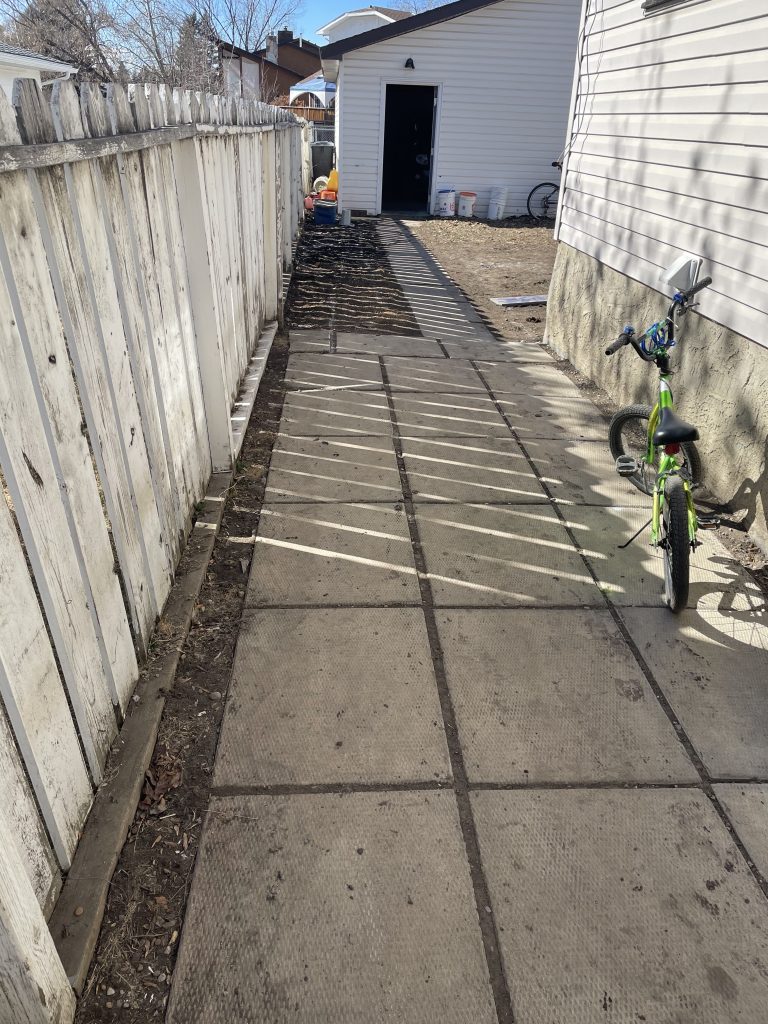
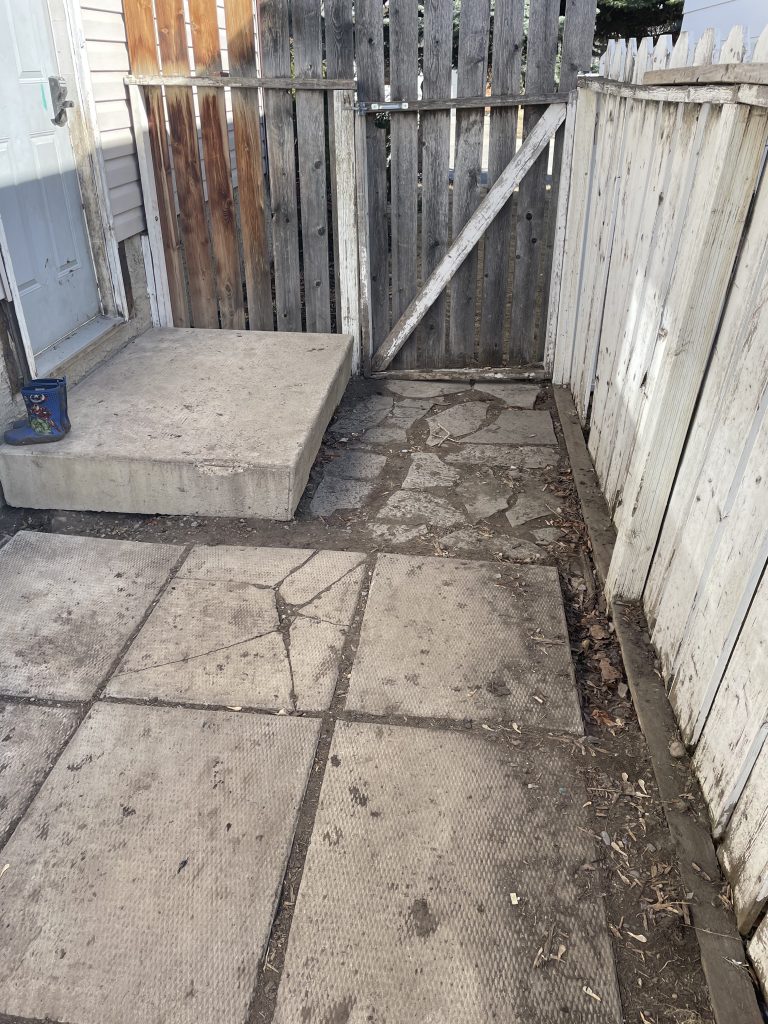
Another look at before.
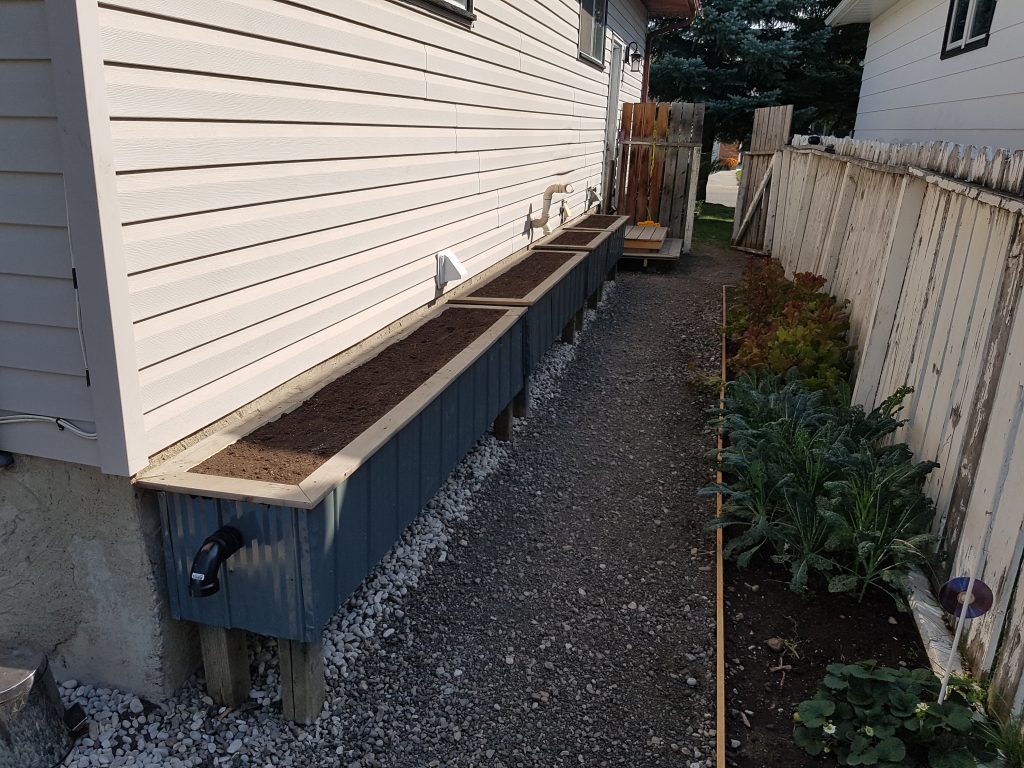
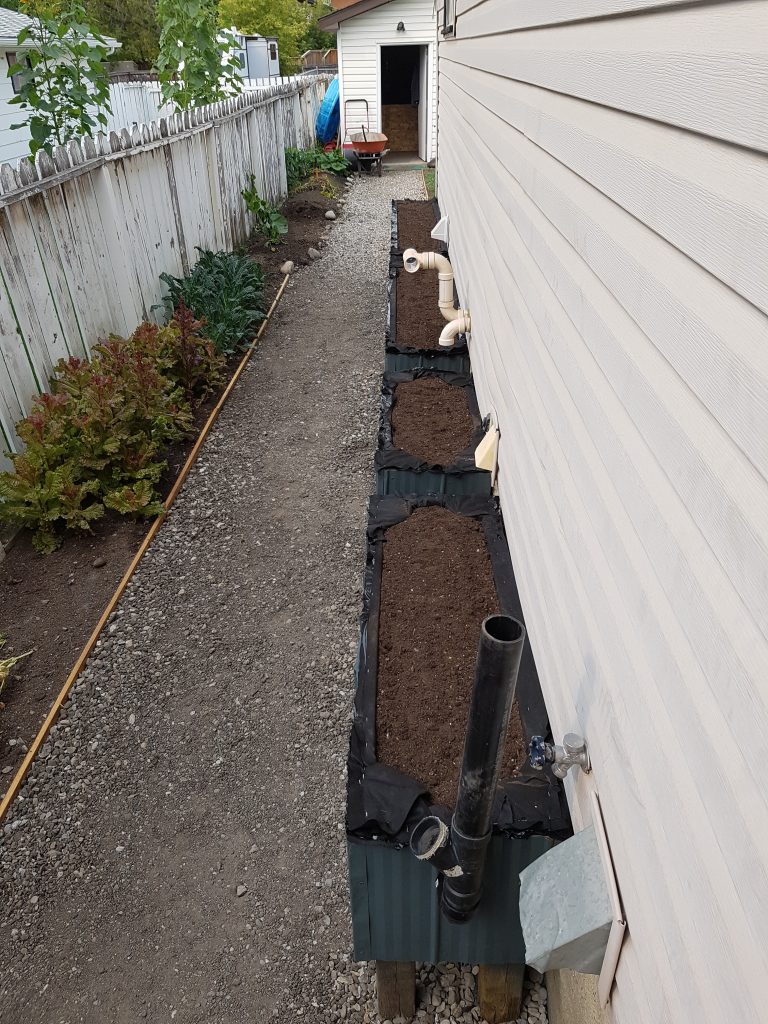
Where we are now.
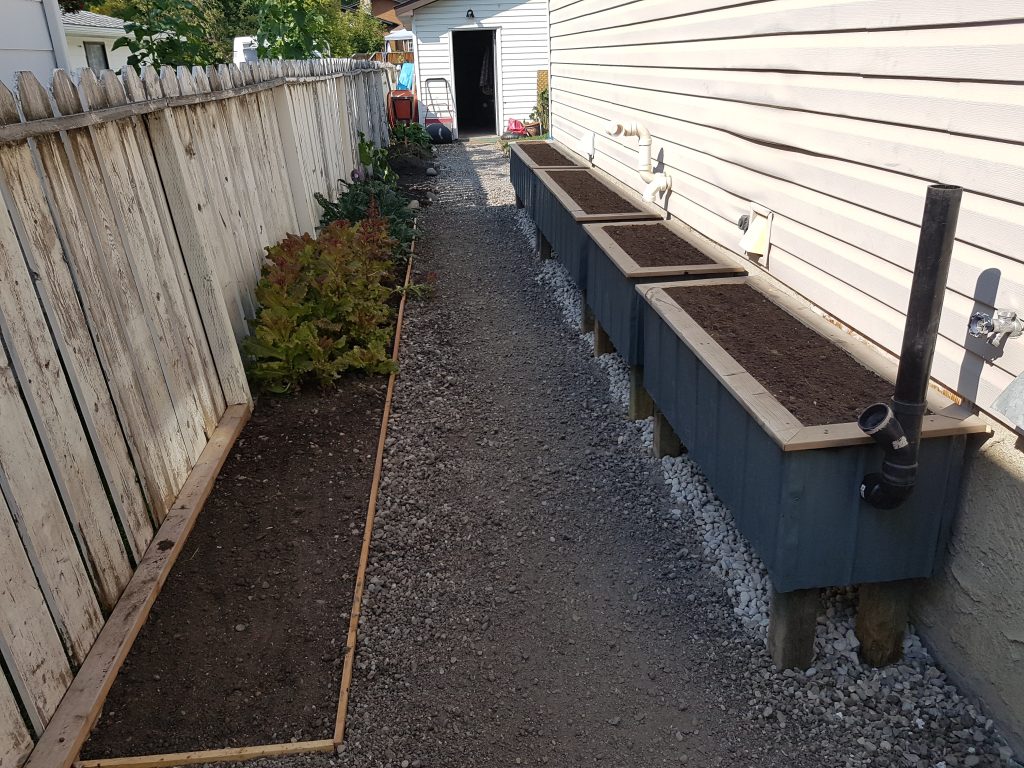
Before
So far
Wicking Beds Piped Together – What’s Next
This is as far as we are getting this year. In the spring I hope to add the cold frame greenhouse lids to them. The Sun will be back on them in February, so that is the loose deadline. The greens planted in the ground; the Lettuce, Spinach & Kale, will be in the wicking beds in 2022 along with some Tomatoes. I will try to expand the Strawberries (bottom right corner) along the fence garden.
Some of the connections were stretched a bit too far when I filled and adjusted the beds. So I will have to readjust those so they don’t leak. My bad.
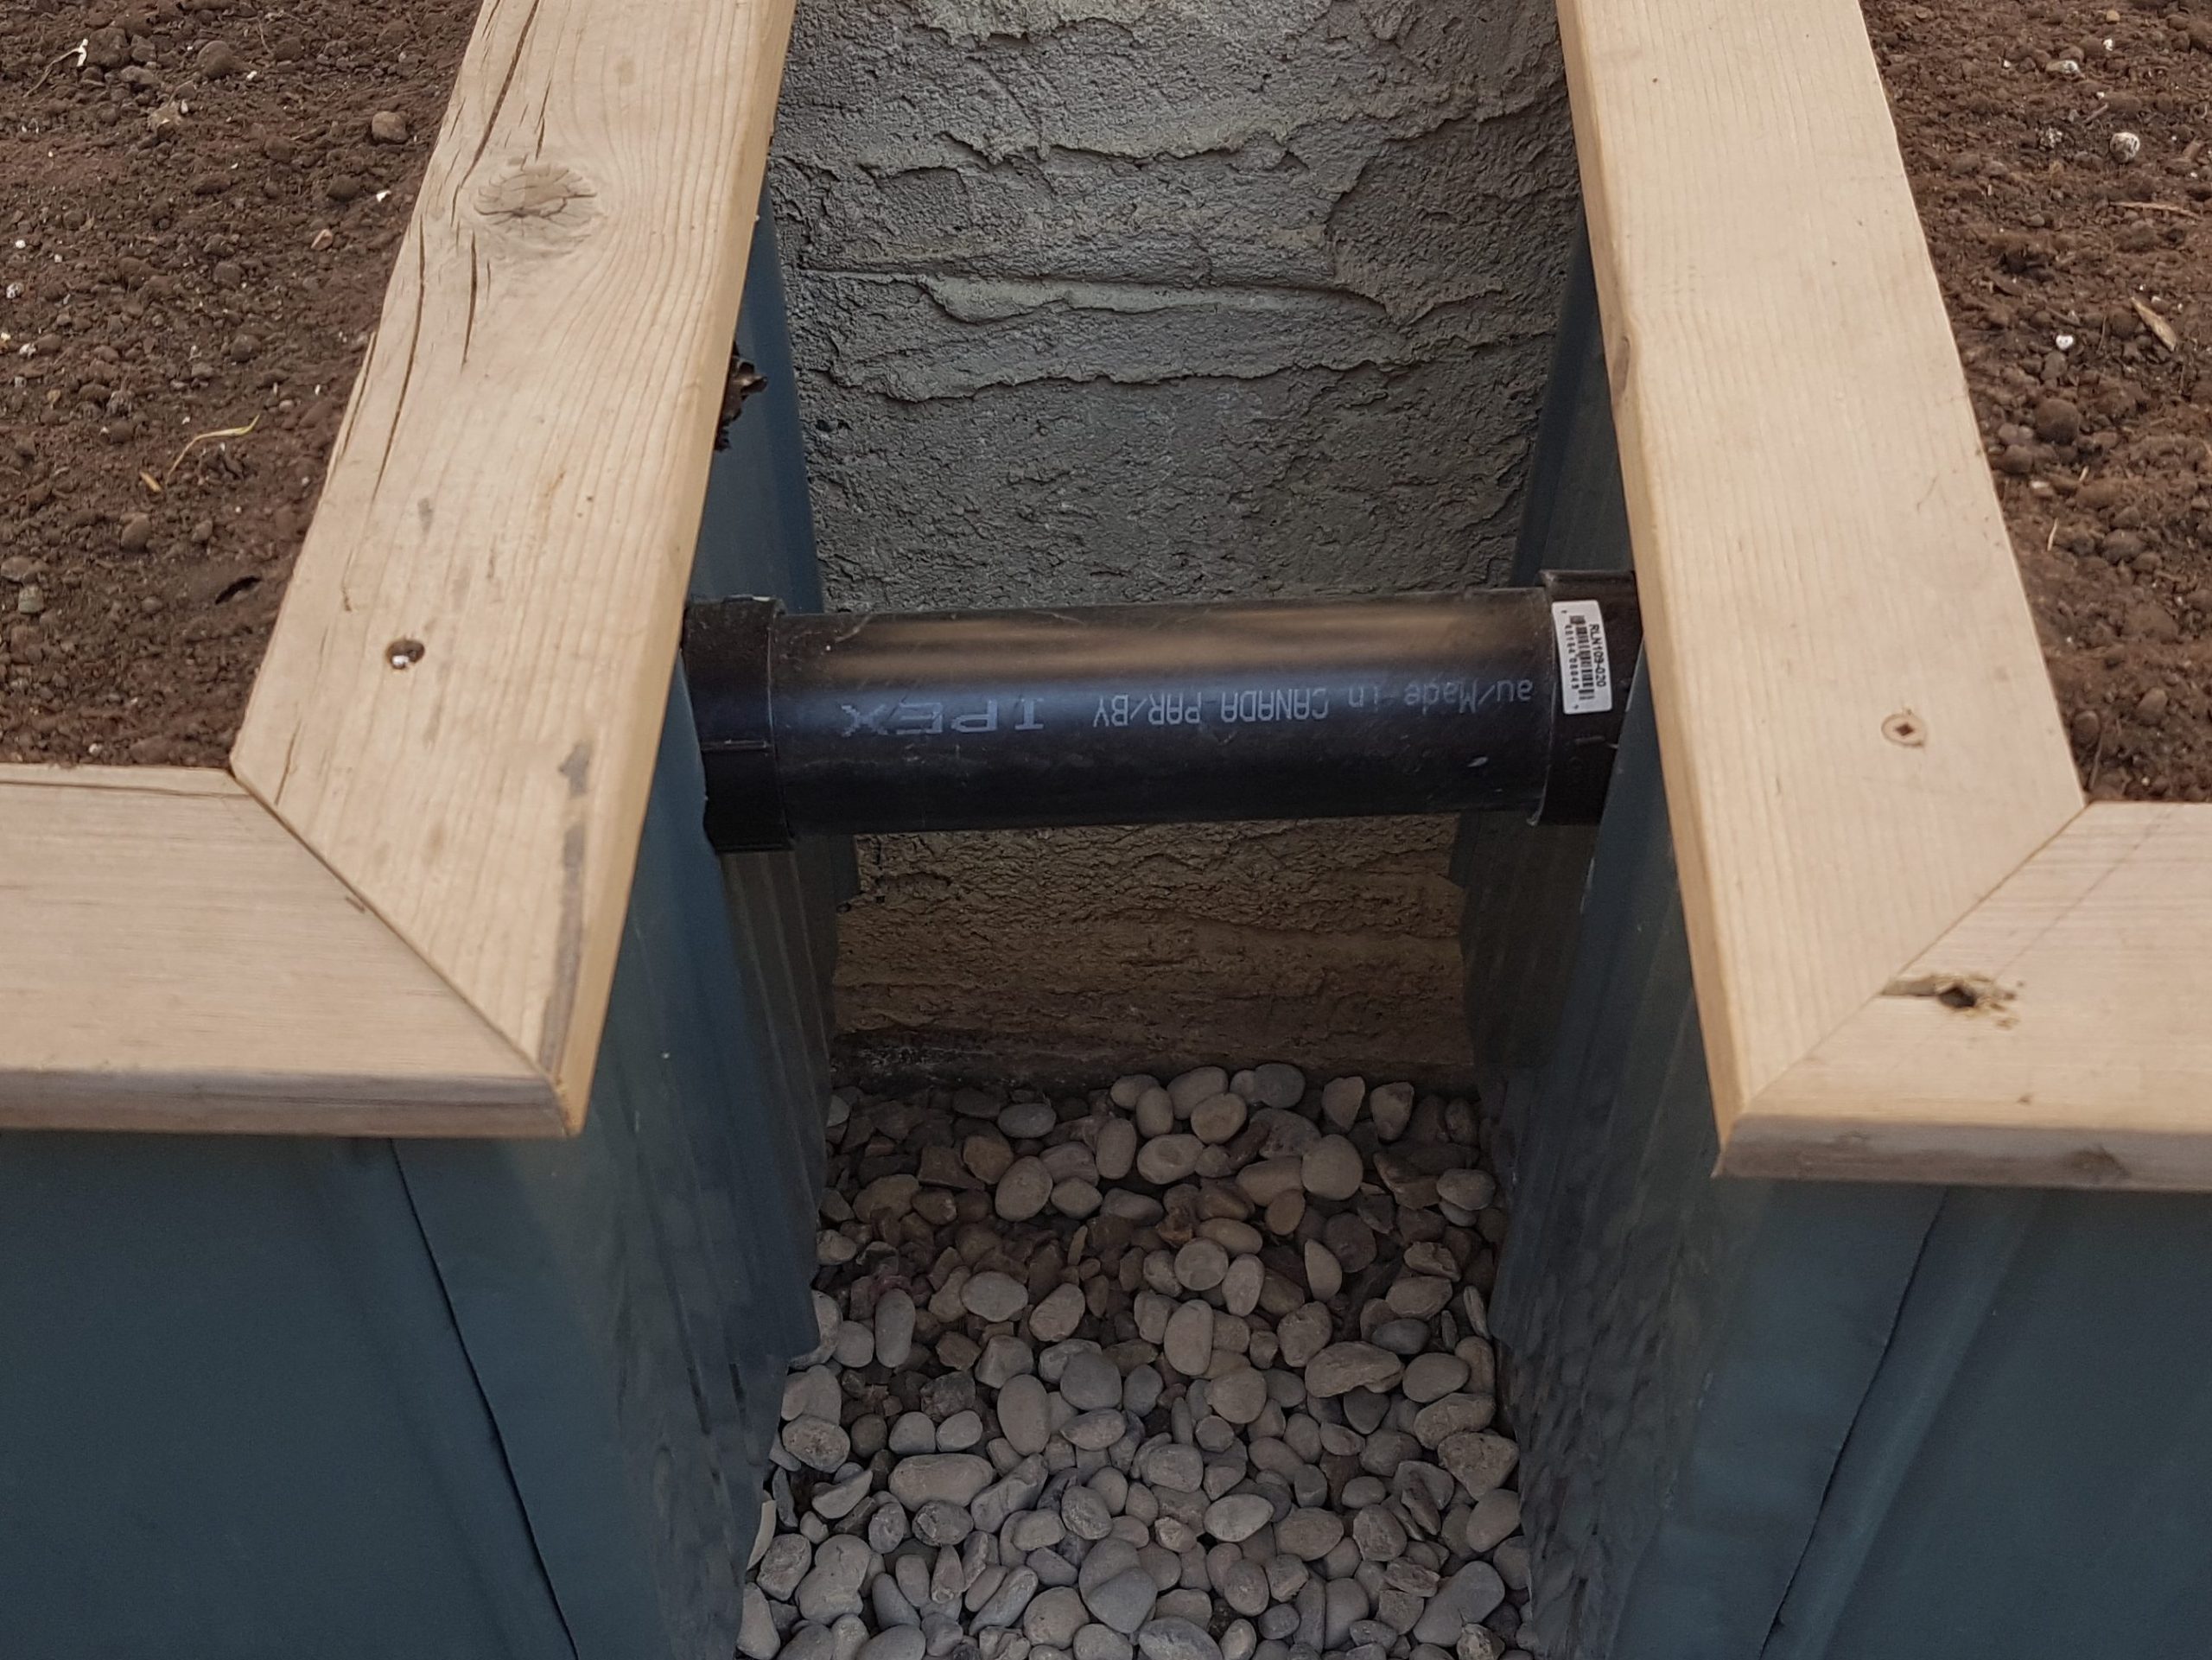
Connecting The Whole Thing Together
Notice the overflow in the bottom left corner of the above picture. The final overflow will cross under the pathway and into another in-ground wicking bed. Another pipe is under the Strawberry and Raspberry patches along the fence.