A homemade bokashi bucket is not a hard thing to make. A solid pail (or 2 if you have to store it for any time), a draining mechanism with a good off valve, some way to squish the air out, and a lid that seals. That’s really all you need.
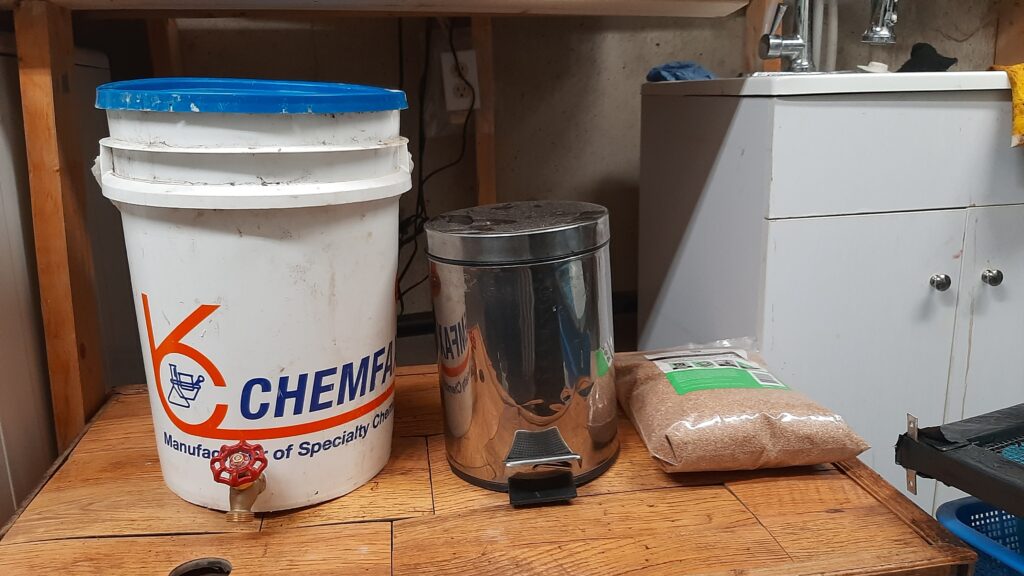
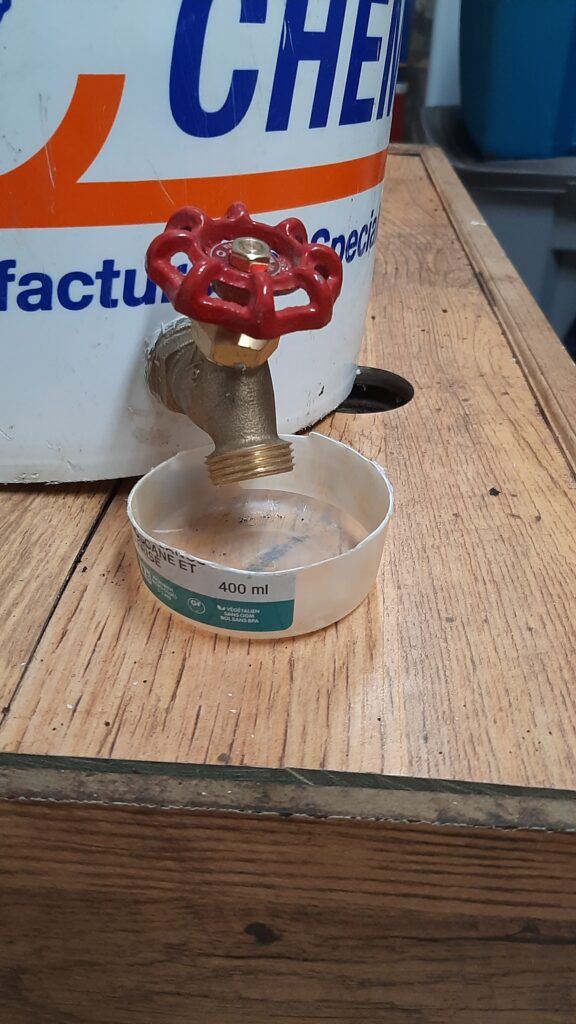
For this bokashi set up, I happen to have a pail (no surprise). It looks hazardous, but it held ice melt originally, and I have rinsed it out numerous times before this. For the drainage mechanism, I chose a garden hose spigot that is meant to go on the side of a house. Again, I had one that was for another project that never got off the ground. So, I’ll use it here. The thing to squish the air out had to be hand made. I could not find what I was looking for, so I built it.
Homemade Bokashi Bucket – The Build
The only thing that has to be done to the bucket, is to drill a hole for the drain. It is a sizable hole, which takes a larger drill bit, but it is a quick drill. The hole should match the size of the drain going through the pail. Mine was 1/2″, but it will depend on what you are using for a drain. A tight fit is key.
Make sure the drain hole is not at the bottom of the pail. The inside nut will have a washer with it. The hole has to allow for that washer diameter, or it won’t fit properly and the homemade bokashi bucket will leak.
It is a good idea to silicone around the drain to ensure water proofing. This will take a few days to dry, so keep this in mind. Build the bucket before you start collecting food for the bokashi.
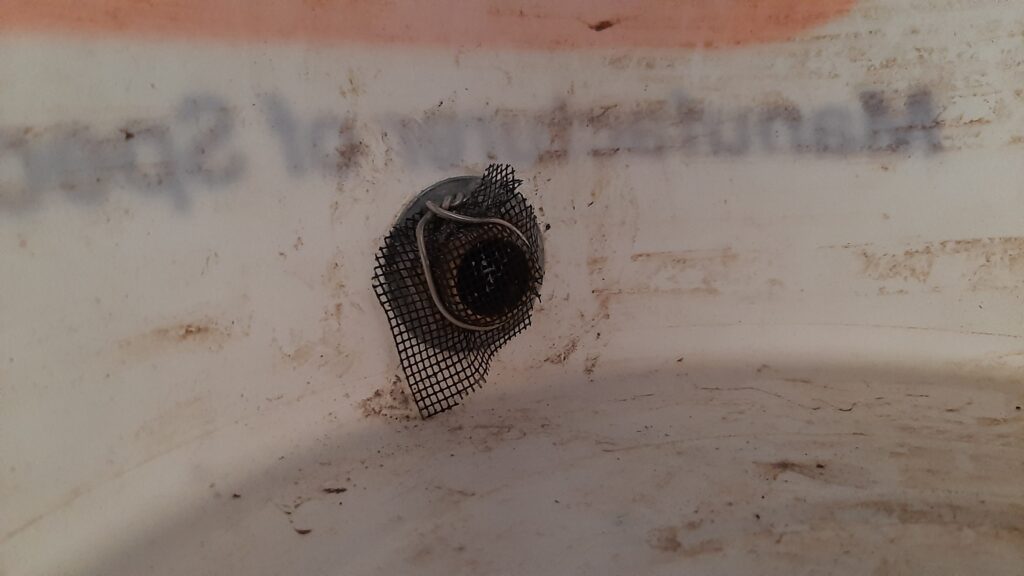
I added a screen to the inside of the drain. Honestly, I don’t think it is necessary. If it becomes an issue I will not bother with it again.
The drain is really to remove excess moisture. It being raised off the bottom is no big deal. For that reason also, I don’t think the screen is needed, but we’ll see.
Homemade Bokashi Bucket – The Air Squisher-Outer
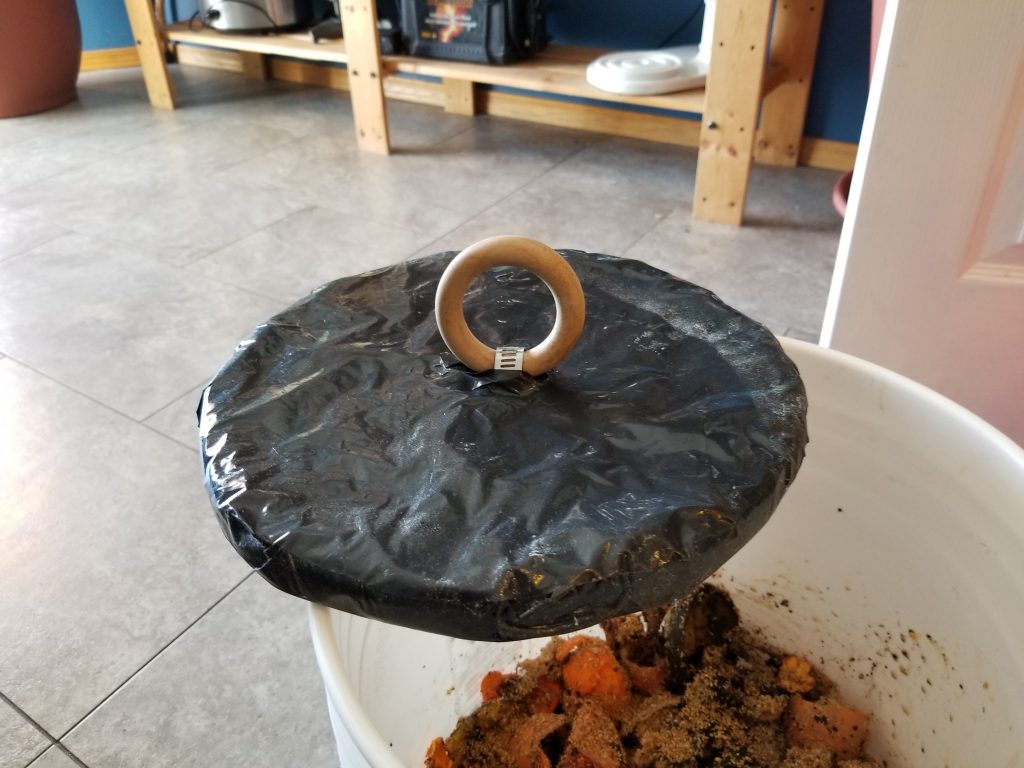
This plunger mechanism I have named the “Air Squisher-Outer”. It acts as an intermediate seal. Bokashi systems work in an anaerobic (no air) environment. That is hard to accomplish at first, when the food scraps are just at the bottom of the pail. Once the pail gets fuller, this becomes easier to do just by sealing the pail itself. When adding new material, it needs to be squished as well. To get as much air out as possible. So this becomes a useful tool through out the process.
The ring is missing from the air squisher-outer in the later pictures. The reason? It was a design weakness. Moisture, wood, malleable metal, and a really good seal equals the ring ripped off in my hand.
Here are the steps I took to build it all the same.
I traced the bottom of the pail on to a piece of 3/4″ plywood. Then I used a jigsaw to cut the circle out. Cut it a bit bigger than the bottom of the pail. The plunger doesn’t need to go to the bottom on the inside, and most pails get bigger in diameter from bottom to top. Once the circle is cut, sand the edges to get as “perfect” a circle as possible. Without being to fussy.
To add a handle, I would at this point drill a hole in the circle. Somewhere just off the center. Bolt a ring through the wood with a big washer on the bottom side. This will ensure the ring won’t rip off in your hands.
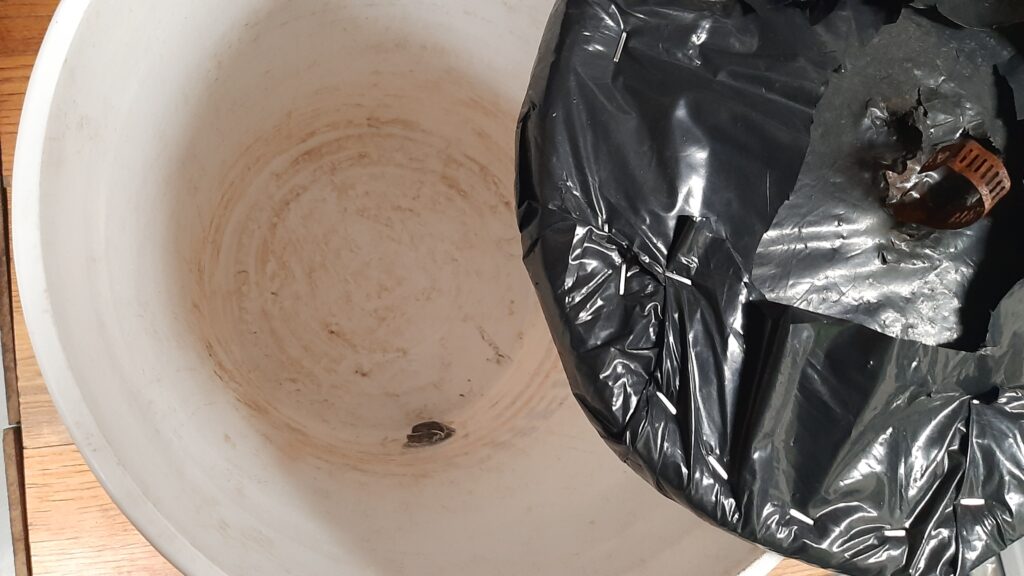
Set the wooden circle on a piece plastic film (1 if its thick plastic, 2 or more for thinner sheets). Garbage bags or landscape poly, or something easily cleaned and stretchable. Using a staple gun, pull and staple the plastic so its flat and one piece on one side of the circle. With the stales on the other side. Cut off the excess plastic and staple down any plastic sticking up. I attached a top piece of plastic. To clean up the look of it. Leaving room for the ring/handle apparatus.
Homemade Bokashi Bucket – That’s Pretty Much It.
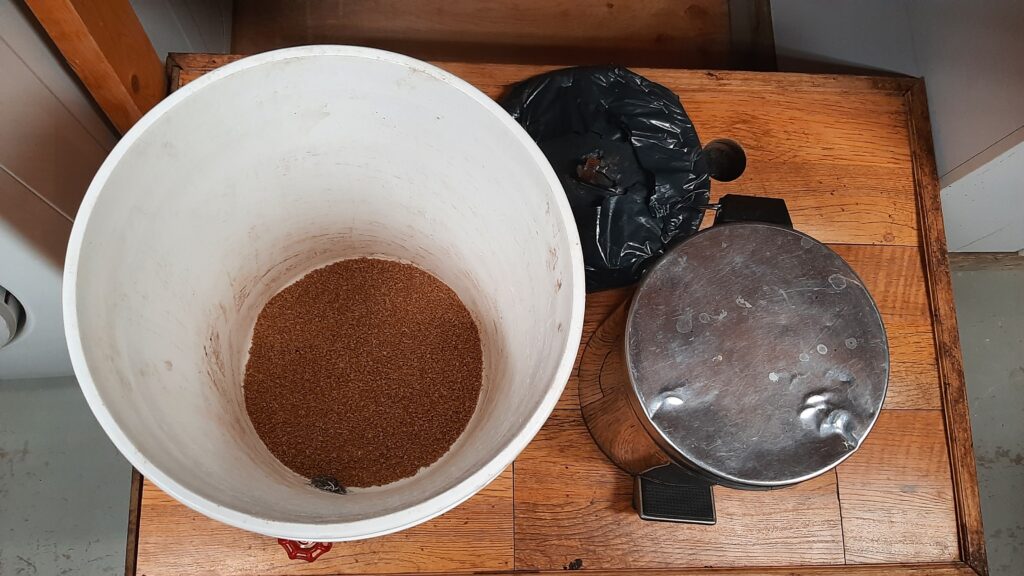
Now that everything is dry (the silicon). We can begin the next attempt in the bokashi saga. The stainless steel garbage bin is the kitchen container for the bokashi. It sits next to the actual garbage container. The foot pedal makes it super convenient to use. Once it is full, I dump the whole thing in the homemade bokashi bucket.
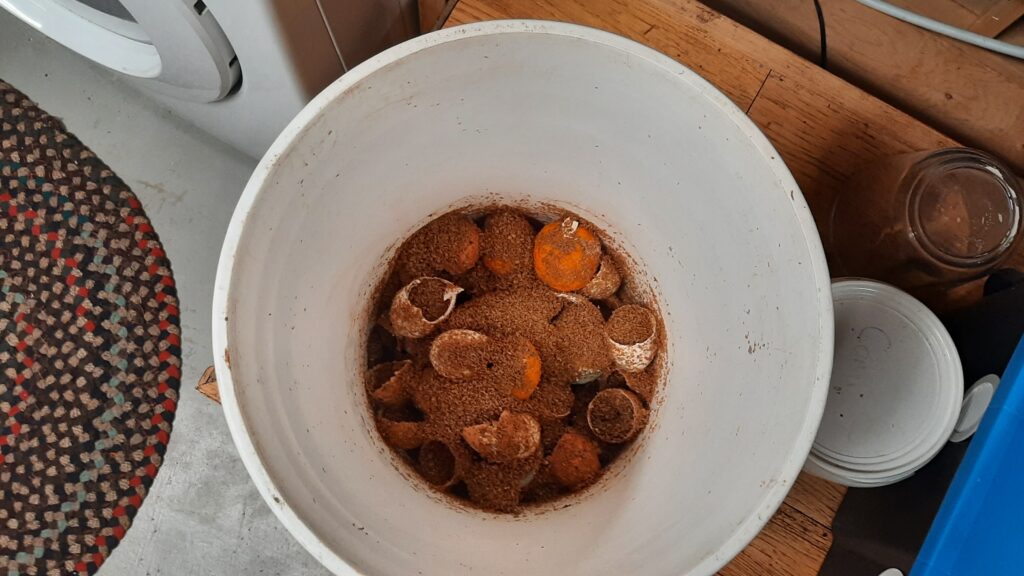
There is a description of how the system works. Go to the Bokashi Set-Up page. The steps are the same. I purchased this bran from Bokashi Living, if your looking for bran. The pail on that page does not have the drain in it. That is the improvement with this set-up. Also, the kitchen container has increased in size. I am adding more bran each time too.