Building a concrete brick patio or walkway is not a light task by any means. No Pun intended…okay maybe a little bit intended. It is not complicated. There are a just few steps that need to be followed if you want it to last.
I should say that this is after you have identified and marked out where your building the patio or walkway. I guess that would be the first step.
Tools you will need:
Shovel
Wheelbarrow
Garden Rake
Tamper – A hand tamper will work for small jobs otherwise use a motorized one. You can rent them from different places if need be.
4 ft and 2 ft Level
Steel pipes – 1 inch in diameter (called screed pipes). Mine are actually conduits for electrical wiring, but they work just fine. You’ll need at least 2. I find 5 works well.
A Wooden Float usually used in concrete work. but works for leveling out the sand also.
A Diamond Blade – To cut the bricks. you can get one for a circular saw, but a brick saw is ideal. Also available to rent at different stores. Chances are if they rent a tamper, they will rent a saw also.
A broom – A push broom preferably, but whatever you have is fine.
Materials you will need:
3/4 inch crushed gravel – commonly known as “road crush”
3 – 5 mm washed sand
Bricks of you choosing
Brick edging and spikes to secure it
Polymer sand
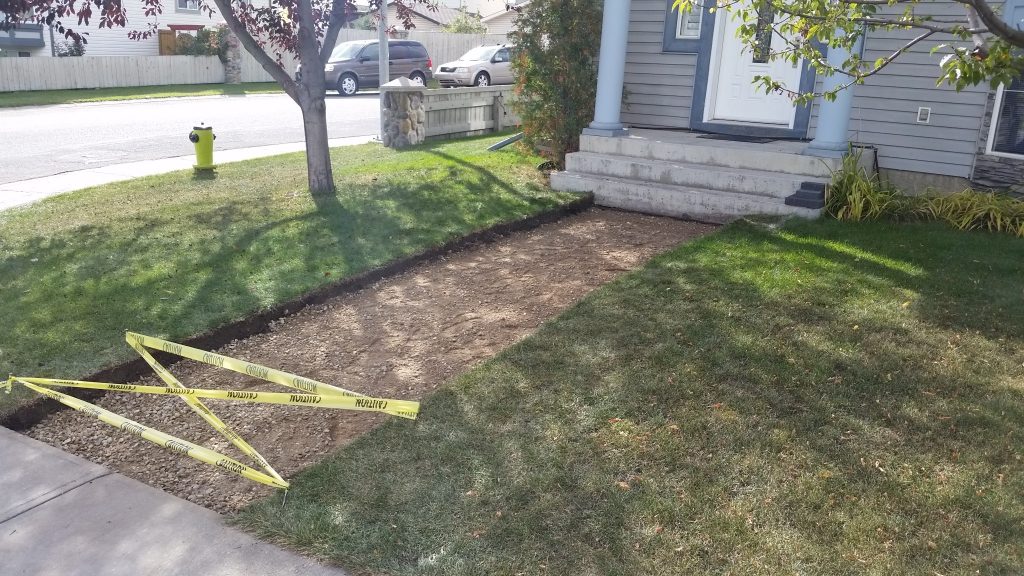
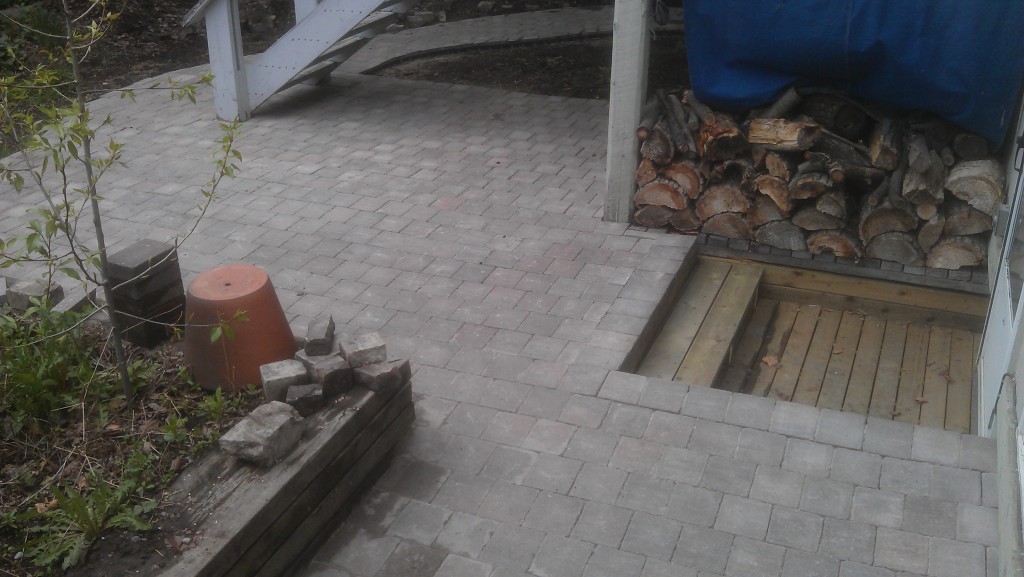
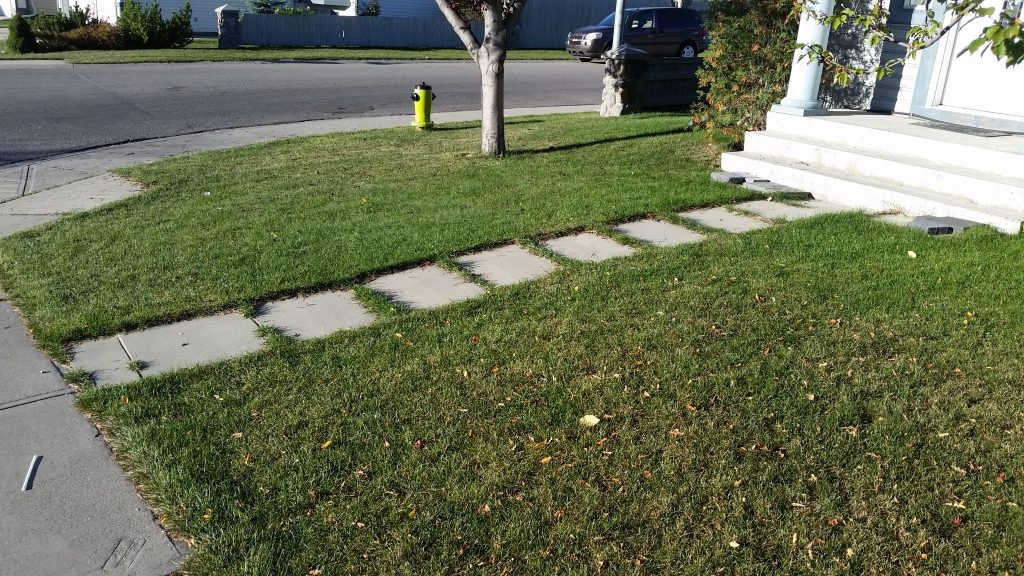
Building a Concrete Brick Patio – Remove Organics
The first step in the process is to remove all of the organic soil down to at least 8 inches. Usually there is a spot, like a step, that you have to match the height of. What I do is find that spot and start the digging there. This is where you start to set the drainage for the patio. It can be adjusted with the gravel and sand layers, but the start of it is here. You want water to drain away from any house or out building so keep that in mind while your digging. You will need at least 4 inches of gravel, at least 1 inch of sand, and then the height of your brick. Usually it’s around 2 – 1/4 inches, but you should check that before starting the dig if possible.
Also, try as much as you can to have straight walls of your excavation. It makes it easier to mark the wall for the gravel layer.
The importance of removing the organic material is that the organic material will break down over time and that will make your patio or walkway uneven. Bricks will become loose and wiggly. This will create low spots where water will pool, and things just get worse from there.
This is probably the most time consuming step of the whole process, but also,
THE MOST IMPORTANT STEP
To fix this step afterwards means completely redoing the entire project. With almost entirely new materials. That is time consuming and expensive. Take your time and remove the organics.
You’ll be able to tell, especially in an urban setting, where the organic soil ends. Typically when they build a house they give you 6 – 8 inches of “builders loam” just crappy loam, but better than nothing. Under that is the base layer that the machinery was rolling on while they built your house. That is going to be more clay than anything in most places. Which will be a different color and texture than the organic topsoil. Once you get the vast majority of the organic soil out then your ready to start actually building.
In some cases its a good idea to pack down, or tamp, the base. Not often, but if the base is still fairly loamy, I might tamp it. Or, if the ground if prone to be wet in the spring. Alternatively you could install some landscape fabric on the base. For some added structure. That will take care of both of those issues.
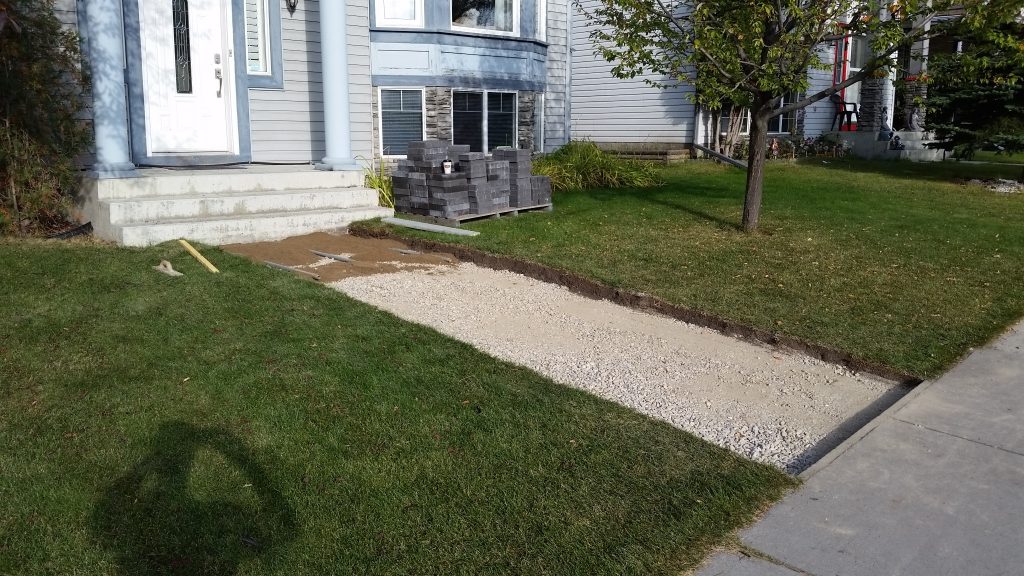
Building a Concrete Brick Patio – Crushed Gravel Layer

The first layer of the actual build is a layer of gravel. This should be around 4 inches thick. 6 inches is ideal, 2 is pushing the minimum to the brink. It depends on the use. A heavy traffic patio or one a lawn tractor or other vehicle will pass over should have a stronger base.
I start at the high point and work down. I make that sound like it’s a hill, but what I mean is the high point in the drainage. Against the house, or at the base of the stairs. If the patio is on it’s own, then the middle would be the high part, so the water sheds off. Whatever it is, I start there. I’ll mark my depth on the walls of the excavation and shovel and rake the soil about half an inch above that mark. The gravel will settle and pack in, so keep that in mind as you fill. As you fill the area with gravel and rake it out nicely, use the levels to check the drainage and the level…ness… of the layer.
Half a bubble off level is all you need. Anymore than that and you’ll be able to tell that your on a hill as you walk or sit.
Once the gravel layer is down and your happy with the level and direction of slopes, it’s time to tamp (or pack)
Tamp and tamp and tamp
The gravel layer should be a had as you can make it. As you tamp stop and check the grade and slope to make sure it is still where you want it to be. You can fine tune the grade and slope with the sand layer, but not much. Take you time and get it as close as you can with the gravel. When this layer is done you should be an inch more than the height of your bricks away from the top at those places your trying to meet. The base of the stairs for example.
If your bricks are 2-1/4 inches high, the top of your gravel after tamping should be 3-1/4 down. If it’s 3 inches that is okay. It is better that your bricks are a little above the finished grade when all said and done. That way the water will run off the surface. If it’s too low the water will sit and you will have a puddle. That is not good.
A COUPLE IMPORTANT NOTES:
At this point the sand and bricks MUST stay dry until you lock everything together at the end. If there is rain in the forecast, wait until it passes, unless you think you can get it all done before it rains, or you can cover everything until your done. Rain on the gravel is not the end of the world, but rain on the sand or getting between the bricks will weaken the integrity of the patio and will result in the same as not removing the organic soil. It’s not good and a pain to fix.
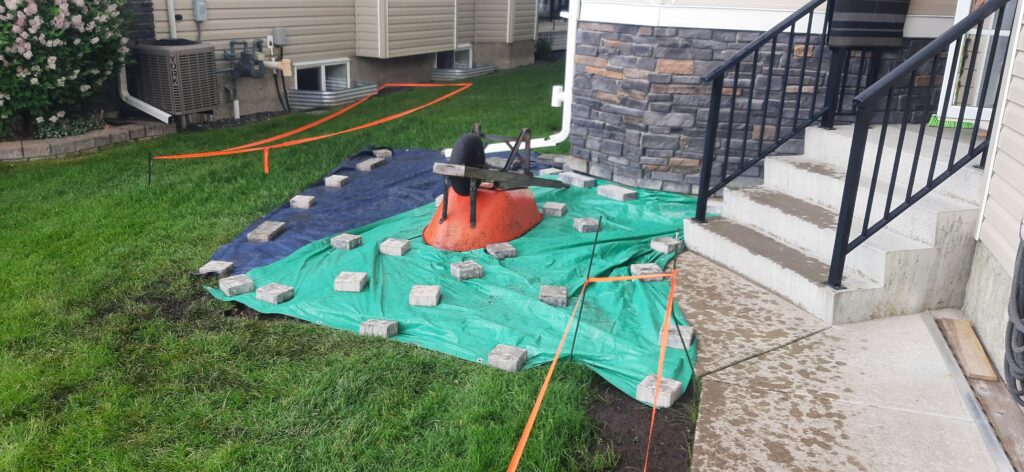
Also, only put down the sand that you can then install the bricks onto right away. Don’t sand the whole project and then start “bricking”. The sand needs to be homogeneous. If something walks through it, like a cat or dog, that sand will need to get removed and re-sanded. So, it’s just easier to sand a bit and then brick that part and then sand another section. Trust me.
Building a Concrete Brick Patio – The Sand Layer
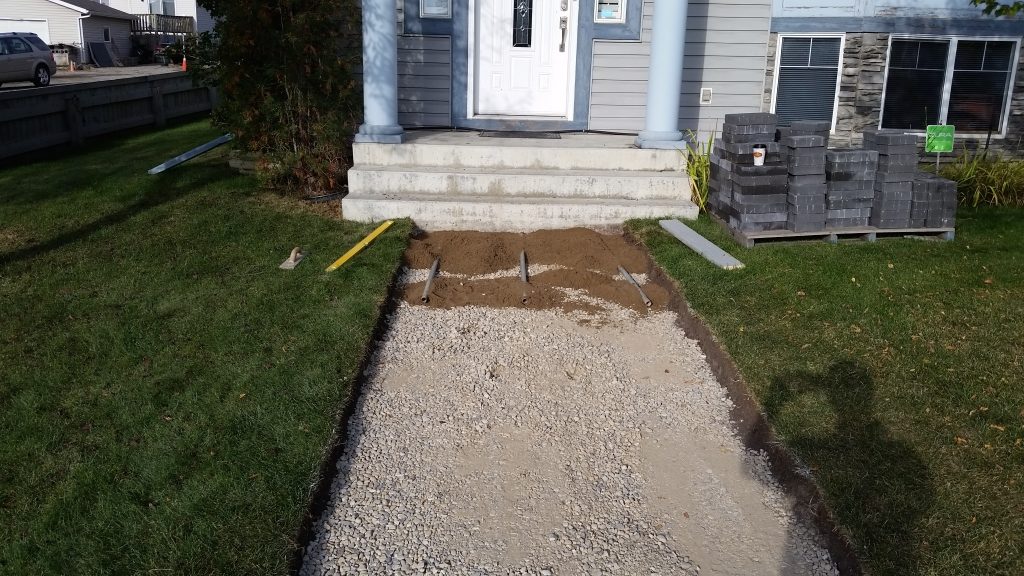
The first part of this section is setting the screed pipes. I always start at the high point again, or where I need to meet an existing thing (stairs) and work from there.
Lay your pipes on the ground in the direction of the water flowing if possible. I will sometimes use marker paint to draw arrows on the gravel to indicate where I waant the water to flow. Once laid on the ground, the top of the pipe will essentially be the bottom of the bricks. Therefore the top of the pipe should be the height of your bricks down from the finished height. (2-1/4 inches for the example). Use the sand in little piles to adjust the height of the pipes if necessary. Use a level to make sure they are “tipped” the right direction for water flow.
Try to keep them within 4 feet of each other. That way you can use your level as a screed bar. Alternatively you can use a 2×4 piece of lumber to screed the sand. Check the level along each individual bar as well as across from one bar to the next to make sure you are happy which way the grade is going.
This is your last chance to fine tune the grade
Once the screed bars are set and secure where the should be, carefully shovel sand to fill up the space between the bars. Be careful not to move the bars. Otherwise you’ll have to adjust and reset them. Set your level or a 2×4 across 2 of the bars and pull gently toward you to “screed” the sand flat. Before you remove any pipe section, set the next pipe section first, if one pipe runs into the next.
Once a section is screeded, carefully remove the pipes. Fill in the little trench left behind with some additional sand, using your float to smooth it out. This takes a little practice, but I liken it to icing a cake. You’ll get it. The smaller the bricks the more picky you need to be at this part. Larger bricks are more forgiving, though that doesn’t mean they are easier to work with. Like, at all.
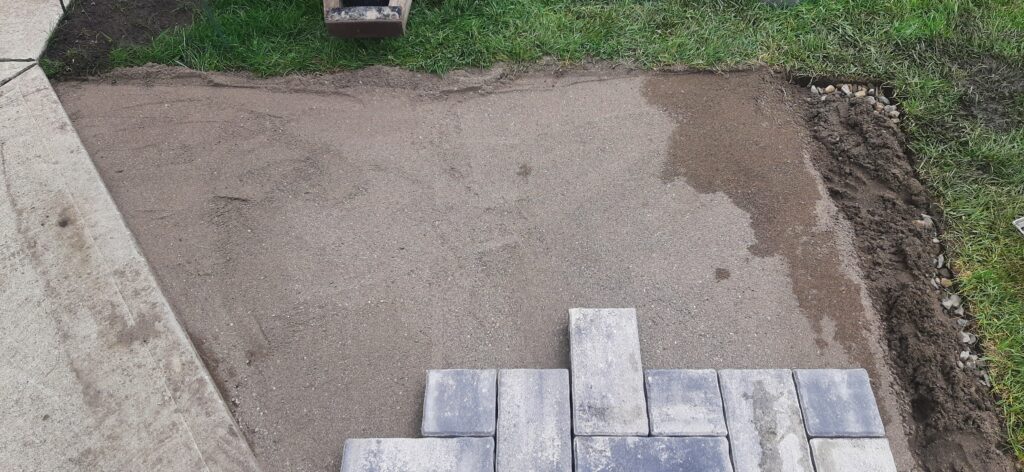
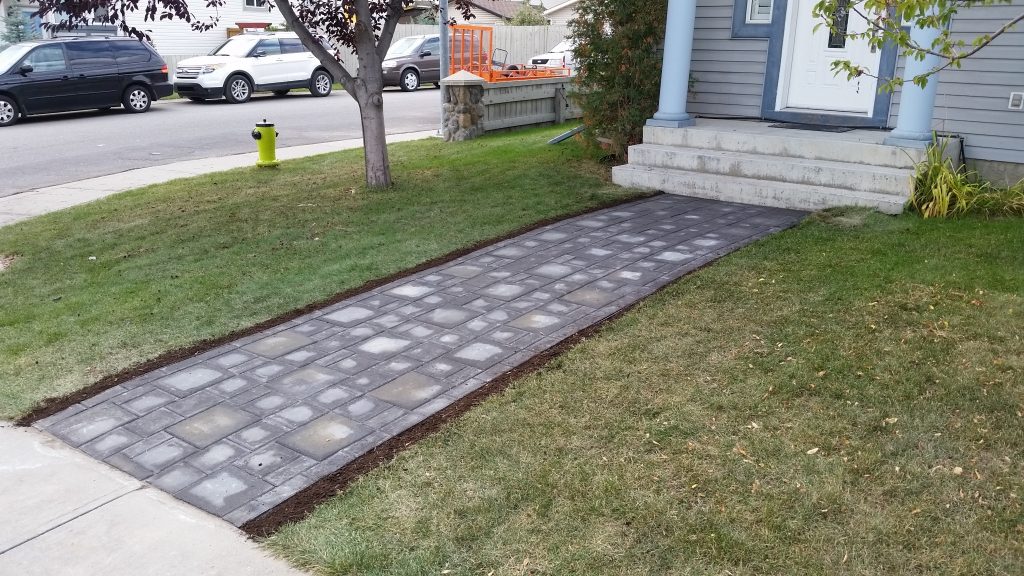
Building a Concrete Brick Patio – The Brick Layer
Okay, we are getting there. The brick layer is pretty straight forward with just a few things to keep in mind. Most brick patios will have a pattern to them so that patterns will dictate where you start. I have never been part of a patio build where we didn’t have to cut at least a few bricks on the edge. But, you want to keep those cuts as unnoticeable as possible. So keep that in mind.
I have also found that if you are working with more than one person, it makes sense to have one person laying the bricks and the other person just bringing bricks over to the first person. Especially if you have an intricate pattern you are working with. The same thing goes with the cutting. One person marks the bricks and the other person cuts. You just get into a groove with each task so it makes sense.
When you lay the individual bricks lay them flat. Don’t let a corner dig in the sand. That divot in the sand will give that brick room to wobble and be loose. Likewise, don’t let your fingers do the same in the sand. You basically don’t want the sand to be disturbed by anything.
As you build the patio out, stay off the outer bricks and as you walk around the patio, try to step in the middle of the individual bricks, and step flat footed. Again, so to not make the sand uneven.
Once the whole bricks are down, install the edging.
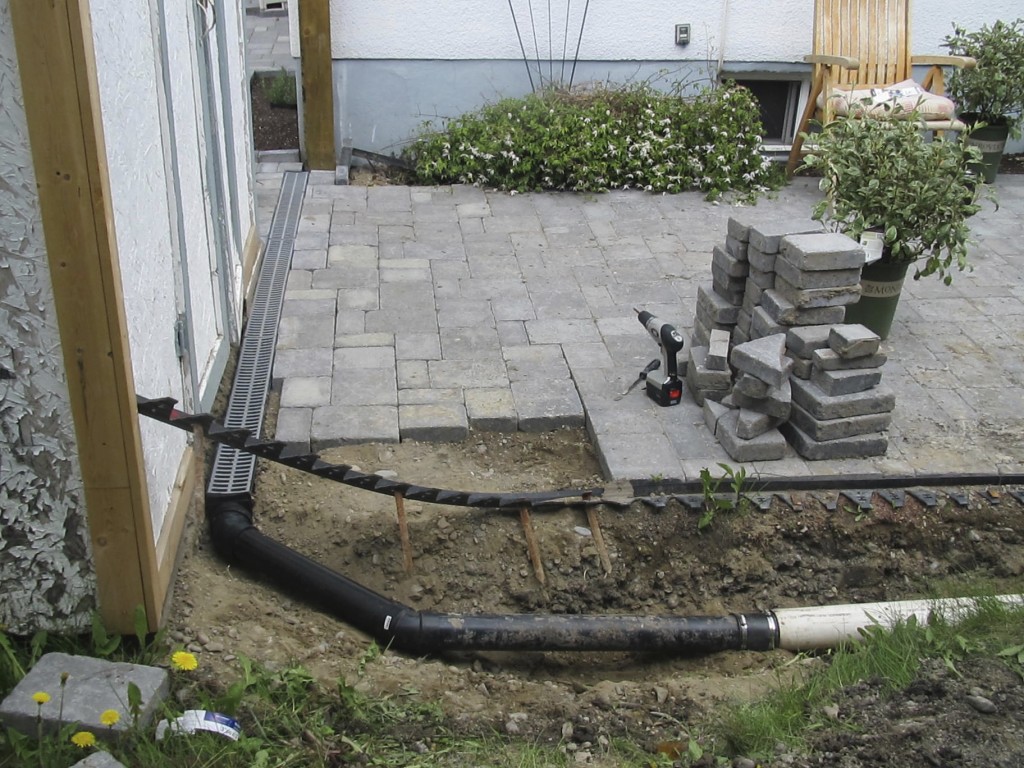
Install all the whole bricks that you can. Don’t worry about cutting bricks as you go. If you are renting a saw this will keep the cost down so when you rent the saw you are dedicated to the sawing. The rented saw is not just sitting there as you do other things.
The edging being installed will give you the shapes needed for the cutting activities. The cutting of the bricks takes a little practice. It can also be a very dusty and noisy activity. I often tell the neighbors that I will be cutting bricks so they can close their windows. Wet saws are available that spray water while you work. At least they are supposed to. It might be worth a try if your so inclined. Start with the easy ones and work into the more challenging ones. Also, start with the big spaces (so smaller cuts) and work into the smaller ones.
Keep all chunks of bricks until you are finished the whole project. I can’t tell you how many times I find a cutting that will just fit in another space. It’s such a time saver.
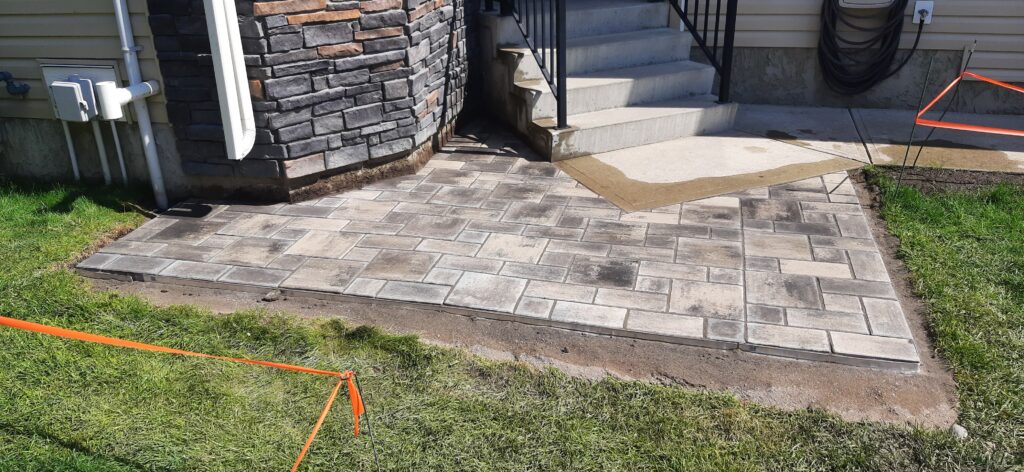
Building A Concrete Brick Patio – The Polymer Sand
Once the cuts are done and the edging is all installed, it is time for the polymer sand. The magic sand. The sand that will bring it all together and make you stop seeing the cuts that didn’t quite go as planned.
You want everything to be as clean as possible so give the patio a good sweep. If you have a leaf blower, use it. Get any chunks of brick stuck between the bricks out.
The bag of sand will have instructions, so just follow them, but basically you want this sand to fill every crack between bricks and between the bricks and the edging, and between the bricks and any structure. Take your time and let the sand fill every crack and hole. Go back and forth with it until your sure that every crack is full of poly sand. Where the sand doesn’t get to is where weeds will grow and if water gets in there it will shorten the lifespan of your patio greatly. Once that is done collect the extra sand.
Spray the whole thing with water
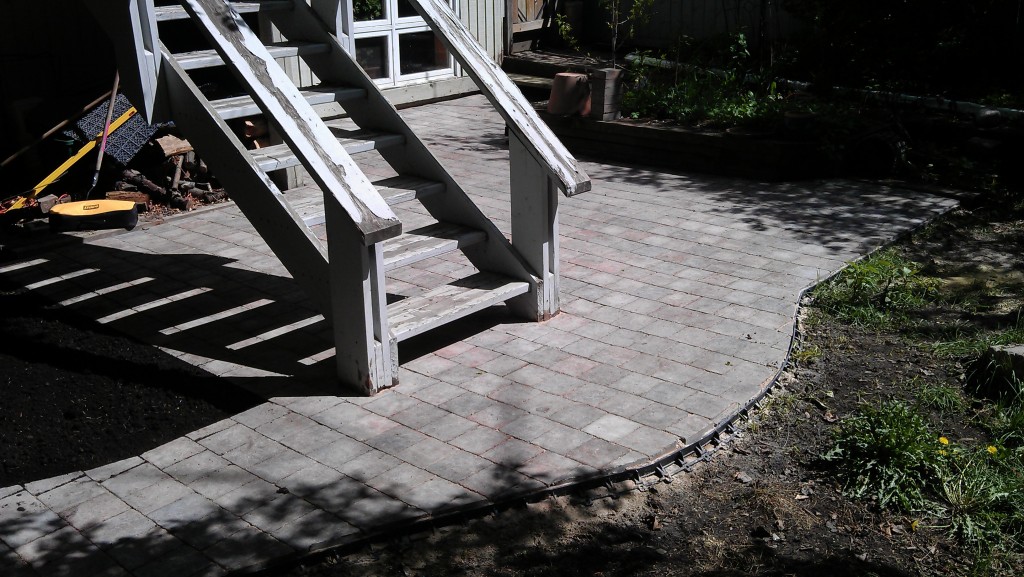
You don’t want the water to run or pool to deeply though. You may want to do it twice. Spray it, let it sit for 5 or 10 minutes, then spray it again. Patio complete!
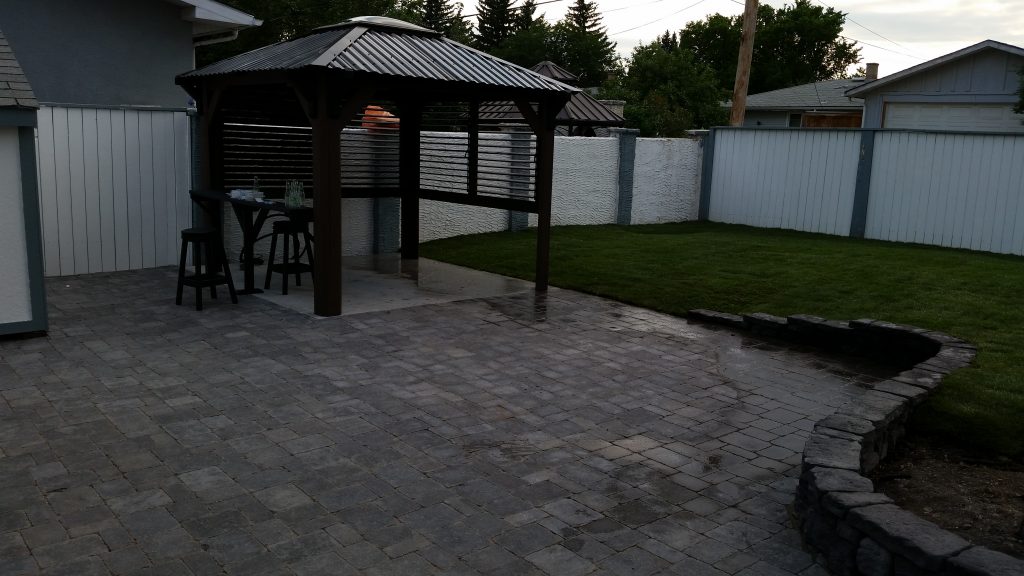
Let it dry and enjoy forever!