
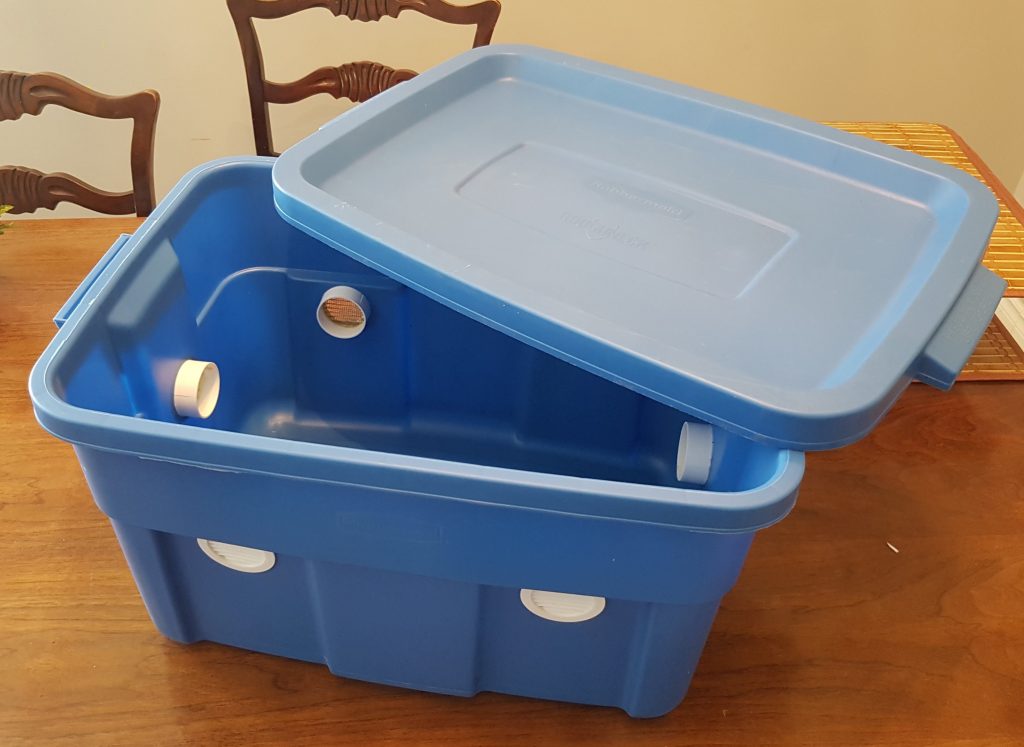
Supplies You Will Need:
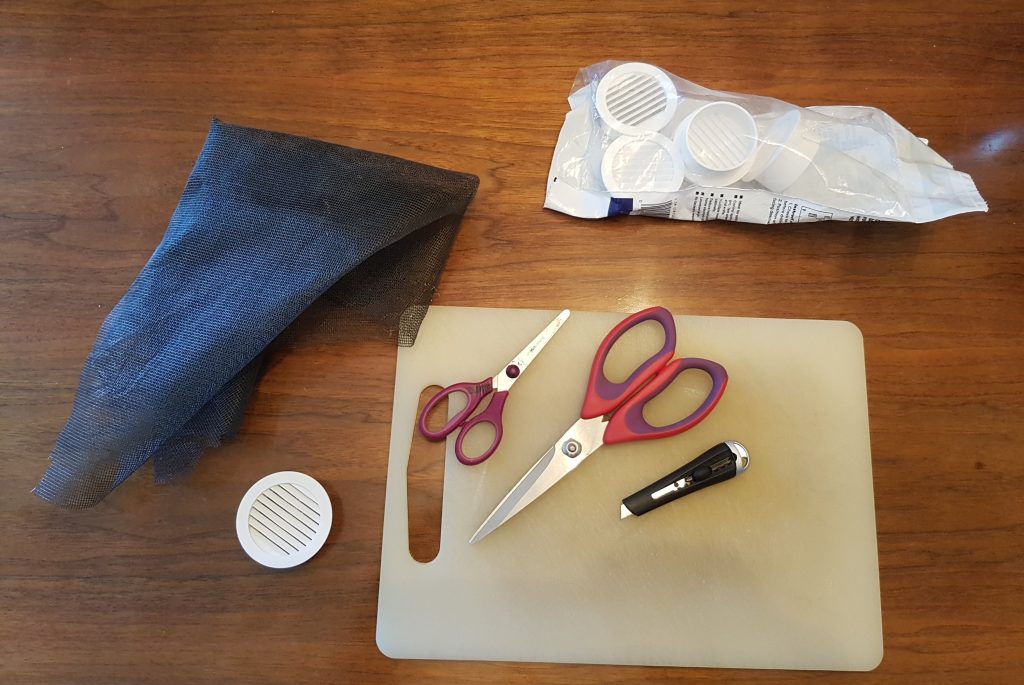
Build Your Own Worm Composting Bin In 5 Steps.
Large Durable Plastic Bin.
Size will depend on your needs. The first one above is 75 Liters. The second one is 55 Liters.
Window screening.
I keep the old stuff when I replace a window screen on the house.
Vents.
I recommend vents meant for building fascia, available at most hardware stores. Different sizes are available. 2″ – 2.5″ are what I use.
Cutting board
Scissors or utility-knife
Hot glue gun
Drill and appropriate bit size for vents.
Build Your Own Worm Composting Bin in 5 Steps
Step 1 – Cut The Screening For The Vents
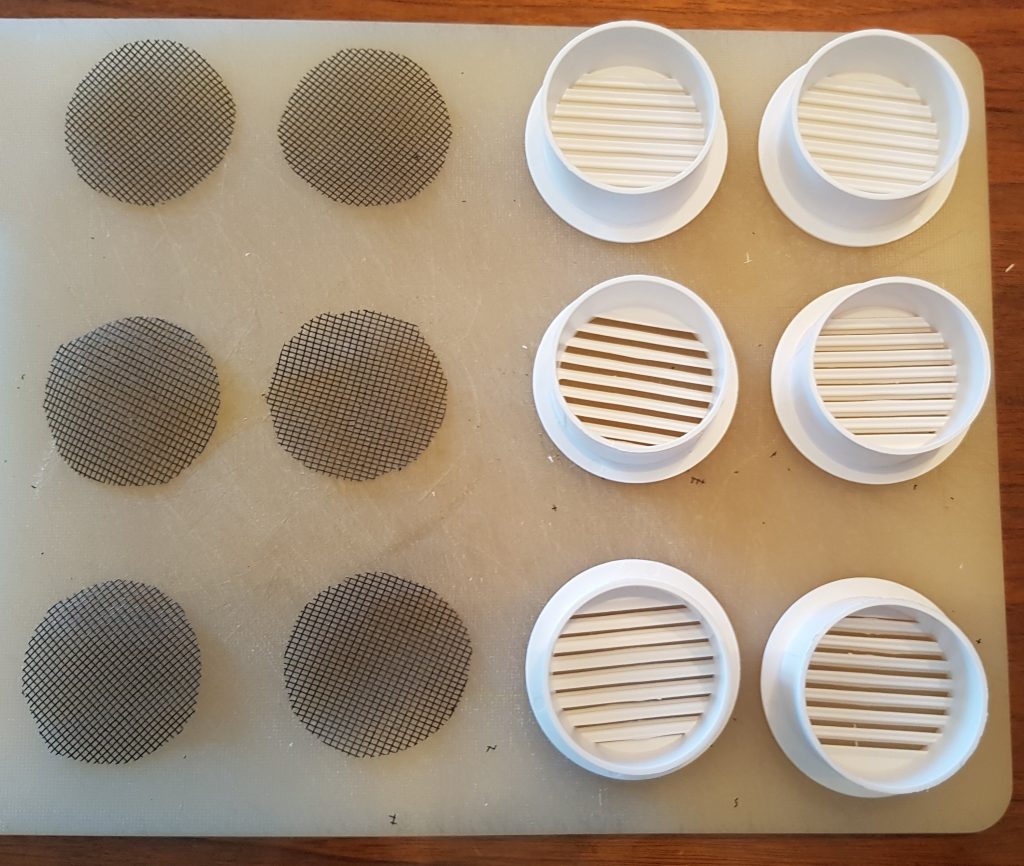
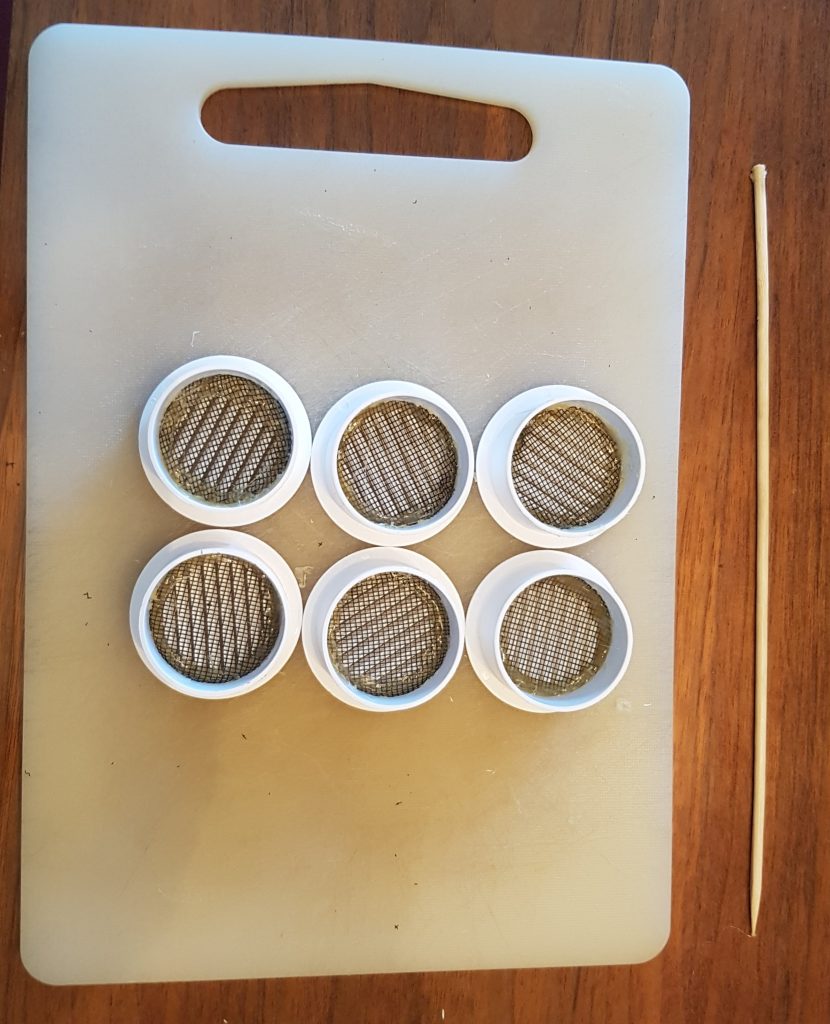
The easiest way I have found to do this is to lay the screening on a cutting board, and use the vent as a guide. Either with a sharp scissor blade, or a utility knife, cut around the vent. Don’t use the good scissors. This will dull the blade in a hurry. They don’t have to be perfect, but the closer they are to a circle, the better for gluing.
Step 2 – Add Screening To The Vents
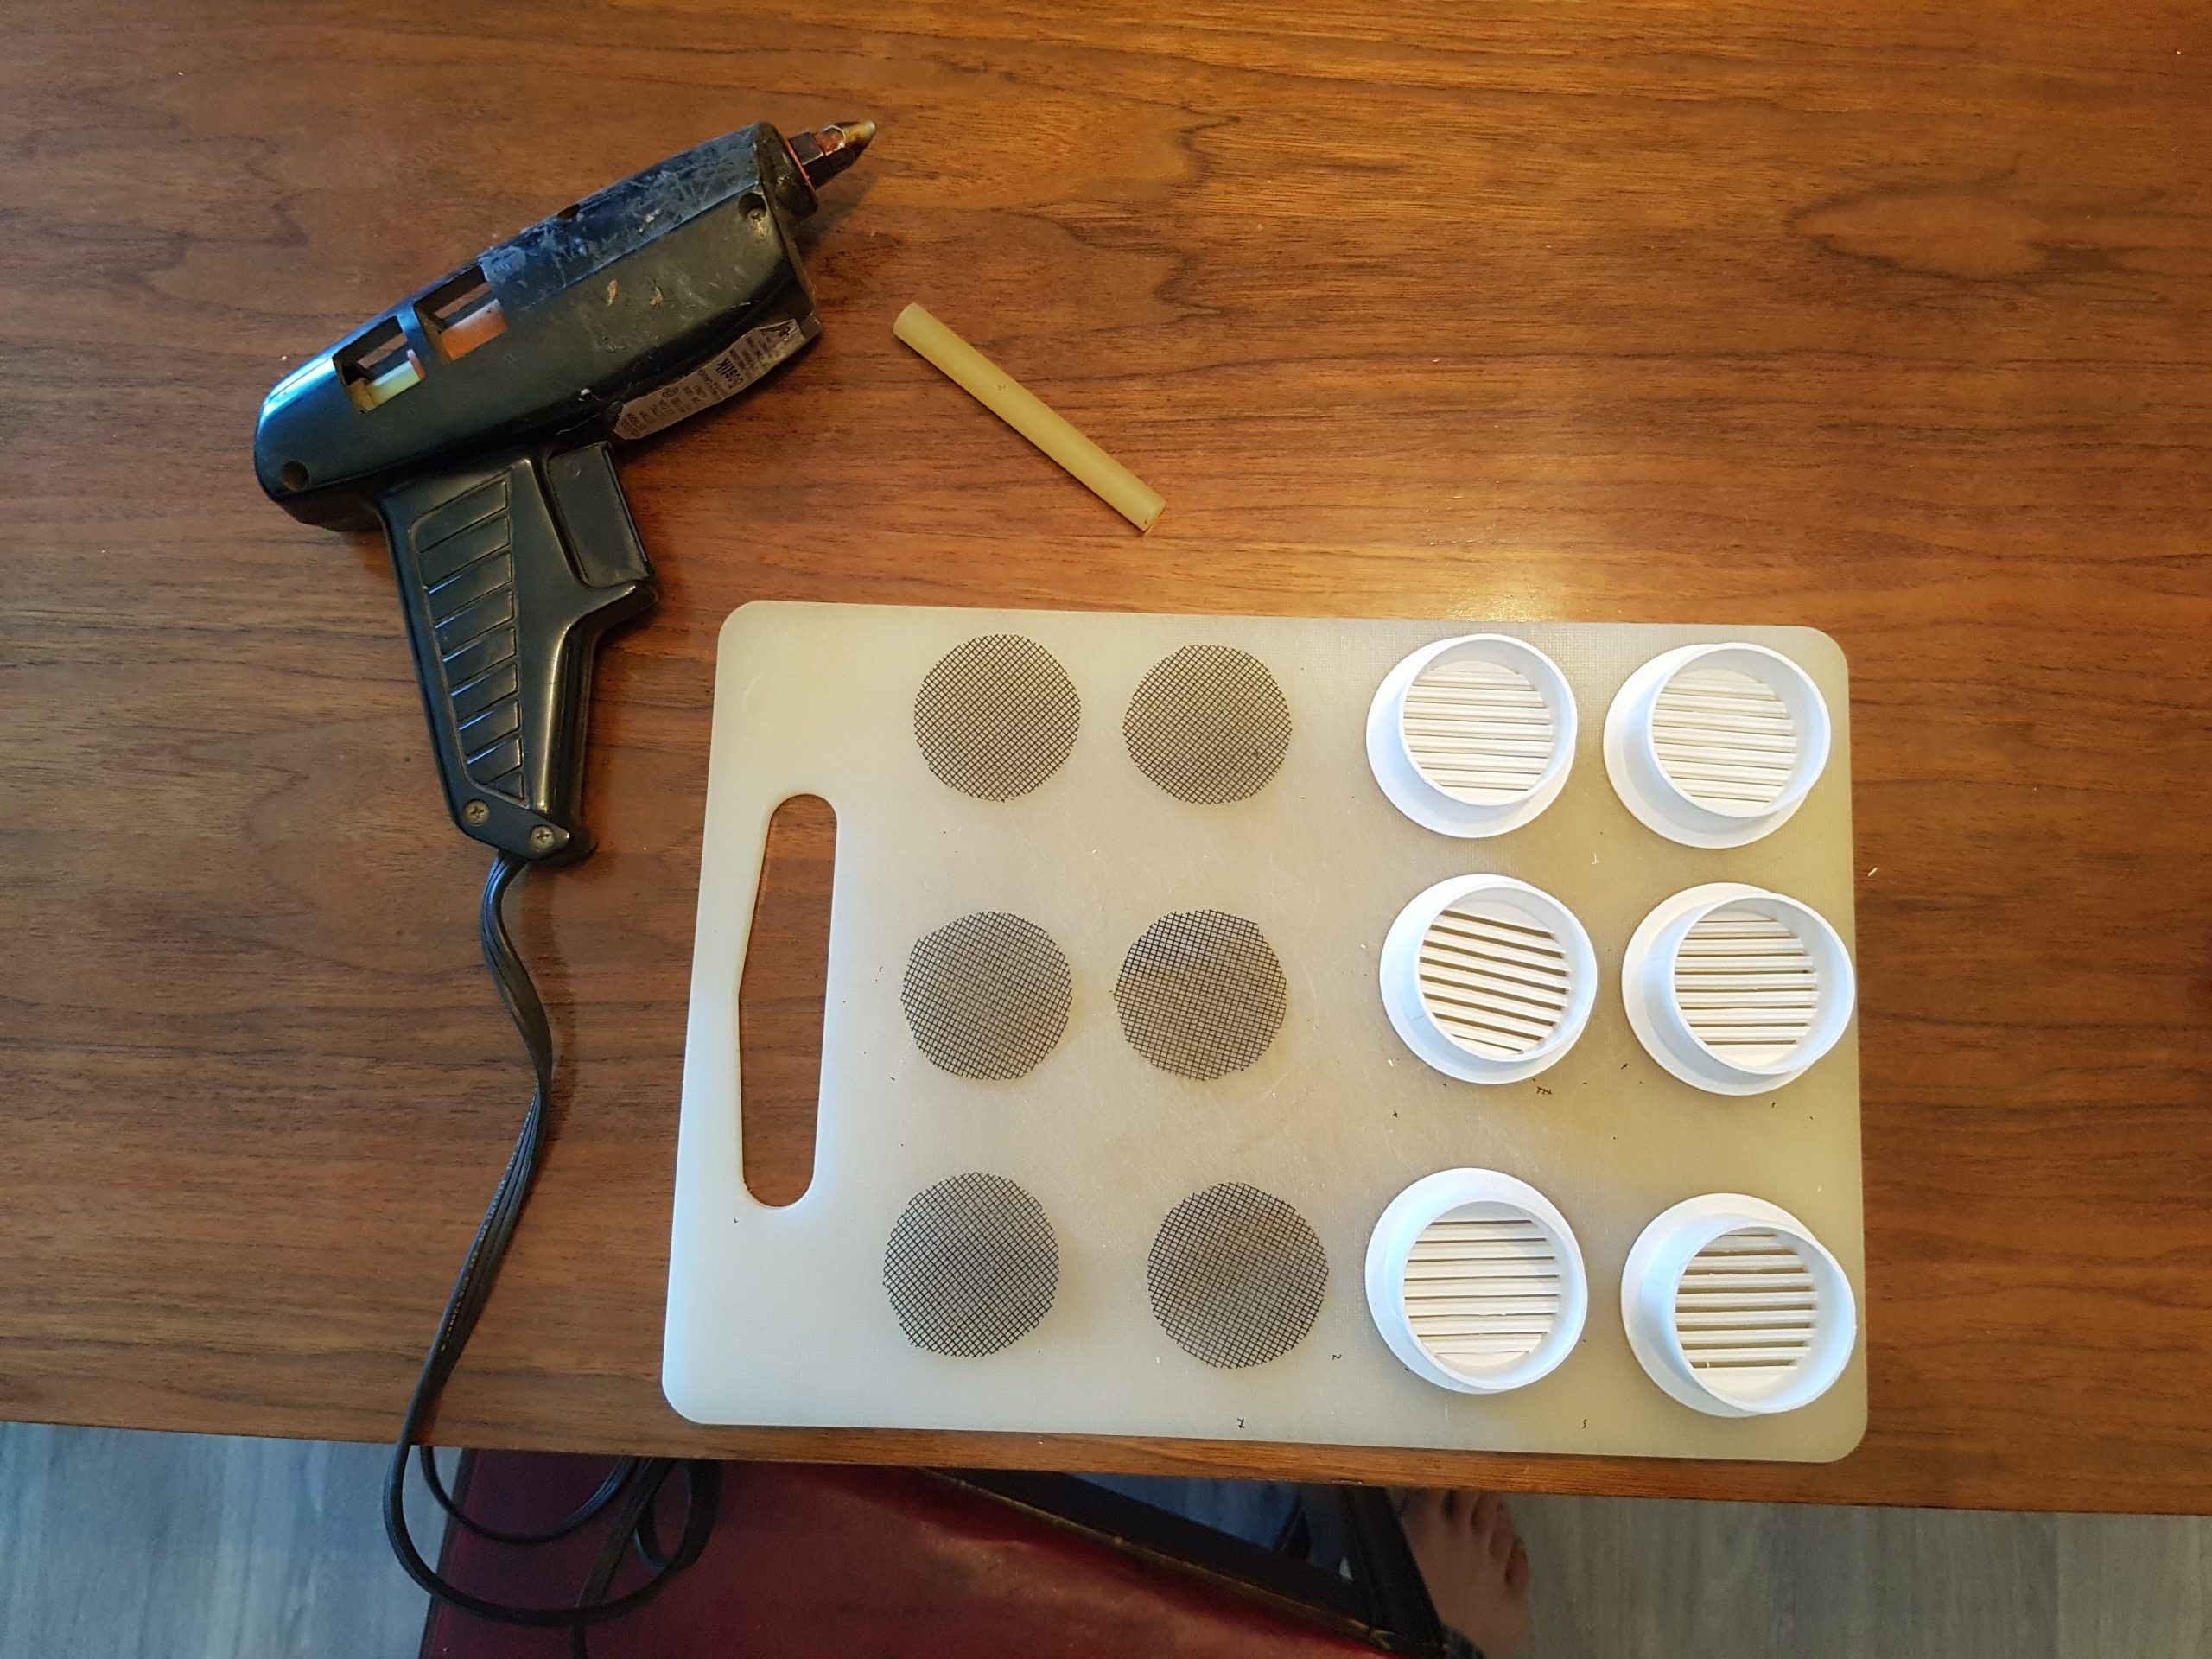
The vents are added for air flow, temperature and moisture control. The screening is to keep what is in the bin, in the bin. And, to keep things out of the bin, as well. When the light is on, everything wants to hide. When it’s dark, little beings like to wander, or wiggle, or slither as the case may be.
I like to use a BBQ skewer, or toothpick, to help center the screen inside the vent. It helps to set the glue as well. I have used silicon in the past, but a hot glue gun works about the best. There is a trick to it, so take your time with the first one. The good and bad thing about hot glue is the set up time is quick.
The main goal being to keep the worms in. They don’t really care what their windows looks like.
Step 3 – Measure location for the vents
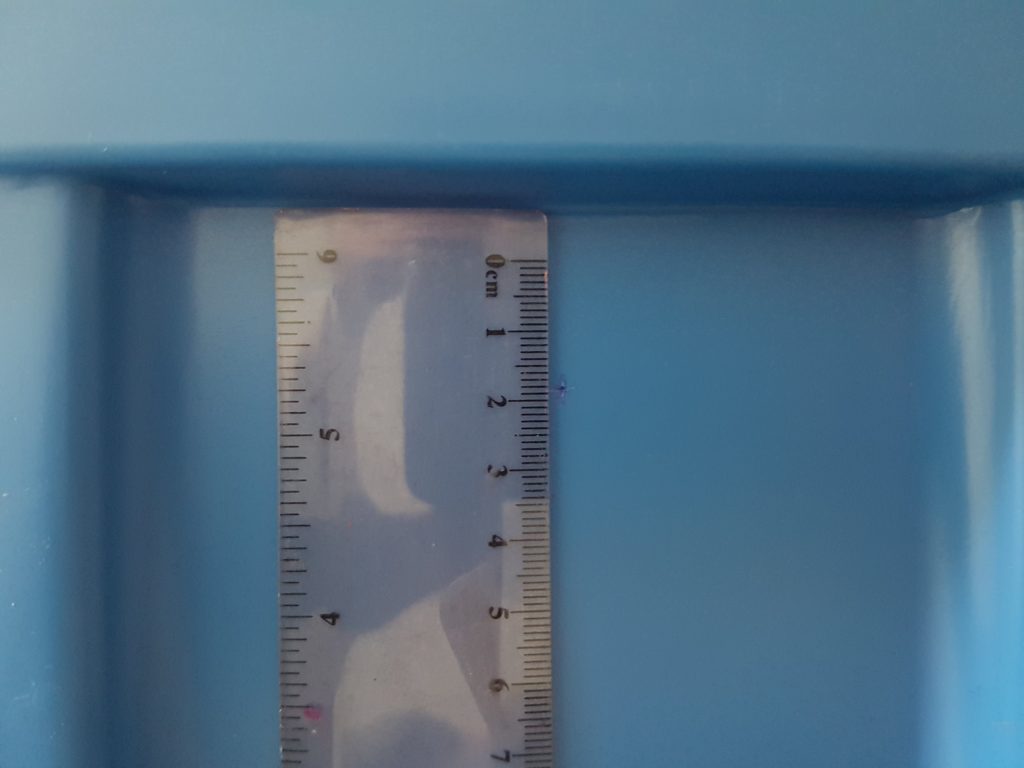
Uber important step here. You want the vents somewhere above the half way mark on the bin. Too high may not get the air flow needed at the bottom when the bin is less full. Too low and the vents could be blocked by compost and, that’s bad for a few reasons. No air flow and a place for any excess moisture to escape.
Be sure to take into account the lip on the vent and the lip on the bin (if any). I forgot in the pictures below. I had to trim the vent. No big deal. Just learn from my mistake. Measure twice and cut once. Oi.
Step 4 – Drill holes for vents
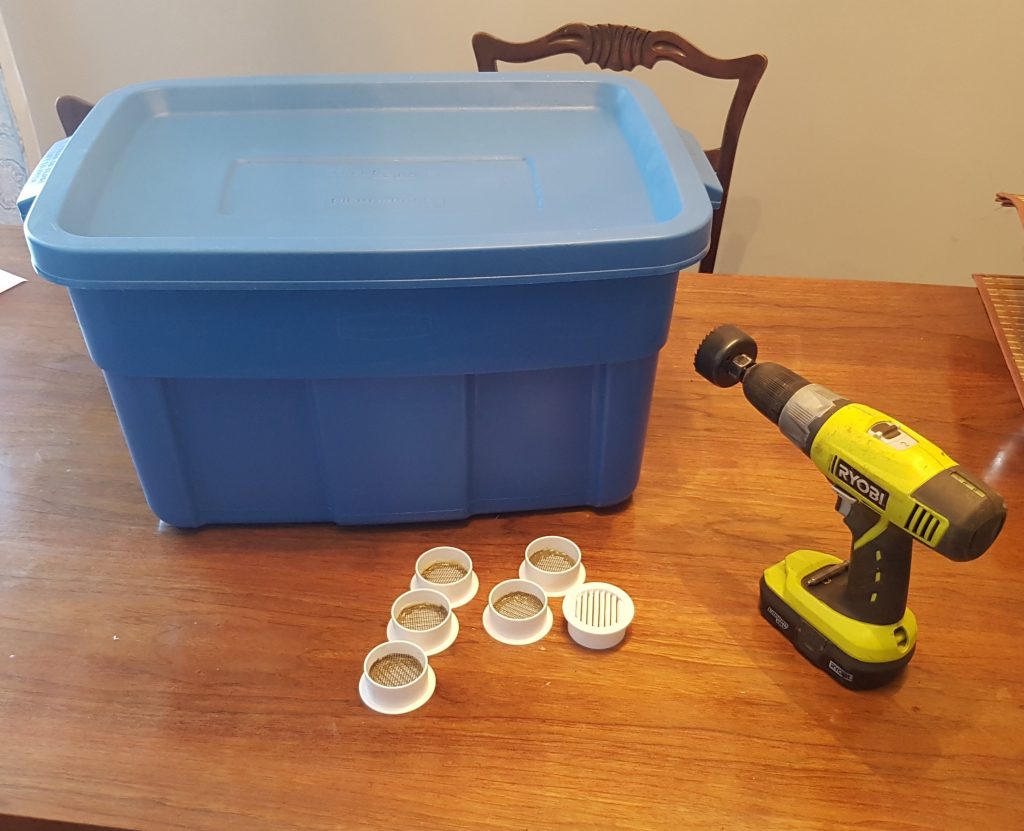
This is the only special piece of gear you’ll need. A hole saw drill bit, like the one attached to drill above, the same size as the small end of the vents. The tight the fit the better. Individually, they are not very expensive at the local hardware store, but there is an alternative. If you have normal, small drill bits.
Place the vent where you want it, and carefully trace out the circle again. With a small drill bit, drill a series of holes on the inside of the circle you just drew on the bin. Be careful that the outside of the bit barely, if at all, touches the line. Once you have done that around the whole circle, use the utility knife to finish the job and cut out the circle.

Step 5 – Install The Vents
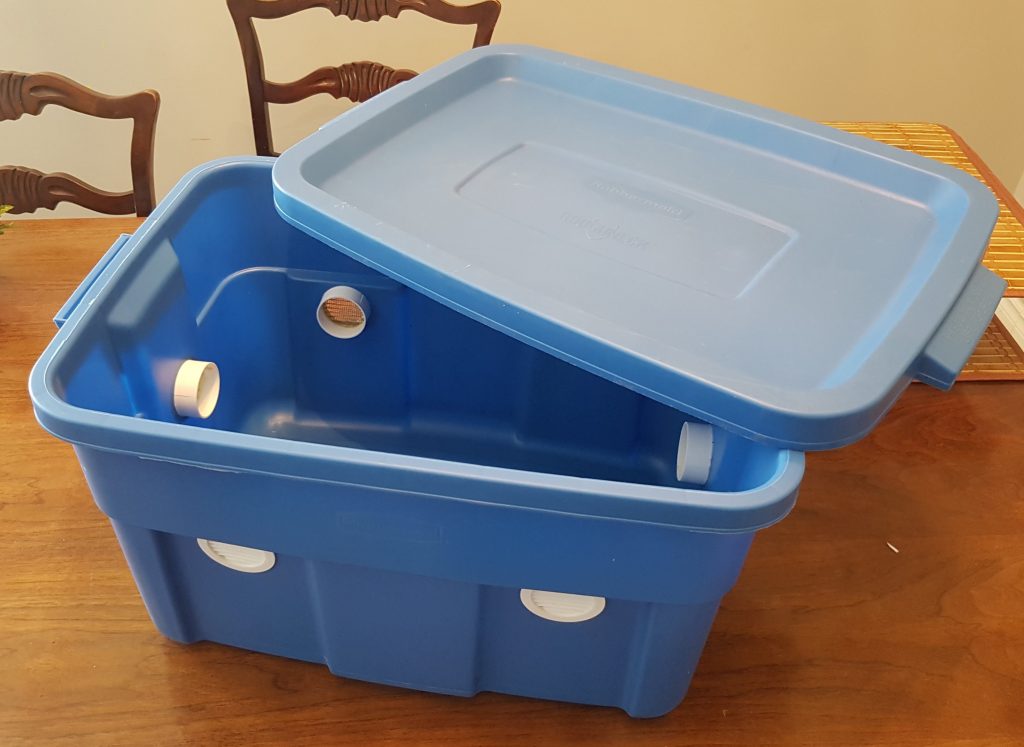
Depending on how tight the holes are to the vents, you may want to apply some hot glue around the back of the lip of the vent. Then just push them in, and your done.
Vents can be added to the lid as well. Depending on where you place your bin, and how active it gets, you can always add some later, using these same steps.
Build your Own Worm Composting Bin In 5 Steps
That’s it. Ready for worms. Visit the Worm Composting page for more info to take you from here.
Or you can always Contact Me for more info.