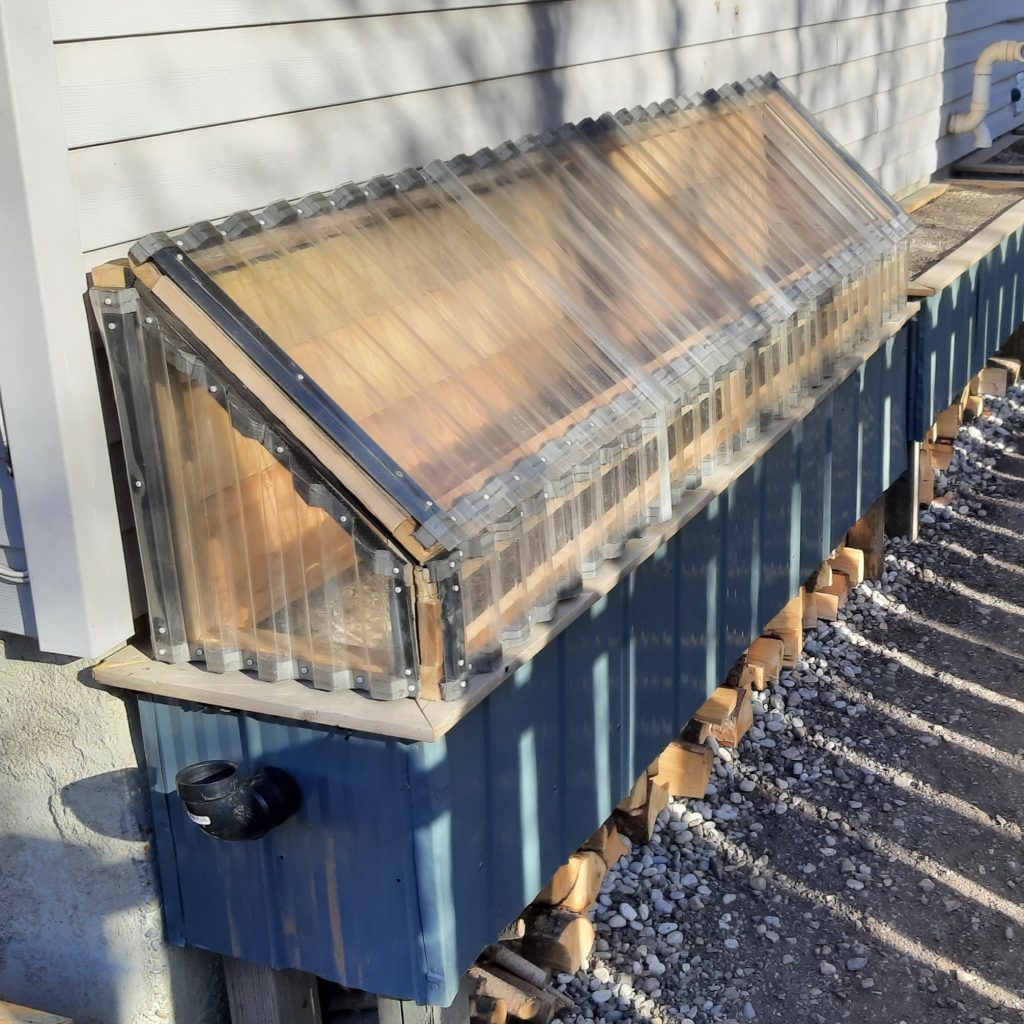
Wicking Beds With Greenhouse Tops – In Permaculture, they teach about zones, and realizing where things should be to make your life easier. In order to make this small space big, we need to utilize every inch of space, and everything has to serve more than 1 purpose. Another principle of Permaculture is stacking functions. These beds will double as firewood shelter. By the back door, for those cold winter days, when you don’t want to go far to get more wood. We will plant in them things that we use a lot of in the summer. Things that are cold hardy for the shoulder seasons, under the cold-frames. I do not think that these will allow for 4 season growing, but one never knows from season to season. They will definitely extend the growing season greatly.
Wicking Beds With Greenhouse Tops – Part of Our Urban Homestead Project
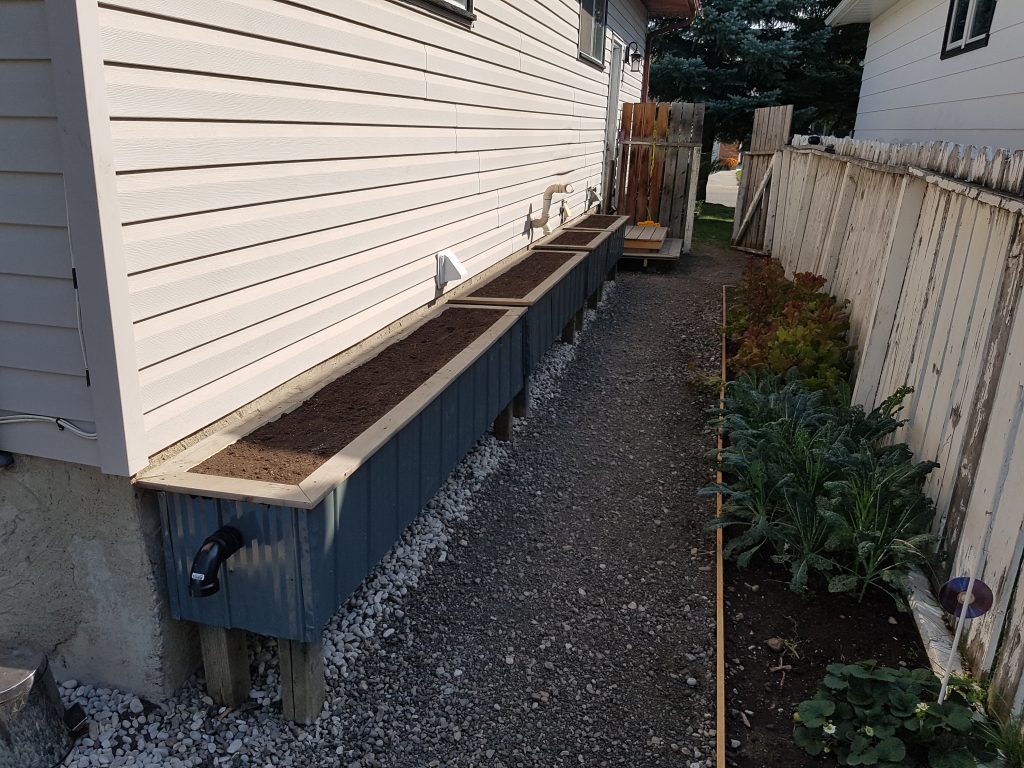
These raised beds are the wicking beds in the “Wicking Beds Piped Together” page. There is a full description of the build of the garden beds there. For the covers, greenhouses, cold-frames, whatever you want to call them. Here is how I constructed them at a very low cost.
Being flexible with the design
Being flexible with the design is key to the low cost build. The original idea was to build all of the back walls with 2 x 6’s. Well, I forgot how low my supply of 2 x 6’s was. So, the first one (in the first picture above) is built from 2 X 6’s. The rest are planks on a plywood backing.
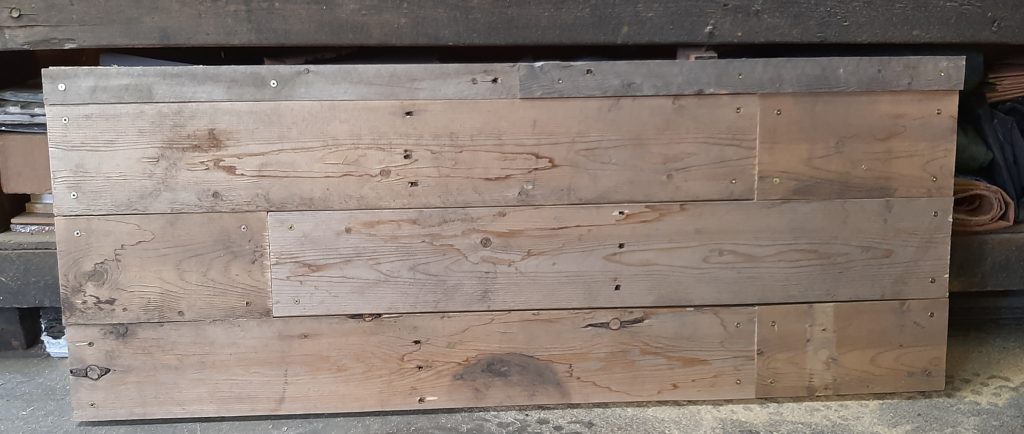
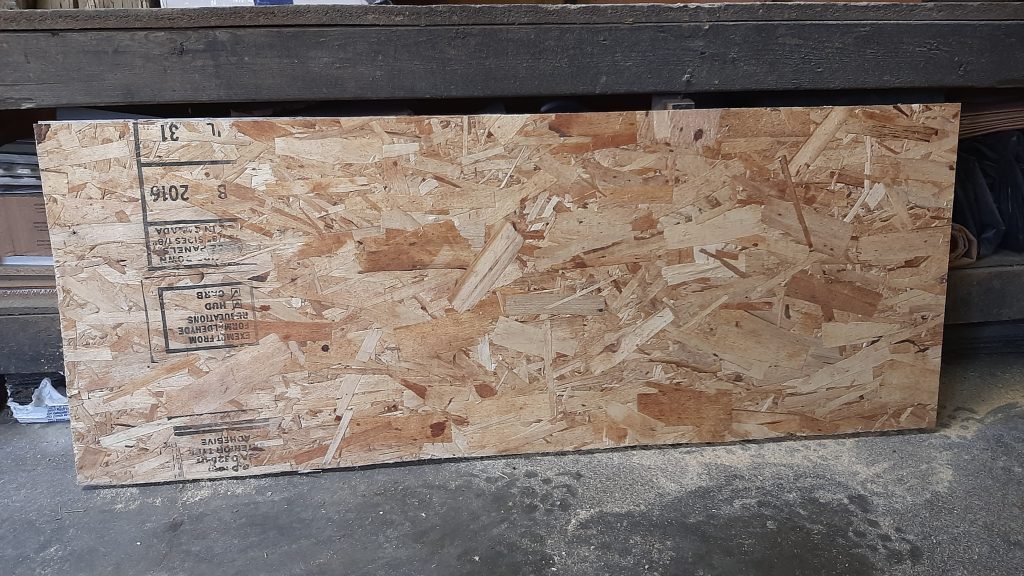
Less thermal mass, sure, but I have pallet wood. I have the piece of MDF or whatever you call this stuff. Chip board, flake board, plywood. It will work. Right now the gardens are open to the elements so, good, better, best. I have plans to paint the wood, and add some dark rocks for heat exchange. So, this is just another step.

Thinking About Positioning
These are going to face South and sit against the house. Therefore, the back (North) wall of the greenhouse is solid. As is the East wall. To catch the afternoon Sun’s heat. Angles are not my strong suite, so I kept the lid angle at a 45 degrees, to keep it easy. Total back wall height is 19″. The front wall ends up about 7″.
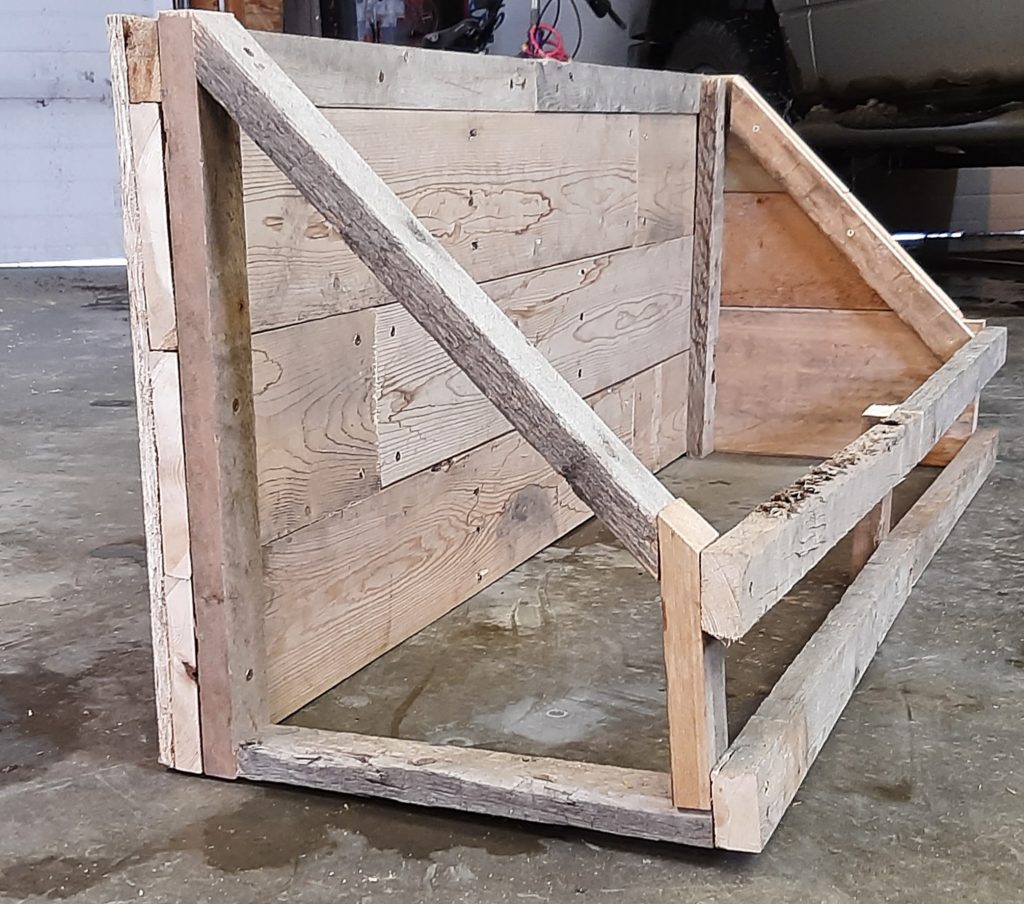
The West, and South side will get the most Sun, and those sides will get a clear plastic covering. For this side wall, I just framed in a similar shape as the 2 x 6 wall. This is where the 45 degree angle comes in handy. The beds are 12″ across, so that’s the width (or length depending on which piece your talking about) of the bottom piece.

The front is a basic connecting piece. Nothing fancy here. I had to use 2 pieces to make the length. Ideally 1 piece would be a nicer finish, but again, I’m flexible with the design.
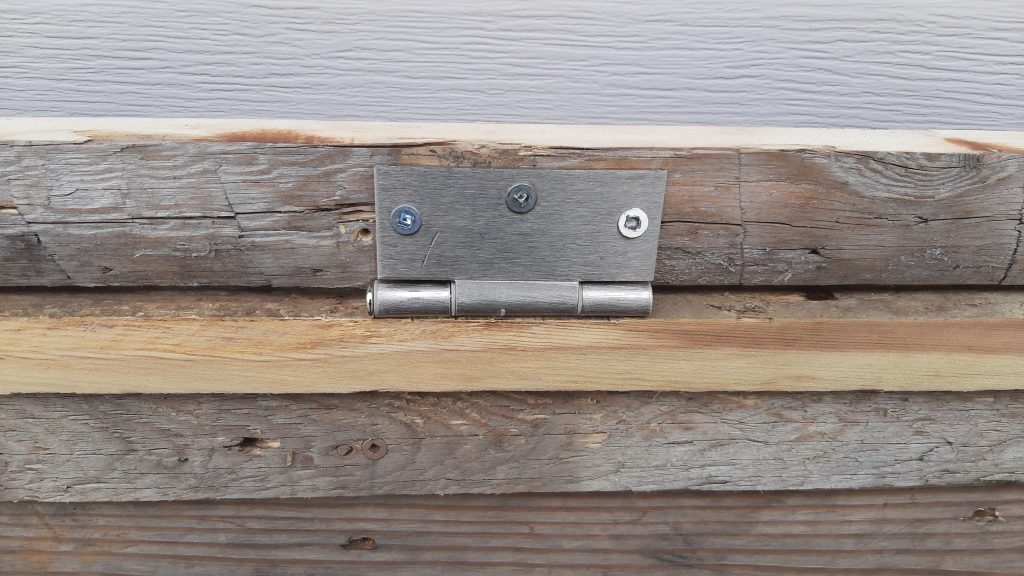
The hinges are nice, but not 100% necessary, I guess. I have hinges from previous projects, so we’re going to put them on.
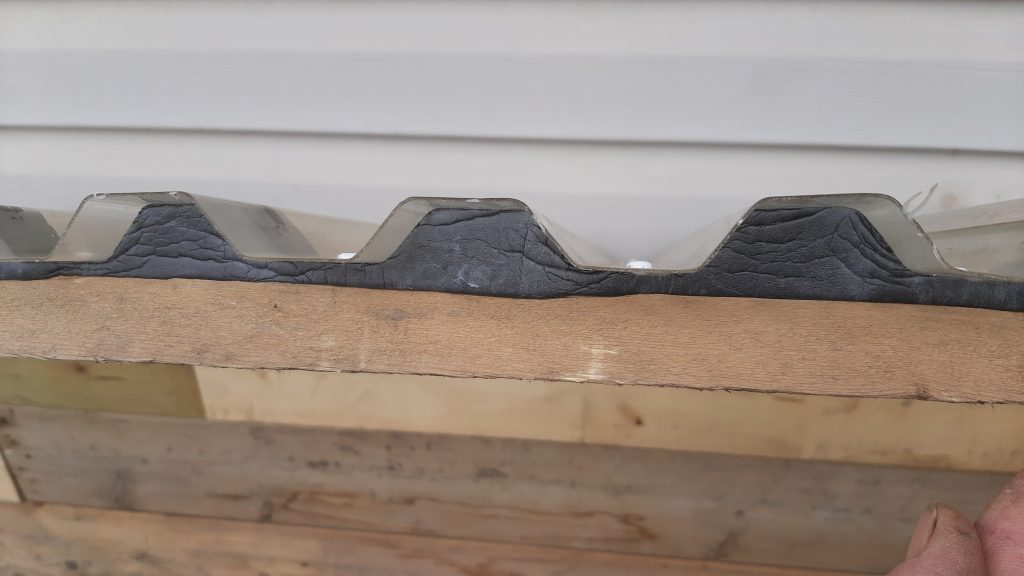
There is foam ends designed for this type of roof. But, I couldn’t find any around me. I carved the pattern out of foam for a metal corrugated roof. The plastic ends available for these roofs are not good, in my opinion. Making these foam ends didn’t take too long, so I still recommend the foam. It’s the draft I am trying to stop as much as I can. Keep the warm air in.
Wicking Beds With Greenhouse Top Needs A Top
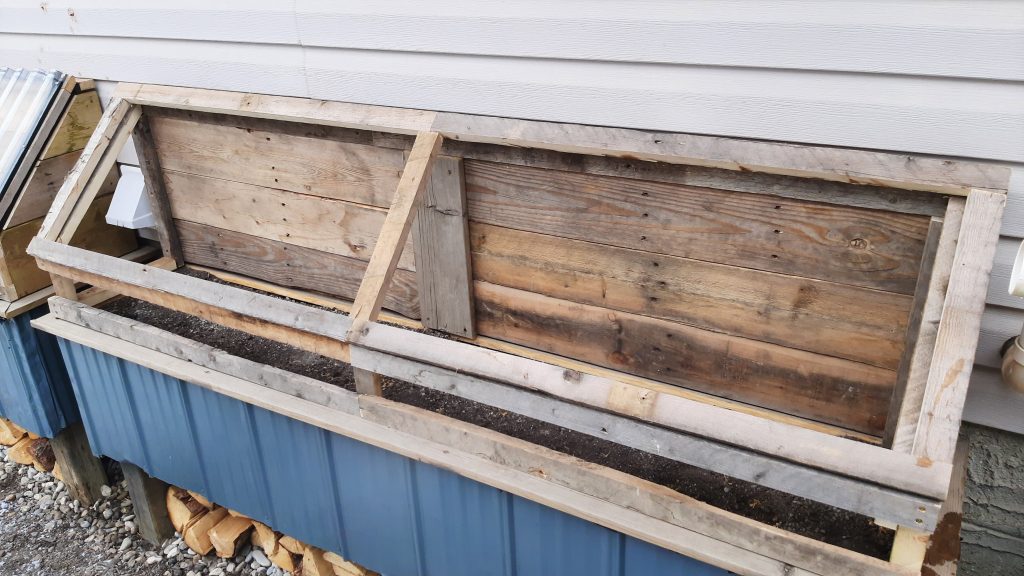
For the lid, it’s a square frame. Pre-drilling the screw holes makes this part much easier. Pallet wood tends to be dry and beat up. Making it prone to cracking. The plastic top will help make this sturdy. The screws holding the plastic were not pre-drilled because they are not deep. There is just a lot of them.
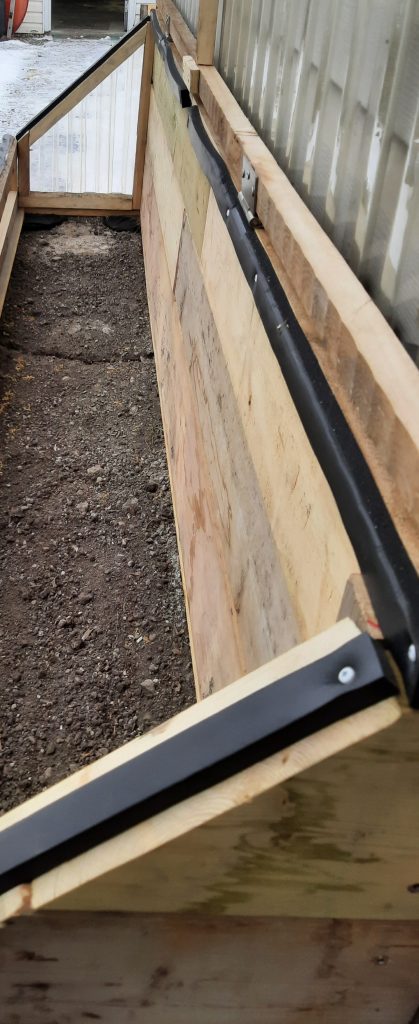
To ensure there is a good seal around the lid, weather stripping was installed. The lids are not air tight, but the limit of cold air coming in is key. Especially to extend the season as long s possible.
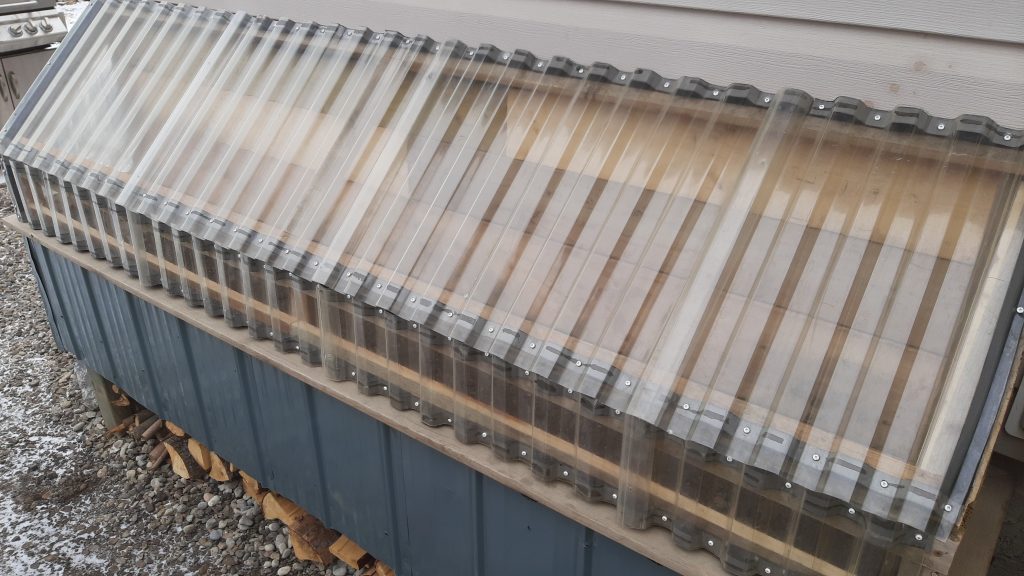
The corrugated plastic roofing came from a previous project. I have stored it for literally 10 years waiting to use it like this! I cut it to length so water is allowed to run off the roof over the front edge. There will be plants in the ground in front of these beds eventually. Those plants can have that water. These beds will be fed with water from the downspout. Just the final hook up to the downspout, some trim work, and paint to be done in the Spring. Good to go.