Posted on

Water Regulating Garden Bed

Water Regulating Garden Bed

Water Regulating Garden Bed – They are also referred to as self-watering beds.  But, this is misleading.  They are self regulating.  They will only fill so much before draining.  However, they do still require water input.  The result of the water being stored under the soil, is less water wastage due to evaporation.  The plant roots are also being drawn deeper into the soil.  This action will make them stronger and more drought tolerant.

Usually raised garden beds, wicking beds are simply a style of garden bed.  They use a method of gardening where the garden bed has its own reservoir of water under the soil.  This is achieved by placing a waterproof barrier in the frame of the bed.  Then filling it with material that promotes the soils natural tendency to wick moisture up.

three layers of a wicking bed

A wicking bed primarily consists of 3 layers. The container (usually a raised garden bed, but not necessary), the reservoir and the planting/wicking material. The main container could be anything from a small potter to a large field. Literally, anything sturdy that will hold water.
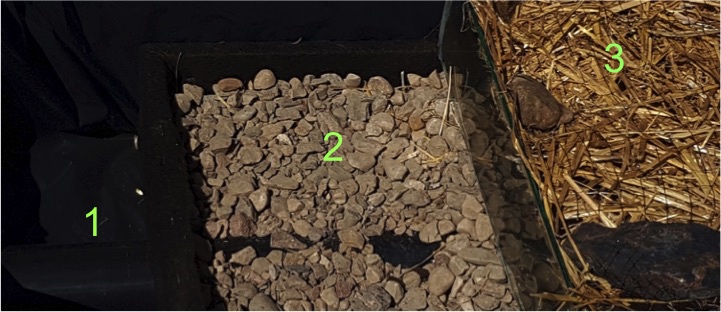
Water Regulating Garden Bed – Enhanced Raised Garden Beds

The basic idea is that the water “wicks”. The water is pulled up from below into the empty pore spaces in the planting soil. This is known as capillary action. The difference in pressure in the soil allows the water to raise. A good illustration of this is a river bank. Look at the soil. You will notice it wet about a foot above the water level of the river. That’s wicking in action.
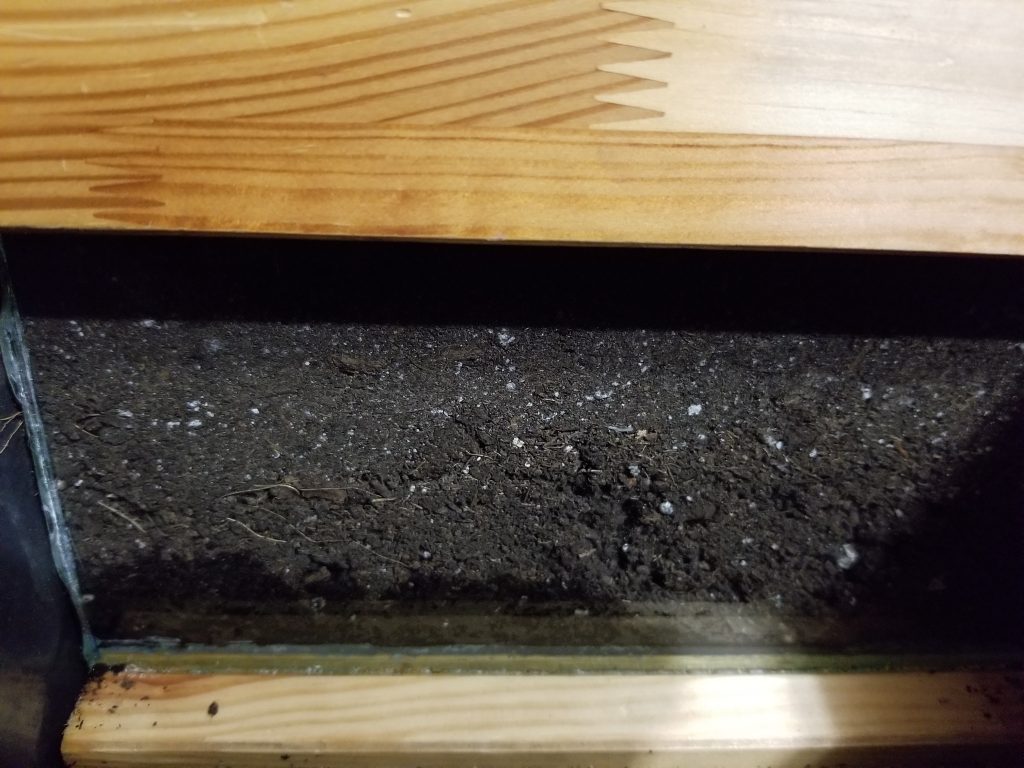
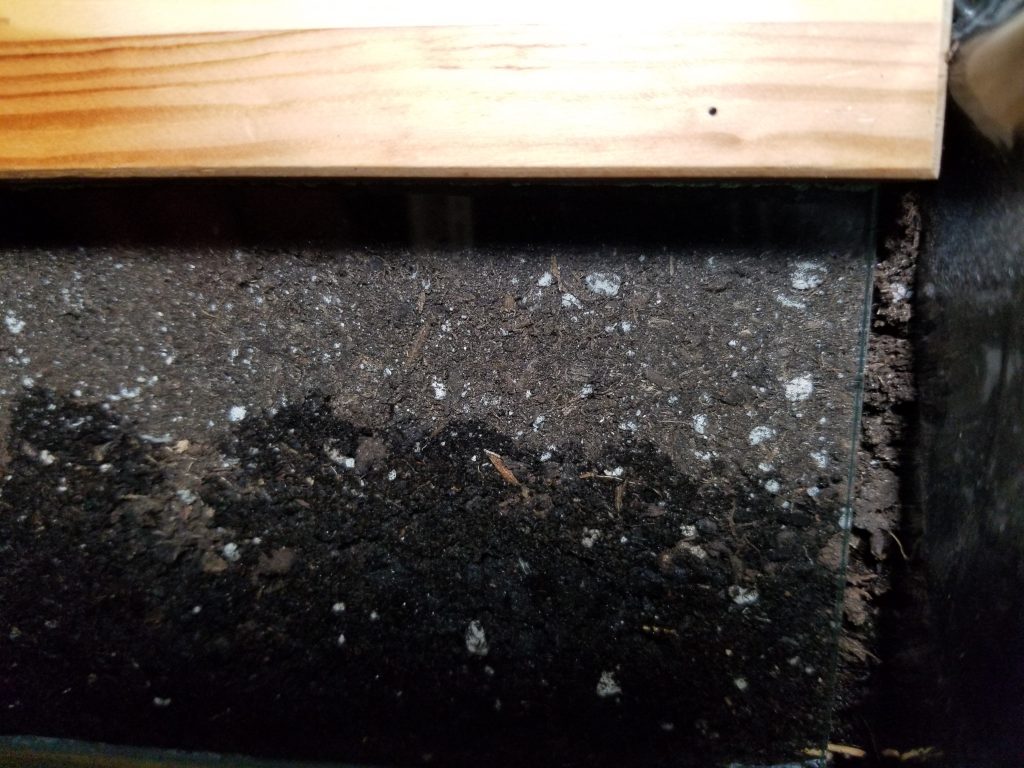
wicking started in wicking bed
wicking midway wicking beds

The reservoirs are the same as rain barrels in principle. From the overflow, the water can go into another bed. They can be plumbed together on the same grade, though the piping may get in the way of access. Therefore, it is much simpler design have the water flow down hill from one bed to the next.
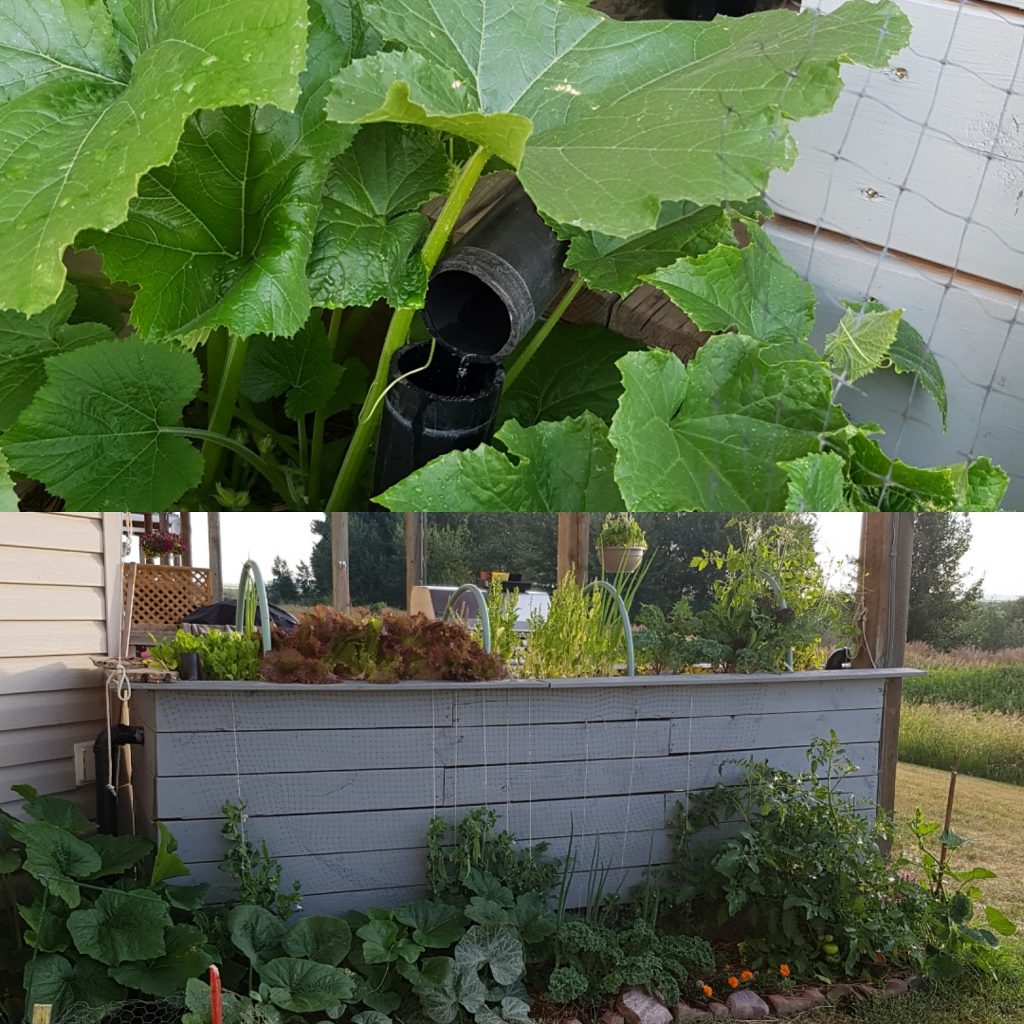
raised garden bed

To store and use as much rainwater as possible, before it leaves your property is the target.
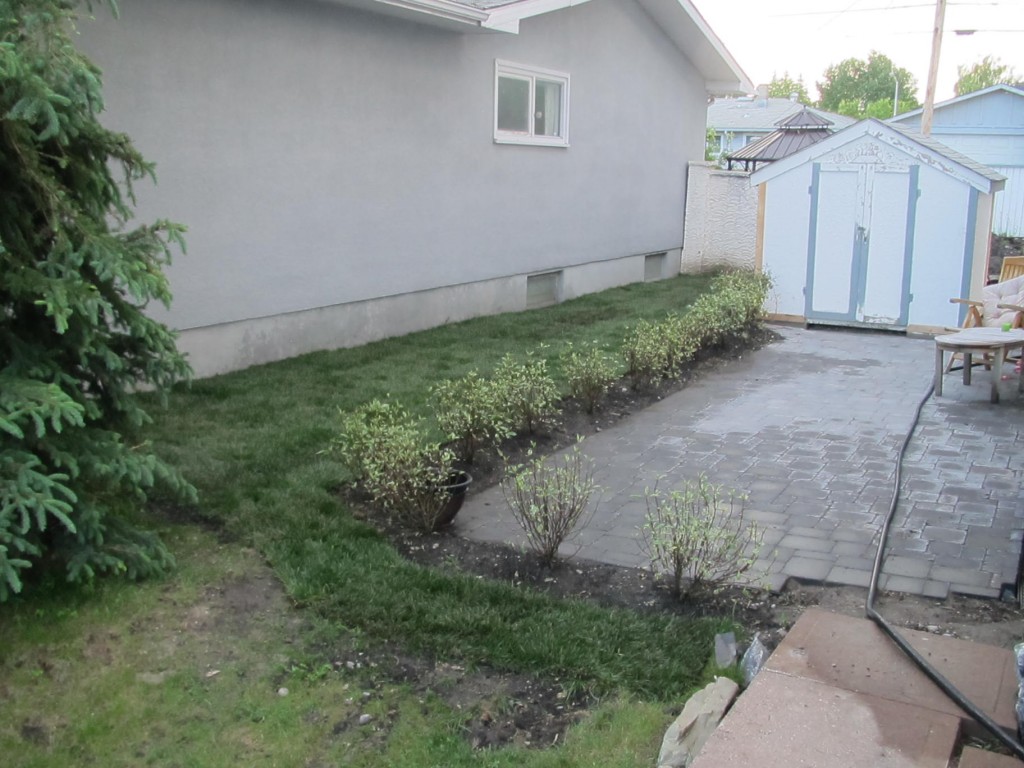
wicking beds dogwood hedge

Once you decide which container you want to use, filling it up is what makes it a “wicking bed”. What I do, is keep everything within 2 feet. That is 1 foot for the reservoir material, and 1 foot for the growing material. Most vegetables and annuals that like moist soil, will do just fine in 1 foot of beautiful soil. Especially when it is kept just at the moisture level they like.
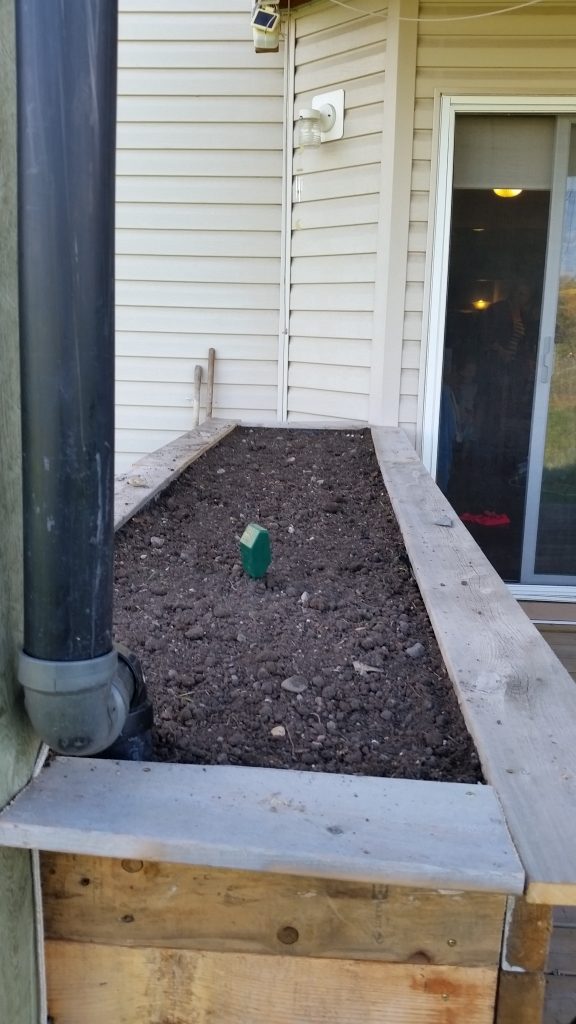
filled up with soil wicking beds raised garden bed

Water Regulating Garden Bed – Some things to remember.

1. You want to keep the roots of plants, especially any perennials, out of any pipe installed or they will eventually clog it.

2. Water will only wick up so high, and not all soil materials wick the same.

3. Plant roots can only sense the water so far. If there is a space between how far up the water will wick and how far down your sprouts’ roots can “smell”, then things won’t work.

4. As the growing material absorbs the water, the soil level will go down. Have extra handy for a top-up before planting.
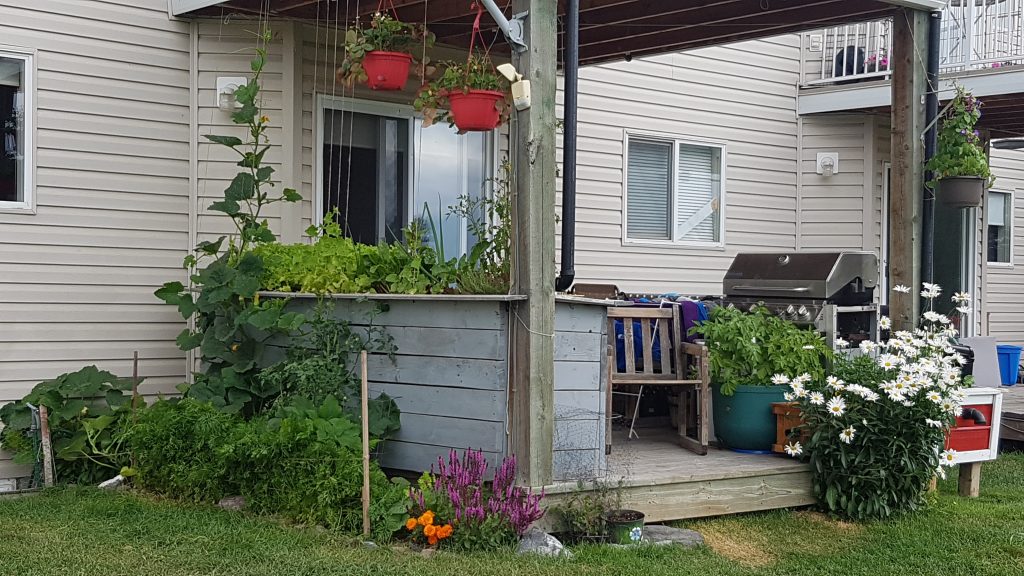
raised garden bed - enhanced

Check out the Wicking Bed pages for more information, descriptions, walk through a build, and then, see it all in action.

Posted on

Essential Oils for the Garden

Essential oils for the garden.

The weather is warming up and things are beginning to awaken from their winter slumber. Many of us are wanting to get out and start making our property beautiful again. While the first buds are sprouting, and the insects are staring to buzz around the warm corners of buildings, now is the time to finish preparing for the outdoor season.

Although each garden is different. Many of the insects pest that wreck havoc on our peaceful places are similar. Organic Land Care teaches us how plants deal with these pests. We can aid in their processes without releasing a toxic cloud of chemicals that drift through our neighbourhoods. When the balance is off in the soil and the plants become weak, insect populations may explode overnight. When that happens, it is time to step in to help.

Before you run to the hardware store or garden centre for chemical sprays and powders. Have a look below for DIY garden sprays for the most common garden pests. Sprays will work to keep the pests away in the short term, but the plants need to be healthy to keep them away for good.

The mixtures can work out to less than $2 a bottle, and are only harmful to the specific insects. They all have benefits for us in different ways.

Check out www.eatmyshrubs.com to learn more and purchase top quality essential oils.

essential oil pic

All Purpose Essential Oil Pest Spray

In 1 Litre of Water add 10 – 15 drops each of

Rosemary Essential Oil,

Peppermint Essential Oil,

Clove Essential Oil,

& Thyme Essential Oil,

Add

1 Tablespoon of Castile Soap

Mix all the ingredients into a spray bottle (preferably glass if you are going to leave the mix in the bottle for an extended period of time) & spray liberally to the effected plants and surrounding soil.

essential oil bottles spring fever

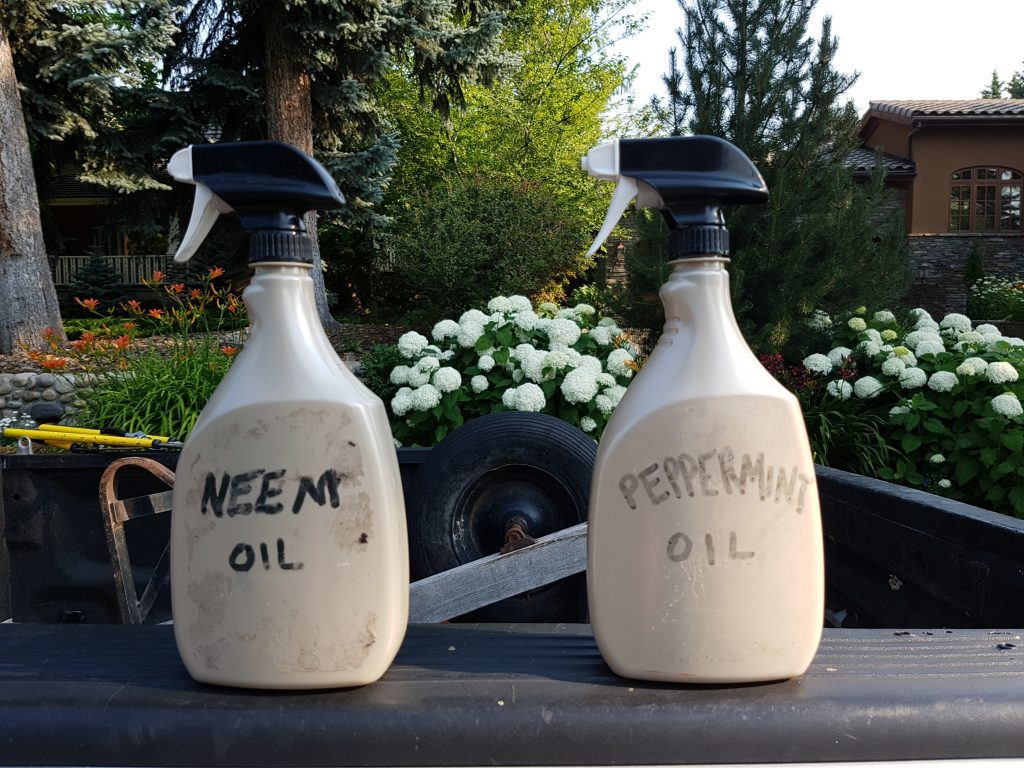
Peppermint Spray for Aphids

In 1 Litre of Water add

15 drops of Essential Oil

1 Tablespoon Castile Soap

Mix the ingredients into a spray bottle & apply liberally to the effected plants.

Substitute Different Oils For Different Pests

Ants – Peppermint

Aphids – Peppermint, Sandalwood, or White Fir

Beetles – Peppermint, or Thyme

Caterpillars – Peppermint

Chiggers – Geranium, Lavender, Lemongrass, or Thyme

Cutworm – Thyme

Fleas – Lavender, Lemongrass , or Peppermint

Flies – Basil, Clove, Eucalyptus, Lavender, Peppermint, Rosemary, or Geranium

Gnats – Patchouli

Mice – Peppermint

Mosquitos – Geranium, Lavender, or Lemongrass

Moths – Lavender, Peppermint, or Geranium

Plant Lice – Peppermint

Scorpions – Basil

Slugs – Fir, or Cedarwood

Snails – Patchouli, or Fir

Spiders – Peppermint

Ticks – Lavender, Lemongrass, or Thyme

Weevils – Patchouli, Sandalwood, or Cedarwood

EMS logo for Terms and conditions page
Posted on

Aerating & Power Raking

Aerating

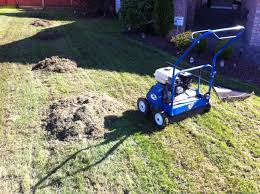
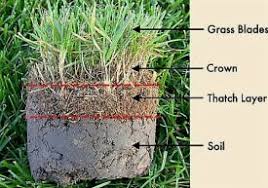
Aerating is the process in which plugs, or cores, are removed from the soil. This increases the soils air supply and can aid the plants respiratory actions. Carefully timed in the spring, just as the grasses are starting to grow roots, aerating can be very beneficial to an urban lawn. Primarily if the soil is compacted, or low in beneficial microorganisms.

Having said that, cutting cores out of the soil does deliberate damage to the root systems of the plants. If not kept in check, over-aerating or aerating too often, with big heavy machines, will have a detrimental effect on the soil. Really, aerating should be an occasional thing to relieve compaction. It can also be a means to inoculate the soil with beneficial microorganisms. Annual or semi-annual aerating is not only unnecessary, but will damage the soil in the long run.

At Eat MY Shrubs, we recommend to aerate in the early spring. Only if the soil really needs it. While the holes are open, top-dress with a good quality compost, or a compost soil mix, compost tea, or effective microorganisms.

*Special note* compost tea and effective microorganisms do not really like strong ultra violet rays. So, if going that route, best do it on a cloudy day, or late in the day. This will avoid killing everything you are adding to the soil, before they can take cover under the surface.

Power Raking

Power raking on the other hand, is not necessary and WILL damage your soil in a very short time. It is non-discriminate. The power rake tears up both dead and living plant material. By cutting, ripping, or generally disturbing living roots, it effectively kills more grass. Power raking begets more power raking. Don’t do it. If really necessary in a localized area of the lawn, a hand thatch rake can be used.

To much thatch in a lawn can be an issue as far as water and air getting to the soil. But, if there is an overgrowth of thatch in the lawn, that is telling us there is not enough microbial activity in the soil. The thatch on the soil surface, made up from dead plant material, should be broken down, eaten, and decomposed by these microbes and other small creatures. Therefore, returning all those nutrients back to the soil.

I recommend aerating in this scenario. While the holes are open, top-dress with a really good quality compost, and take every effort to ensure it gets into the holes. There are also specific microbes that you can add to your compost that especially consumes thatch. If you really wanted to go the extra step I would time it so that the final stages of cleaning up happen as a light rain starts.

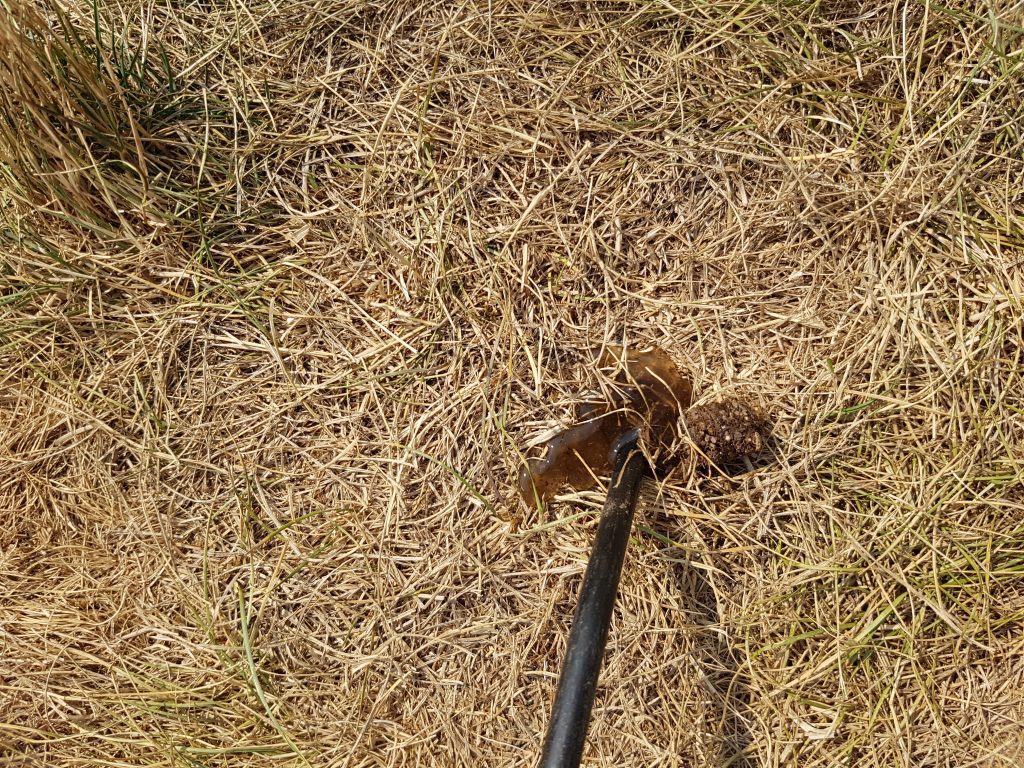
compost tea into aeration hole

Use a sprinkler that aerates the water as much as possible, and gives the water as much time in the air to allow the chlorine to escape.

If you are using a municipal water supply remember that chlorine will kill all the microorganisms in the compost.

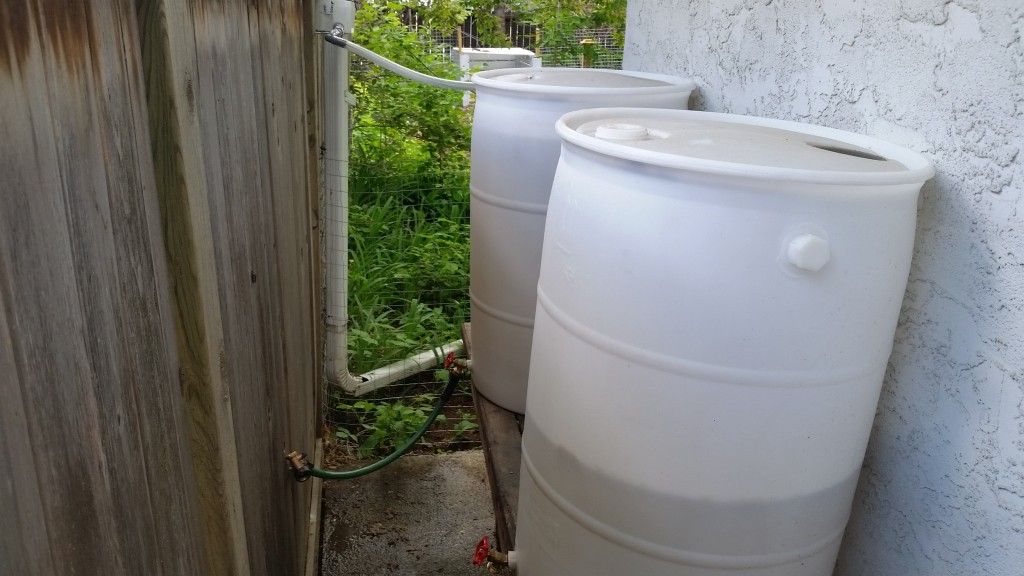
Collect rainwater people! If for no other reason but to irrigate your property. You will be less likely to need aerating and power raking in the future