Growing Ginger indoors in the winter. Or, at least starting it inside in December and moving it outside for the Summer.

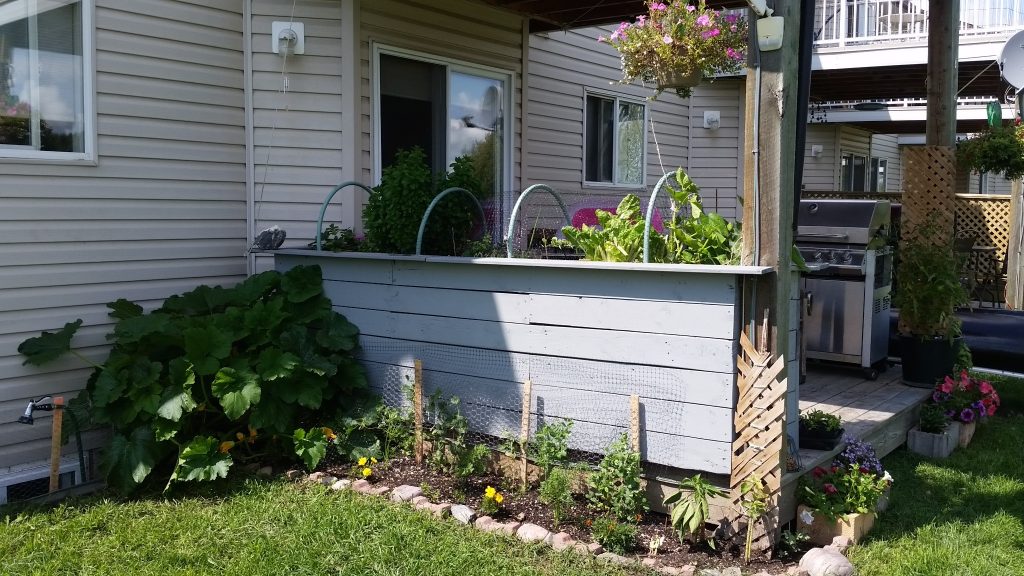
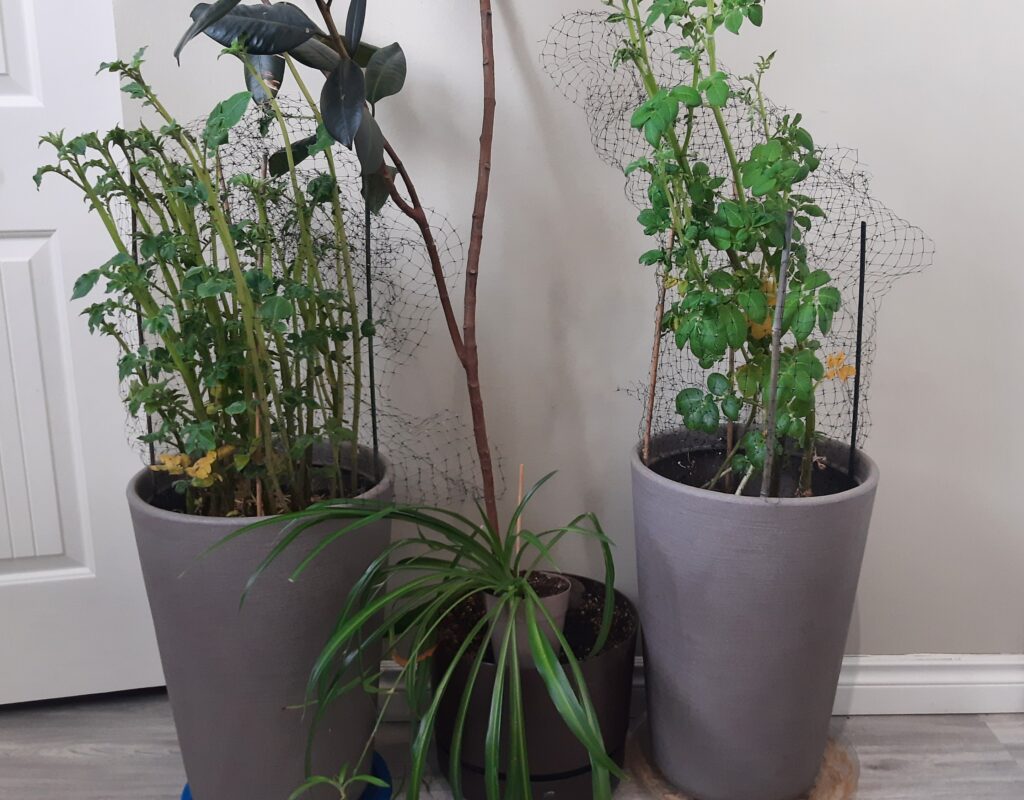
I have grown Ginger in pots before. A few years ago I gave it a try and had some success. So, here we go again. This one in the picture above, from a few years ago, has one of my Olla bowls in it, which I will do again. It’s a good way to keep the soil moist without having to water it everyday.
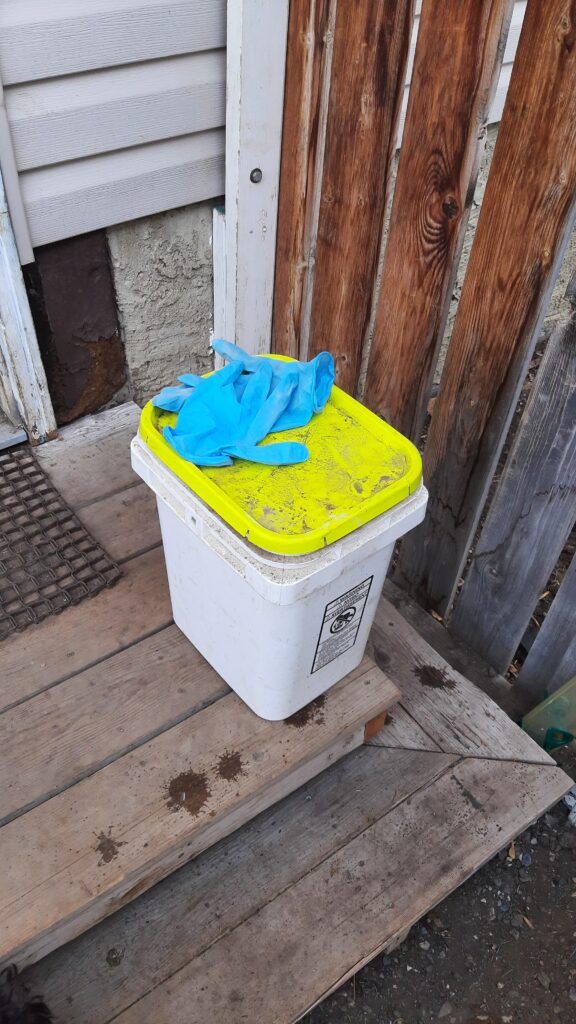
The first thing to do is to get a tuber to use. I would like to get organic ginger to start with, but I couldn’t find any here in December. So, a regular grocery store ginger will have to do. Once its home, your supposed to soak it for 24 hours to get any anti-sprouting agent off it.
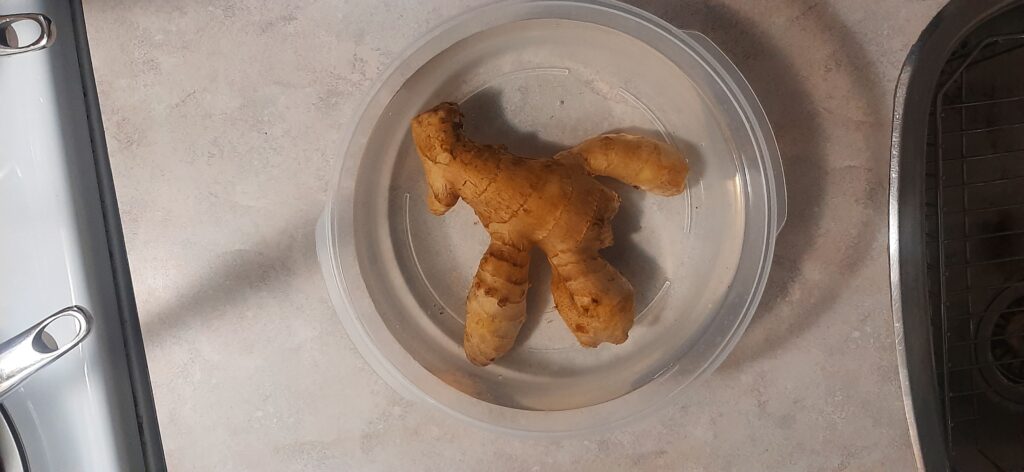
I did a little internet research about the typical sprouting inhibitors. Especially the ones used from China, because that is where this ginger came from. Although they don’t seem too bad, I am happy to start my own ginger. I should have been soaking this stuff over night anyway. I am trying to get the unnecessary chemicals out of my life. Hence this experiment.
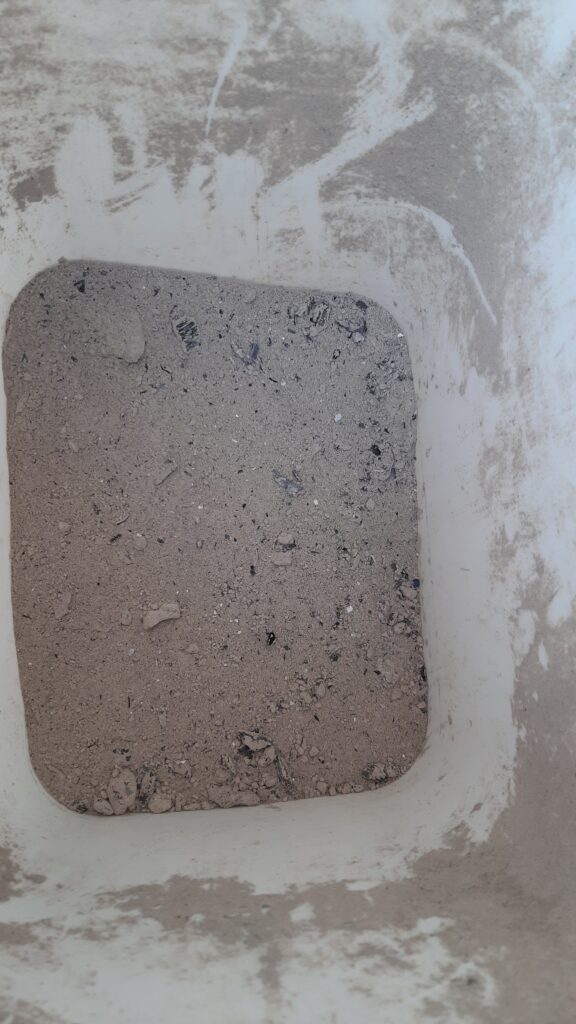
Dividing the tuber into smaller…bits.
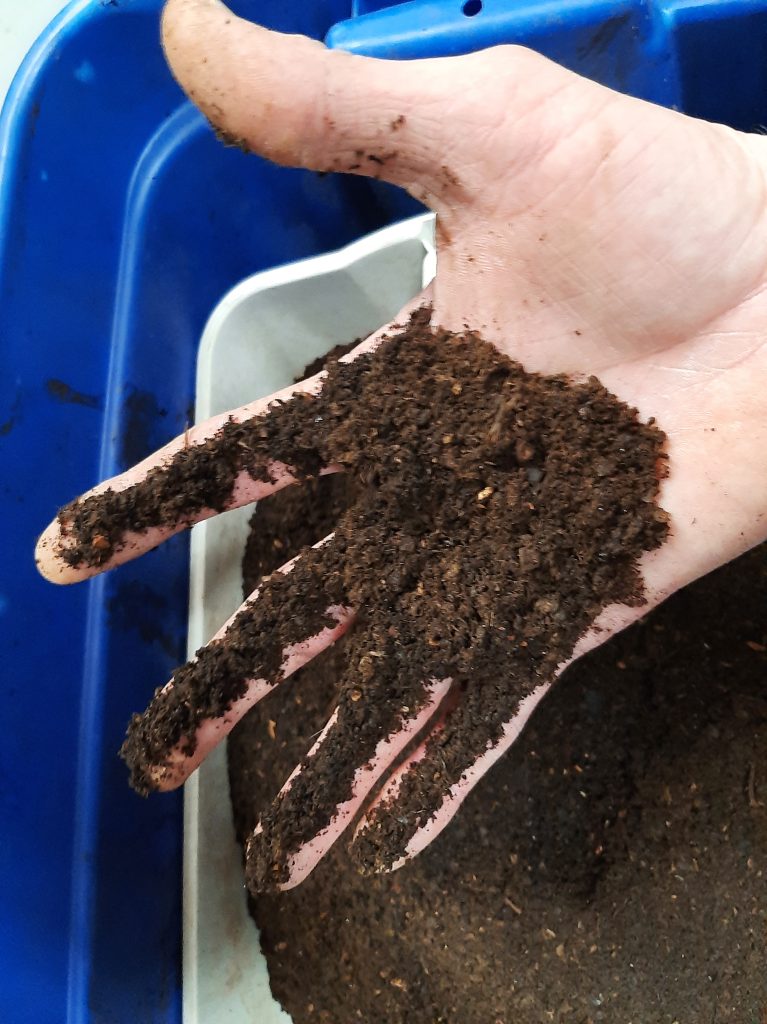
Okay, now that its had its soak its time to start the growing. I want to maximize how much “new” ginger grows, so I am going to cut this big tuber into a few smaller ones. Another good thing about doing that is I can put them in smaller containers eventually. Which will be easier to move around later.
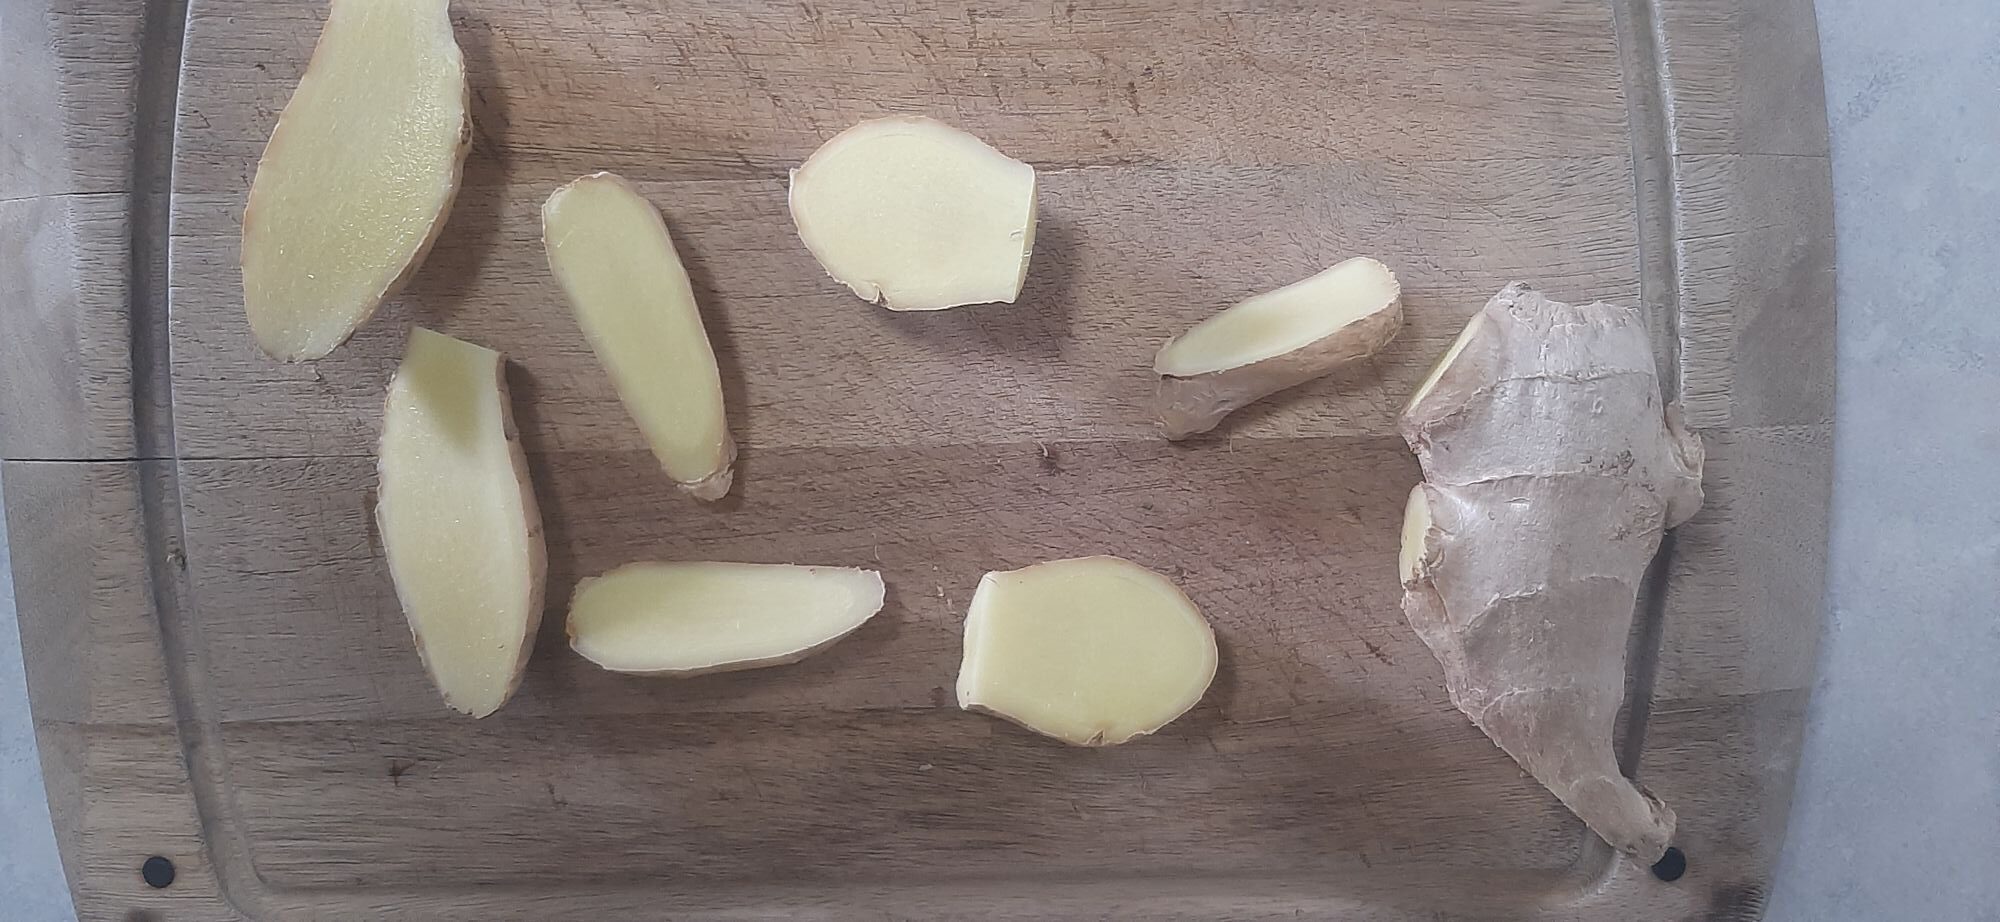
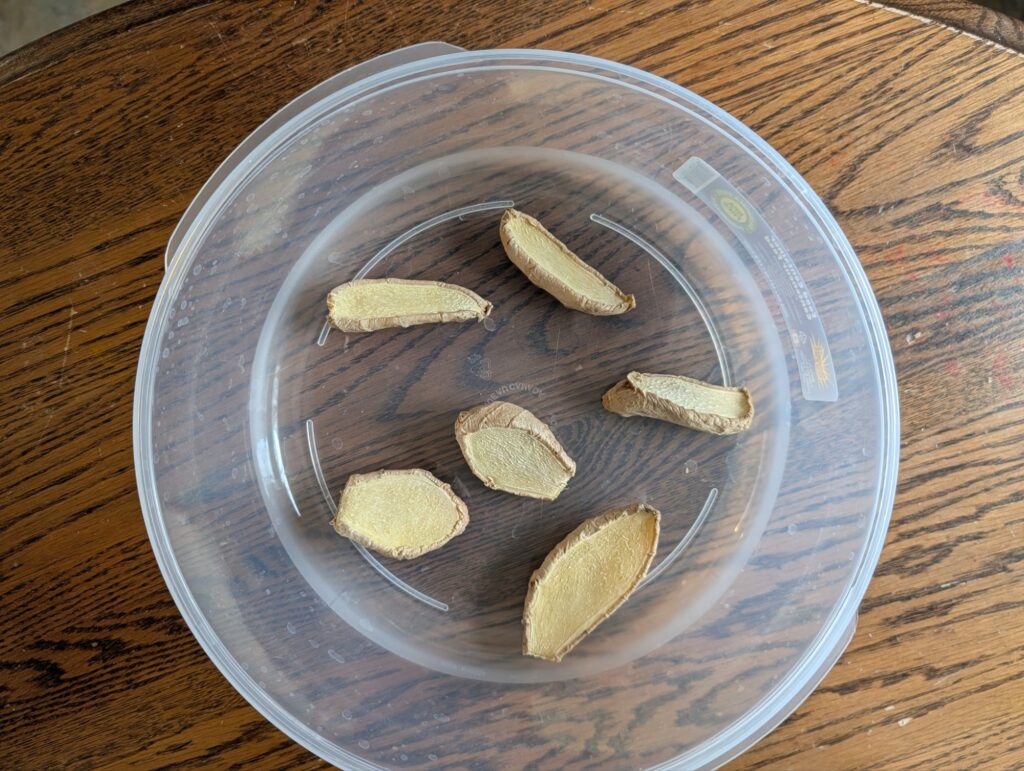
Once they are cut into smaller chunks, they need to sit for a couple of days. This is the same process as potatoes. They need to callus. Basically, the part that you just cut needs to form a callus, or skin, over the fresh wound. I think this keeps the energy of the tuber going outward, not letting bad bacteria and the like in.
Growing ginger indoors in the winter – Planting time

I don’t think that planting could be much easier. Basically you place them in the soil so the little nubs are pointing somewhat in an upward position. The way I cut the pieces are such that the sliced part goes down. That may be specific to this planting round. If you didn’t slice yours this way, no worries. Its the direction of the nubs is the more important part. And, I’m not sure how important that is, to be honest. I feel like if the tuber wants to grow, it’ll find the light. Don’t overthink this part.
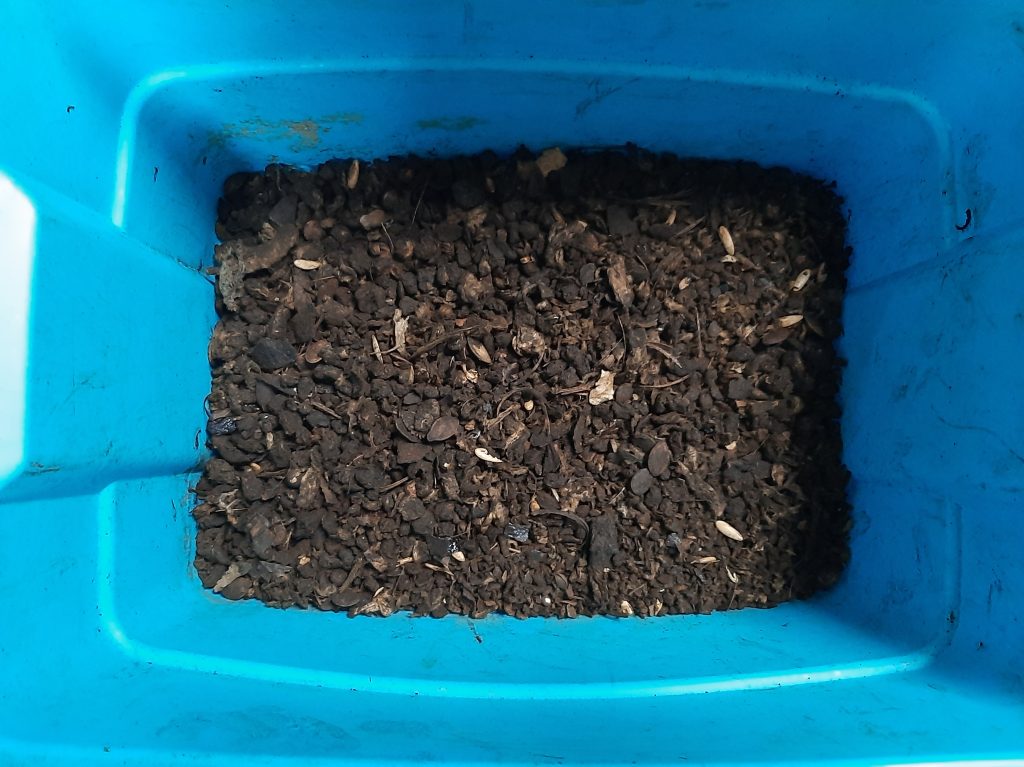
I picked this container because it is shallow and wide. Ginger doesn’t grow down so much as it grows horizontally. I do plan on transplanting these plants in the Spring so I feel like this container will get me started. If I had more space and bigger containers, I may have opted for a bigger container, but you use what you have. This is what I have, so I’m using it.
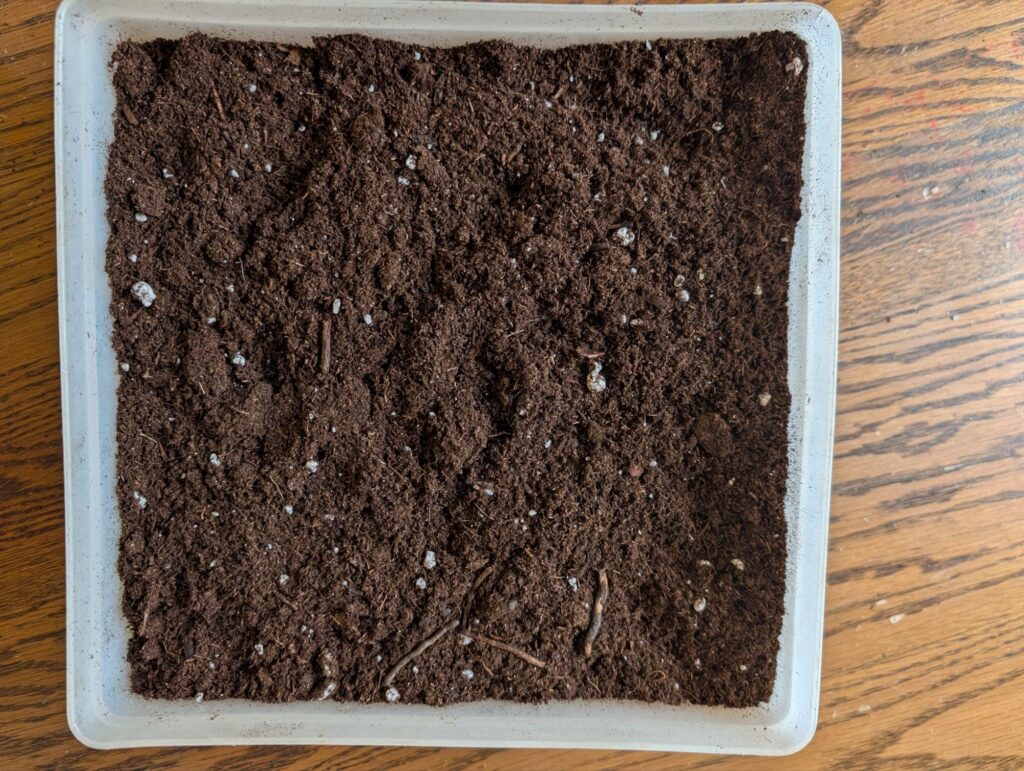
Once the cuttings are placed in the soil, you just bury them. In about an inch of soil.
Bam! Done.
Just water them and then keep the the soil moist, but not soaking and they should sprout. I’m going to give these about 2 weeks and see what happens. I did buy it at the grocery store, so I am hopeful that my 24 hour soaking got rid of the sprouting inhibitor. But there is another method they sometimes use to keep ginger from sprouting which doesn’t come off. That is called irradiation. If they used that then this is all for not. Fingers crossed this ginger hasn’t seen radiation. It’s December 26th today. My hope is to transplant them into the garden in April. I may need to move them into a larger pot before then, but I’ll cross that bridge when I get there.
One step at a time.