Posted on

Essential Oils for the Garden

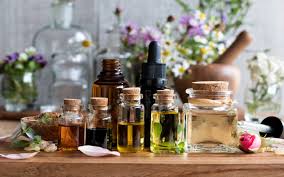
Essential oils for the garden.

The weather is warming up and things are beginning to awaken from their winter slumber. Many of us are wanting to get out and start making our property beautiful again. While the first buds are sprouting, and the insects are staring to buzz around the warm corners of buildings, now is the time to finish preparing for the outdoor season.

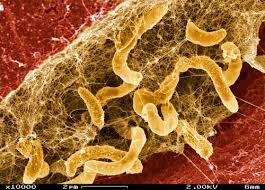
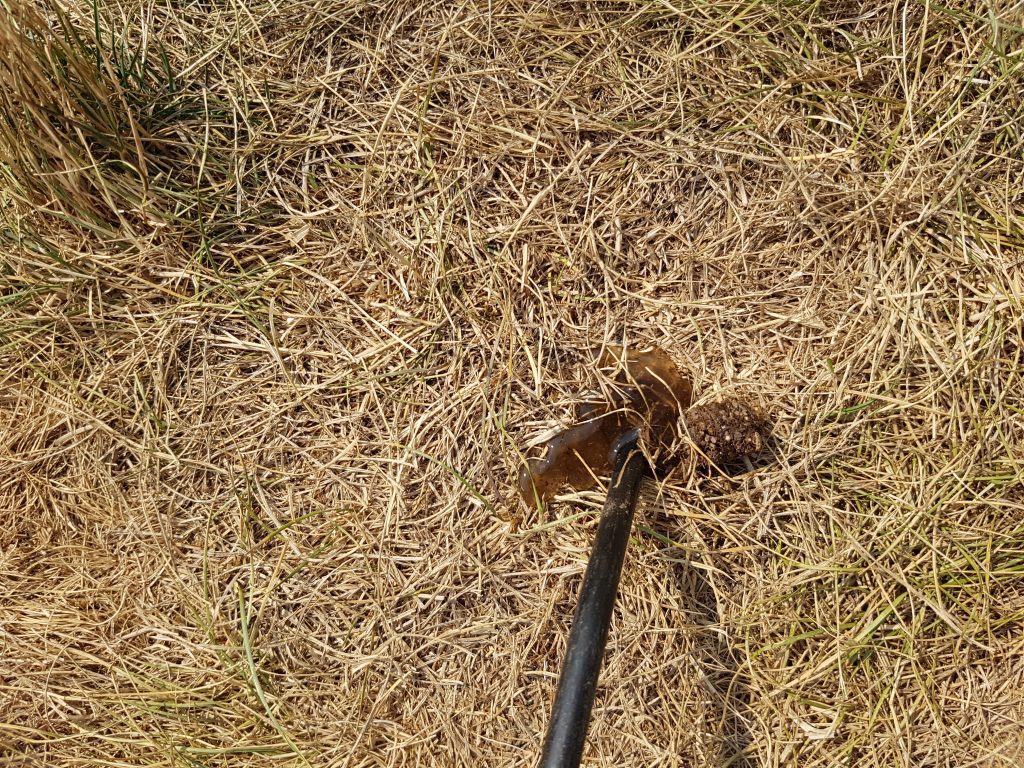
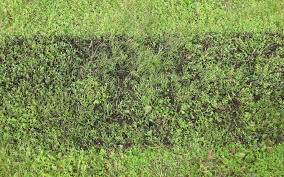
Although each garden is different. Many of the insects pest that wreck havoc on our peaceful places are similar. Organic Land Care teaches us how plants deal with these pests. We can aid in their processes without releasing a toxic cloud of chemicals that drift through our neighbourhoods. When the balance is off in the soil and the plants become weak, insect populations may explode overnight. When that happens, it is time to step in to help.

Before you run to the hardware store or garden centre for chemical sprays and powders. Have a look below for DIY garden sprays for the most common garden pests. Sprays will work to keep the pests away in the short term, but the plants need to be healthy to keep them away for good.

The mixtures can work out to less than $2 a bottle, and are only harmful to the specific insects. They all have benefits for us in different ways.

Check out www.eatmyshrubs.com to learn more and purchase top quality essential oils.

essential oil pic

All Purpose Essential Oil Pest Spray

In 1 Litre of Water add 10 – 15 drops each of

Rosemary Essential Oil,

Peppermint Essential Oil,

Clove Essential Oil,

& Thyme Essential Oil,

Add

1 Tablespoon of Castile Soap

Mix all the ingredients into a spray bottle (preferably glass if you are going to leave the mix in the bottle for an extended period of time) & spray liberally to the effected plants and surrounding soil.

essential oil bottles spring fever

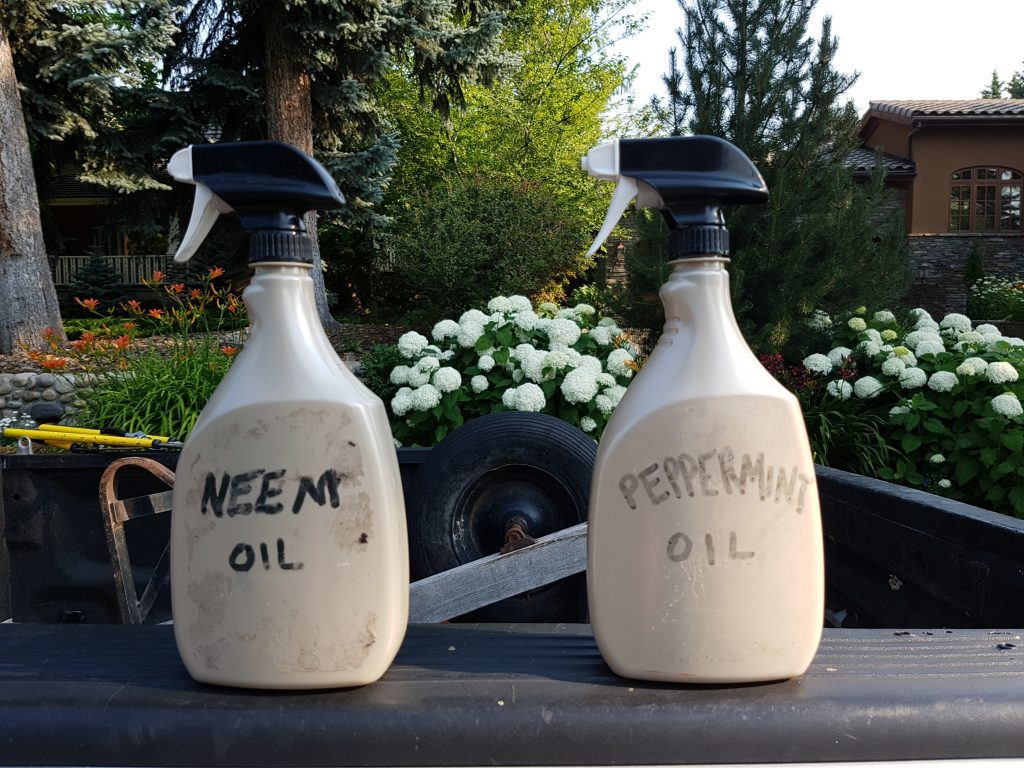
Peppermint Spray for Aphids

In 1 Litre of Water add

15 drops of Essential Oil

1 Tablespoon Castile Soap

Mix the ingredients into a spray bottle & apply liberally to the effected plants.

Substitute Different Oils For Different Pests

Ants – Peppermint

Aphids – Peppermint, Sandalwood, or White Fir

Beetles – Peppermint, or Thyme

Caterpillars – Peppermint

Chiggers – Geranium, Lavender, Lemongrass, or Thyme

Cutworm – Thyme

Fleas – Lavender, Lemongrass , or Peppermint

Flies – Basil, Clove, Eucalyptus, Lavender, Peppermint, Rosemary, or Geranium

Gnats – Patchouli

Mice – Peppermint

Mosquitos – Geranium, Lavender, or Lemongrass

Moths – Lavender, Peppermint, or Geranium

Plant Lice – Peppermint

Scorpions – Basil

Slugs – Fir, or Cedarwood

Snails – Patchouli, or Fir

Spiders – Peppermint

Ticks – Lavender, Lemongrass, or Thyme

Weevils – Patchouli, Sandalwood, or Cedarwood

EMS logo for Terms and conditions page
Posted on

Aerating & Power Raking

Aerating

Aerating is the process in which plugs, or cores, are removed from the soil. This increases the soils air supply and can aid the plants respiratory actions. Carefully timed in the spring, just as the grasses are starting to grow roots, aerating can be very beneficial to an urban lawn. Primarily if the soil is compacted, or low in beneficial microorganisms.

Having said that, cutting cores out of the soil does deliberate damage to the root systems of the plants. If not kept in check, over-aerating or aerating too often, with big heavy machines, will have a detrimental effect on the soil. Really, aerating should be an occasional thing to relieve compaction. It can also be a means to inoculate the soil with beneficial microorganisms. Annual or semi-annual aerating is not only unnecessary, but will damage the soil in the long run.

At Eat MY Shrubs, we recommend to aerate in the early spring. Only if the soil really needs it. While the holes are open, top-dress with a good quality compost, or a compost soil mix, compost tea, or effective microorganisms.

*Special note* compost tea and effective microorganisms do not really like strong ultra violet rays. So, if going that route, best do it on a cloudy day, or late in the day. This will avoid killing everything you are adding to the soil, before they can take cover under the surface.

Power Raking

Power raking on the other hand, is not necessary and WILL damage your soil in a very short time. It is non-discriminate. The power rake tears up both dead and living plant material. By cutting, ripping, or generally disturbing living roots, it effectively kills more grass. Power raking begets more power raking. Don’t do it. If really necessary in a localized area of the lawn, a hand thatch rake can be used.

To much thatch in a lawn can be an issue as far as water and air getting to the soil. But, if there is an overgrowth of thatch in the lawn, that is telling us there is not enough microbial activity in the soil. The thatch on the soil surface, made up from dead plant material, should be broken down, eaten, and decomposed by these microbes and other small creatures. Therefore, returning all those nutrients back to the soil.

I recommend aerating in this scenario. While the holes are open, top-dress with a really good quality compost, and take every effort to ensure it gets into the holes. There are also specific microbes that you can add to your compost that especially consumes thatch. If you really wanted to go the extra step I would time it so that the final stages of cleaning up happen as a light rain starts.

compost tea into aeration hole

Use a sprinkler that aerates the water as much as possible, and gives the water as much time in the air to allow the chlorine to escape.

If you are using a municipal water supply remember that chlorine will kill all the microorganisms in the compost.

Collect rainwater people! If for no other reason but to irrigate your property. You will be less likely to need aerating and power raking in the future

Posted on Leave a comment

Composting for Small Spaces & Small Gardens

Composting for small spaces and small gardens can be tough. If you are a family that lives in an apartment or townhouse in an urban setting, your garden space, if any, is more than likely on the smaller scale. When this is the case, trying to squeeze in a 3-bin compost bin that measures 3m X 1m is pricey real estate to give up. Compost is by far the best thing you can add to the soil in your garden. Hands down. No argument. So what is a person to do?

Compost inside!?!

But, if you can’t fit a 3-bin system in your yard, can you fit one in the kitchen?

Just kidding. I am talking about composting inside, year-round, with worms.

worm close up composting for small spaces

Wait!!!

Don’t Go!!! Just wait!

A lot of people I have talked to, love seeing the worm bins at the market and in classrooms. But, when it comes to having them in our house. Many people get a little…squeamish.

worm compost for small places

“How do I get the compost out? ” & ” Do you have to pick out each worm?” Are questions I get asked a lot.

If you have not seen them before, allow me to introduce you to the migration system for worm composting!

Worm Composting – The Migration System

The migration system of composting with worms takes all the squeamish work out of harvesting the finished compost. Though, I would still recommend a pair of gloves, it is a great way of composting in small spaces. The key aspect to this system is the screen divider that splits the bin in half. Because of this divider, the worm farmer (that’s us) can use the natural tendency of the worms to move, or migrate, toward a food source.

The inside is lined with a poly film to protect both the wood from moisture but also, I have heard the worms don’t like cedar, so its a double purpose I guess.

How it works.

Really, the migration system can be used in any worm composting container. Simply make a screen divider that will fit snuggly into your worm bin. I construct bins to have a permanent divider built in. This just allows for more aggressive turning of the compost as it is being made. With the divider in the midway point in the bin, it is easy to divide the compost bin into 2 halves.

The worms do not know the difference!

I have been composting with worms for about 12 years. I have looked at them under microscopes and collected eggs from under layers of plastic when a hole was found in a liner. My kids do everything but name the worms as we feed them, so I can say this with a lot of confidence.

worm egg compost for small spaces

I’m pretty sure the worms have no idea the screen is even there!

divider compost for small spaces

It’s just a way for us to divide the working compost from the finished compost.

Feed the worms on one side of the screen and then, when that side is getting full, start feeding them on the other side of the screen. The worms will migrate to the new food source as the old food source is eaten. This will leave finished compost, virtually worm-free.

Finished compost close up

Basically, once you get into a rhythm, just move the food source from one side of the screen to the other. It’s actually kind of fun to watch the worms move from one side to the other. It is as close to communicating with the worms as (I think) we can get.

Worm composting can be a great addition for kids around 10 years old as well. They can have a thousand little pets! They need to be fed once a week at the most, but can go 3 weeks once they get established. It all depends on the quantity of food. The worms will never run away. They will only survive for a few minutes out of the compost. And, every few months you empty their bin of some of the best, organic soil amendment money can buy.

For free!

Visit eatmyshrubs.com to learn more about composting with worms (and other methods)!