Starting a sustainable vegetable garden using the lasagna garden technique. This method can save you time, money, and your back!
Select the area to be the garden.
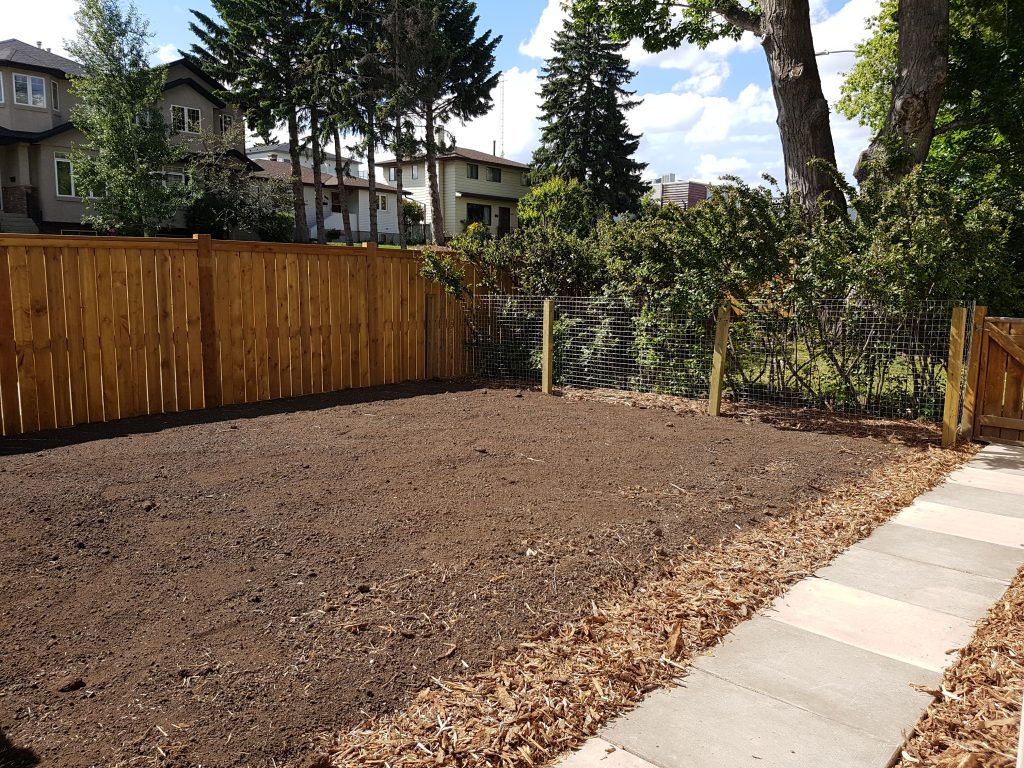
The area by the fence in the picture below was selected for the vegetable garden on this property.
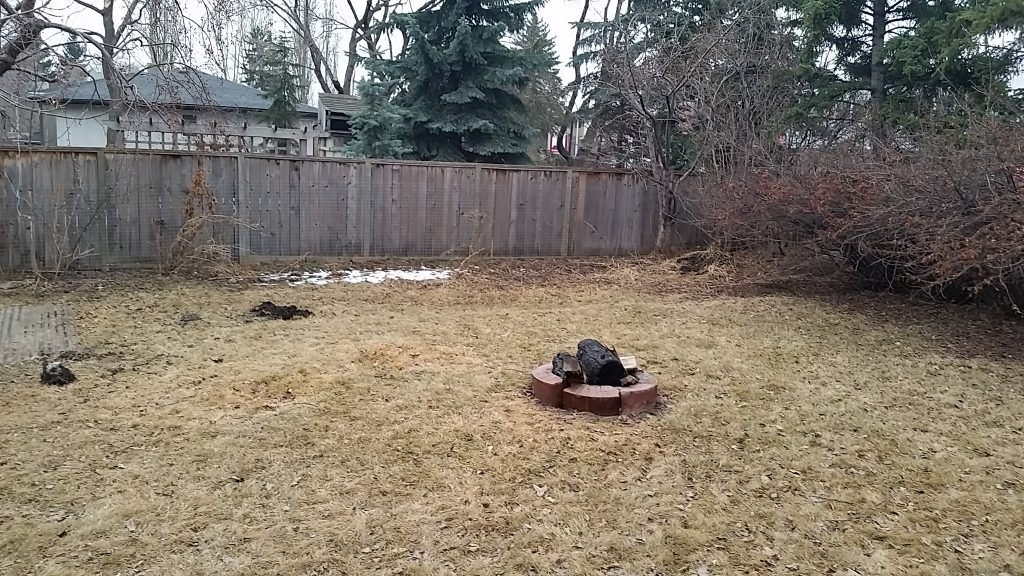
The owners had just moved in. The area in question here is a low spot in the back yard that looks like it may have been a garden bed at some point in the past.
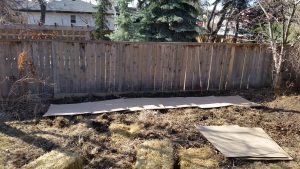
The first step was to collect any organic debris from the yard.
I edged the front garden bed and threw the cut off strips of sod in the pile with fallen branches and leaves. Once the debris pile is spread over the area of the future garden, I flatten it down a bit by stepping on it or rolling something heavy over it.
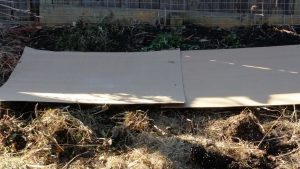
The next step is weed control.
A layer of corrugated cardboard to cover the entire area will help to control the weeds. The cardboard should be free of ink, tape, staples etc. But do the best you can, I often use cardboard with ink on it only out of necessity of what I can find when it’s time to build. Each layer should be watered down as it is layer as well. A good soaking will help the decomposition of the material occur.
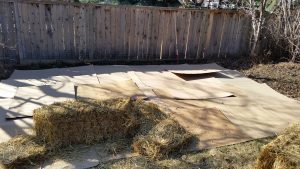
Once the cardboard is down and soaked, I add a layer of straw.
I believe the straw to aid in two ways, It adds to the carbon layer in the garden, and fills in any gaps in the cardboard layer. I usually will go a bit heavier with the straw around the seems of cardboard for some extra coverage.
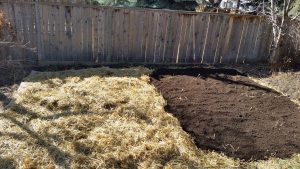
It is a good idea to have the next layer ready before you place the first two.
The cardboard and straw are bot susceptible to the wind , so you will want to have something heavy to put on it. In this case, we used a garden soil mix. A true lasagna garden would use all non-composted, compostable material, however to collect and store the material for this project was not possible at the time so we went this direction.
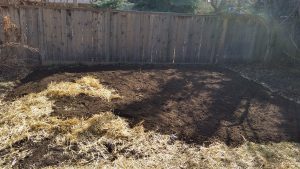
After the layer of garden mix comes another layer of straw.
For the same reasons as the last straw layer. Then a layer of good quality finished compost. Kind of cheating for the lasagna gardening purists out there, but the end result is the same with this no-till approach.
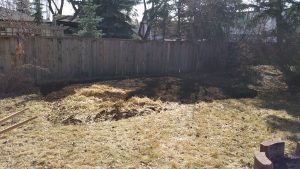
Another layer of straw….
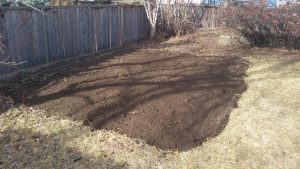
And topped with a good layer of garden mix again.
Basically the garden is done at this stage. It is best to do this in the late summer or fall for the next years planting. I recommend planting a ground cover that first year. That would be turned under as a green mulch for planting the first spring. As you can tell from the snow in the first picture, we did this one in the spring. They had pretty good harvest the first year, but the second year it was better.
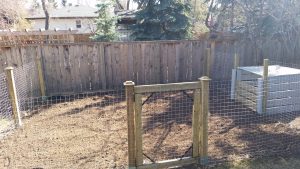
Three active dogs call this backyard home, so a fence was needed to keep them out of the vegetables. The composter is built out of a sunroof that I removed from the back of the house.
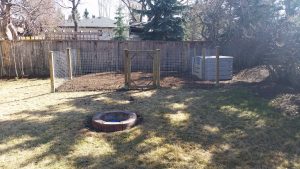
This style of fence is good in that as the garden grows the plants are the focus not the fence.
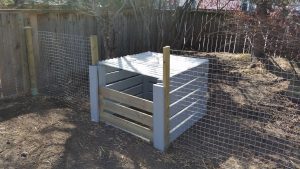
The sunroof was rotting but enough materials were salvaged to make this composter. A three bin system would be ideal. If I had to do it again I would build a three bin system. However, now the city of Calgary has curb side composting. So, I am not sure how many more composters I will build.
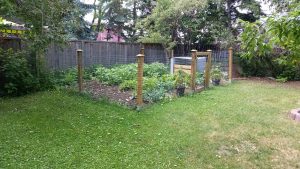
Later in the season.
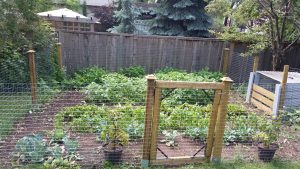
Pretty good harvest for the first season.
Starting A Sustainable Vegetable Garden Take Two
The owner of the previous garden moved a few years later. A new (lasagna) garden space was needed.
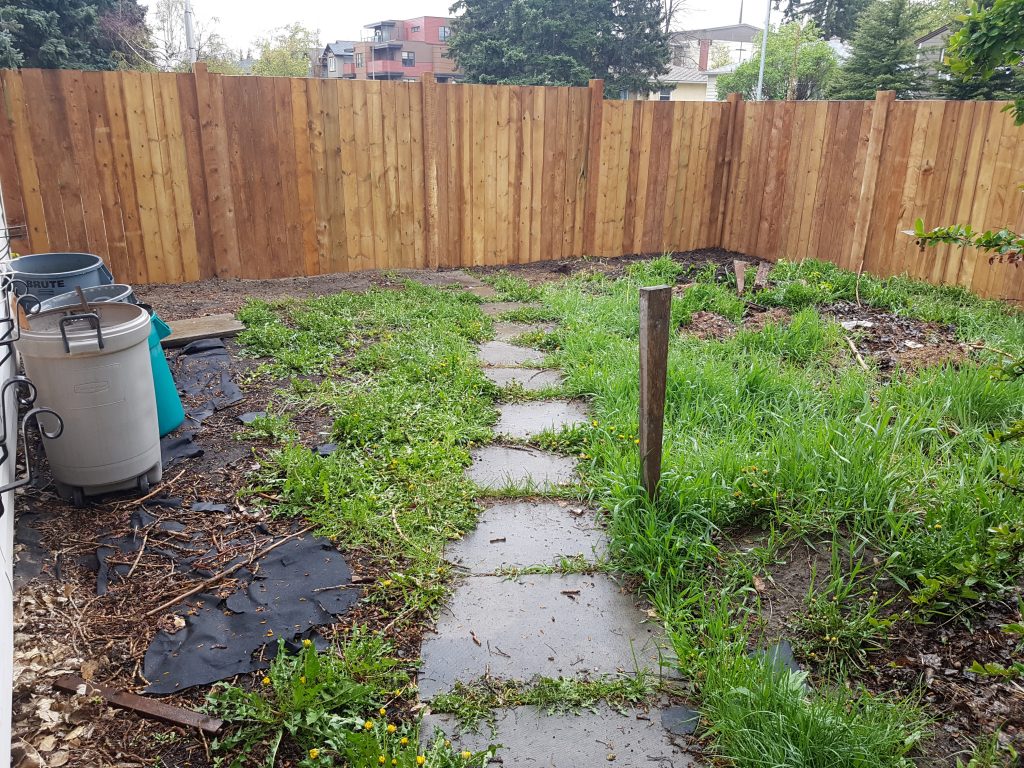
Before
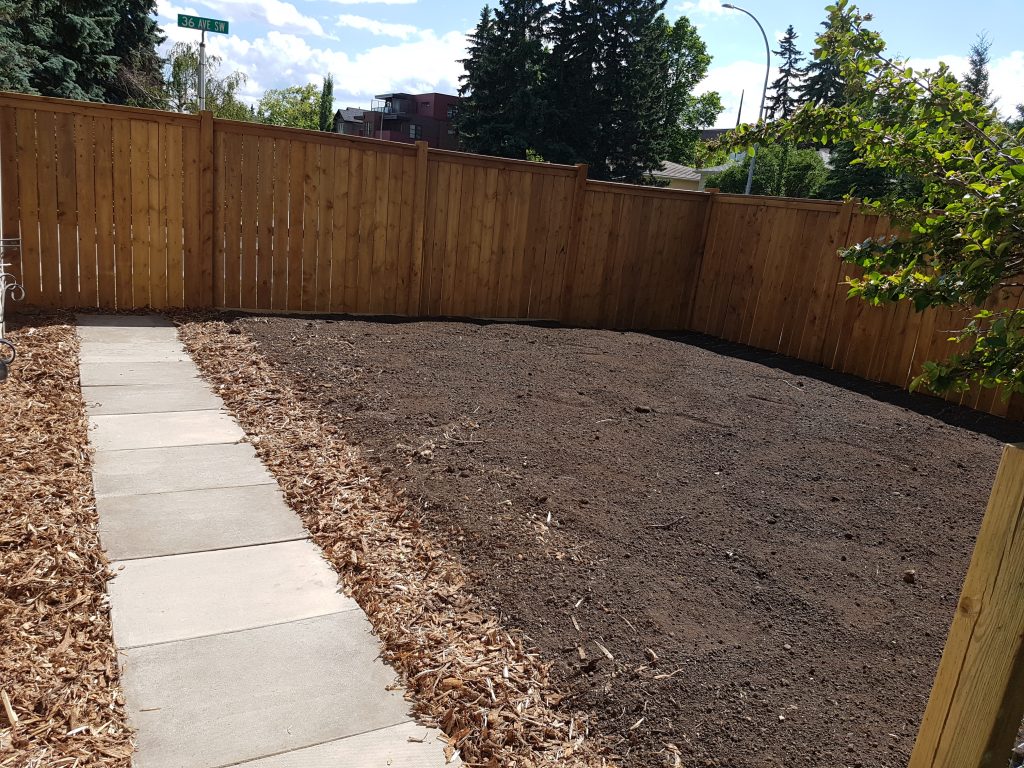
After
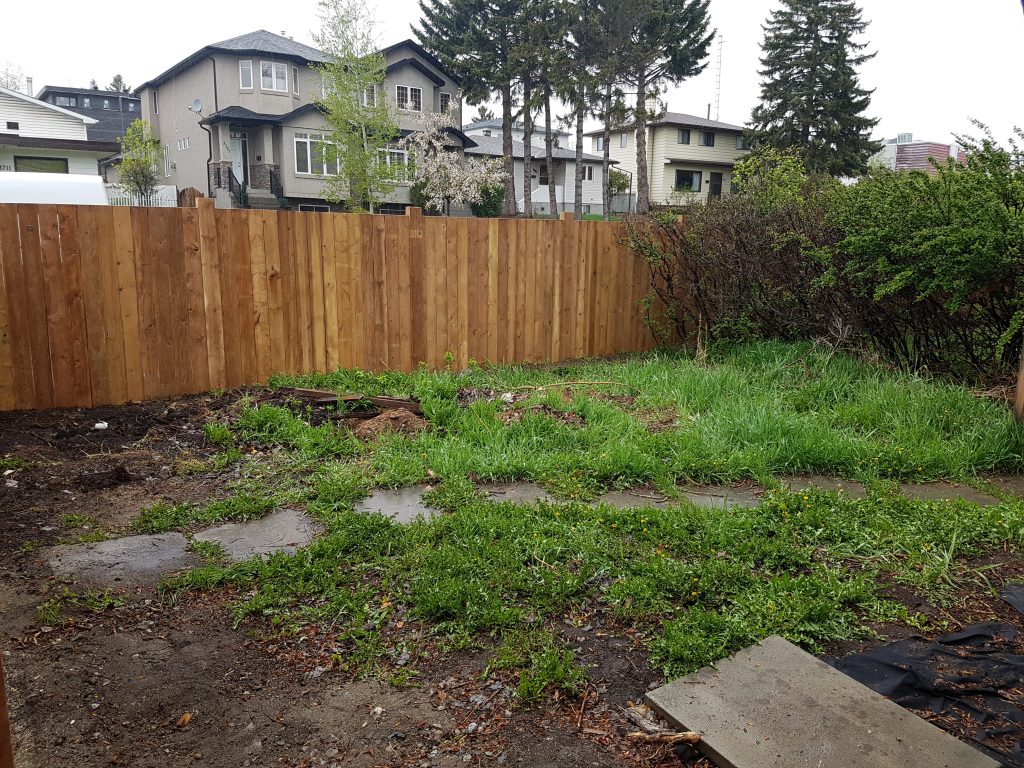
Before
After