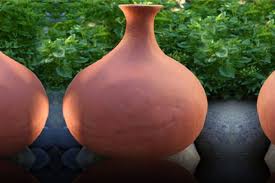
Olla bowls save water because these Terracotta bowls are porous and allow water to seep put of them. Here is what I was going for.
I made these ones using clay casting slip, which I made myself in small batches. They each will hold approximately 2 Liters of water (just over 1/2 a gallon, for my U.S friends). I use as local of clay as I can find. It takes a special blend of clays to make Terracotta and they are not all found in southern Alberta.
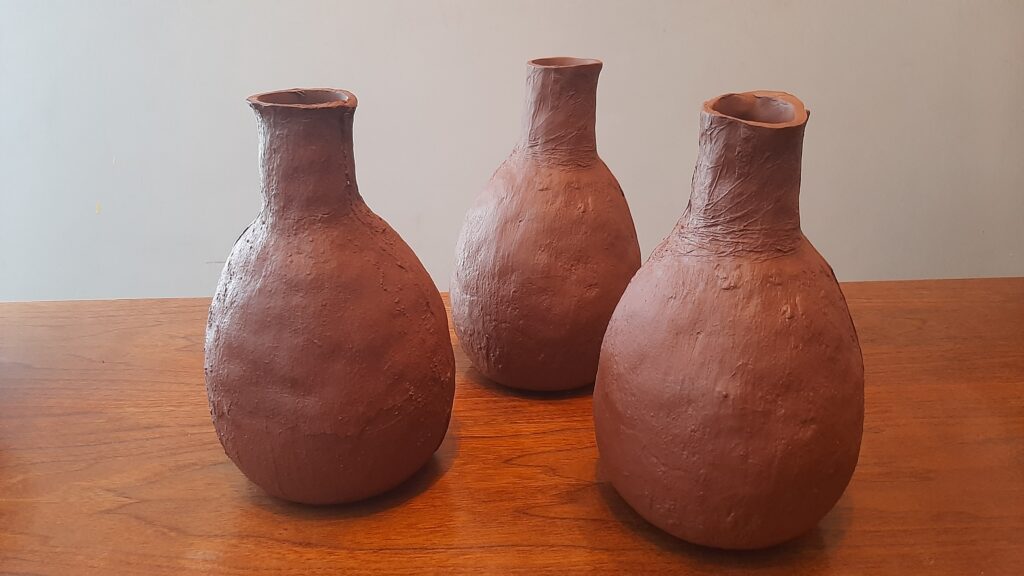


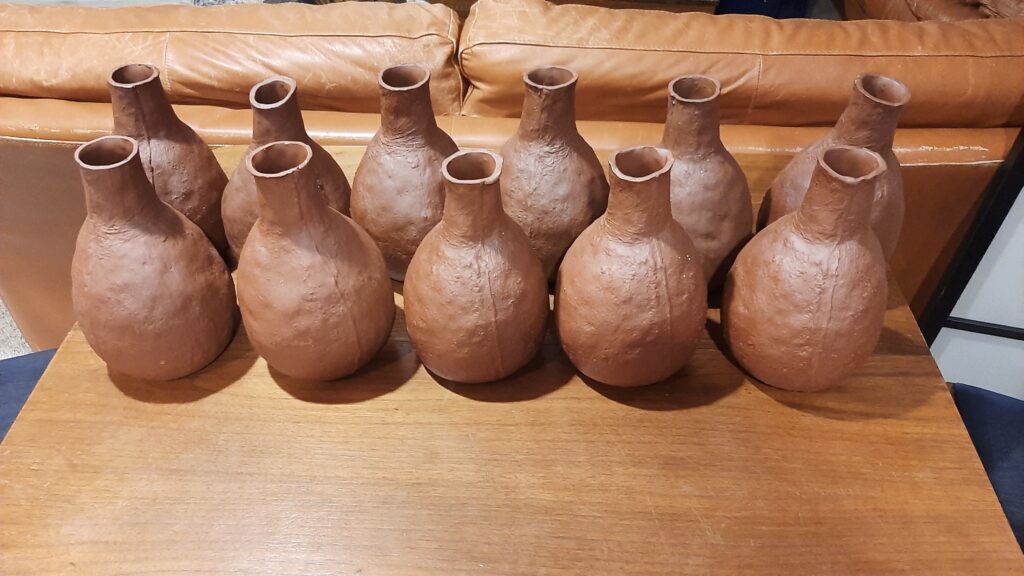
Each one is a little unique, but these are all basically the same. They are made to be buried in the garden. The rim will be all that you see, and you’ll only see that when it is time to refill them. Pity though because they are pretty.
Olla Bowls Save Water – Let’s test it out
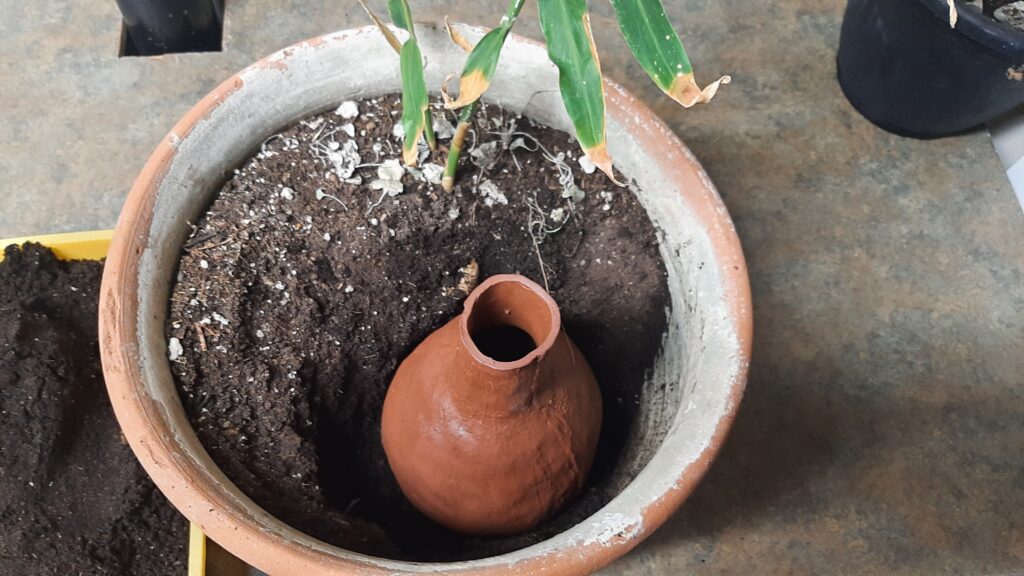
This Ginger has been hurting for a while. Mainly because I keep forgetting to water it. On the upside, everything else in he pot dies, so it made this part easy. I just dug out enough sol to sit the olla in, with some soil all around it. It is ideal for the olla bowl to be in the middle. For even distribution of the water. The Ginger in this pot is the last one, so I didn’t want to disturb the roots too much.
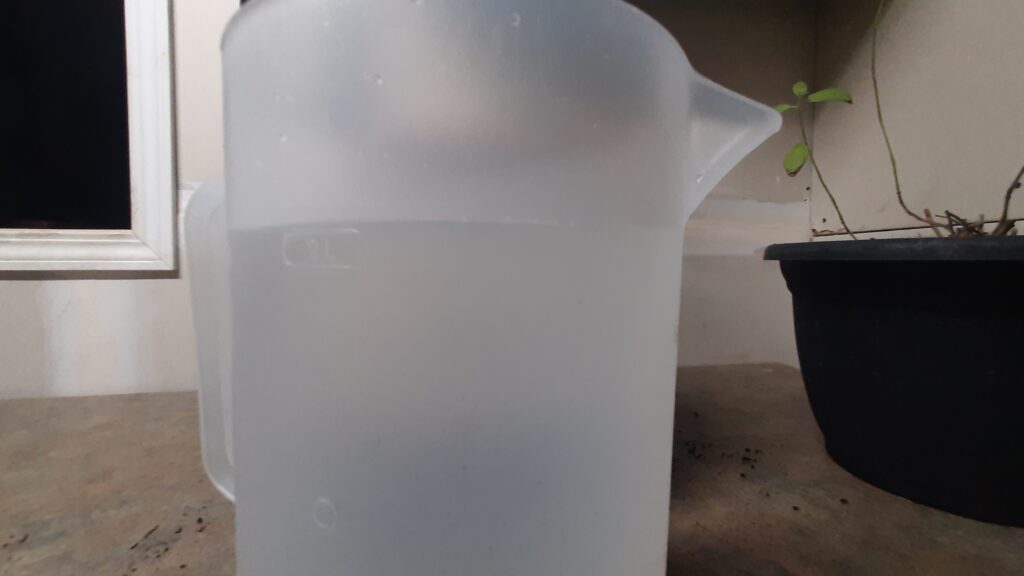
These ones take about 2 Liters to fill so, here we go.
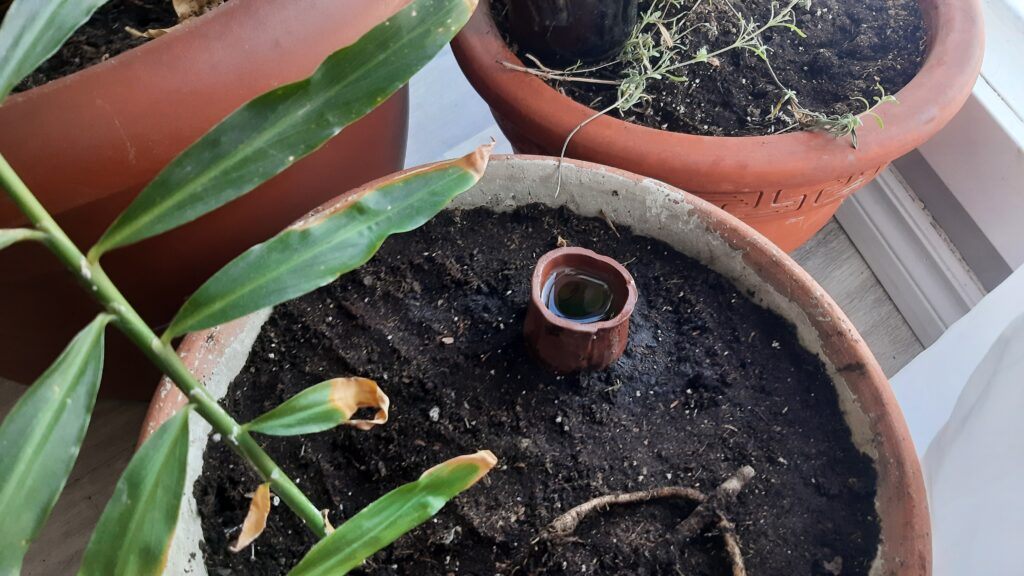
Filled up, and covered. Any flat rock will do.
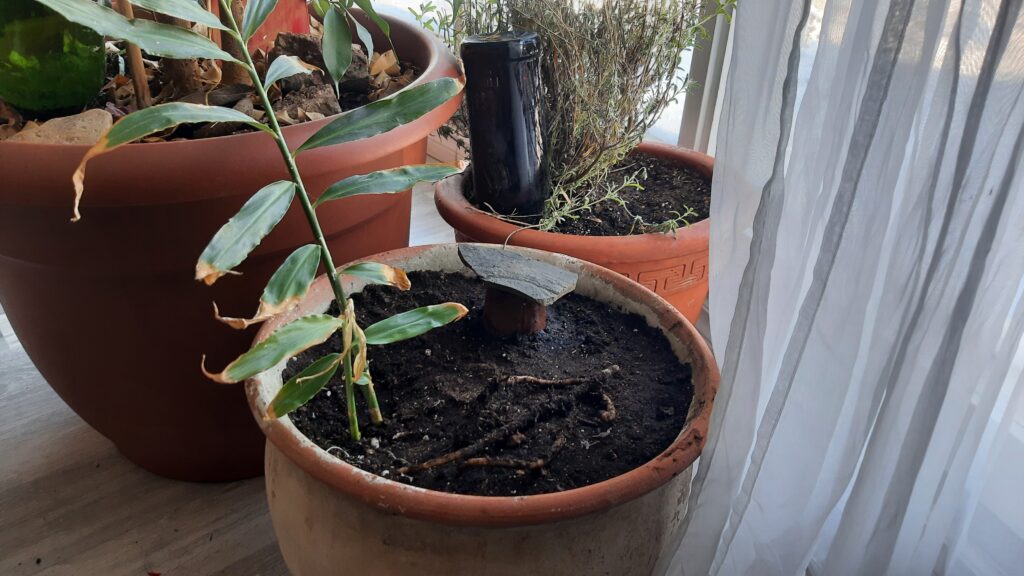
The extra 2 inches above the top of the soil isn’t the biggest deal. It is the capillary action of the soil and plant roots that draw the water out through the clay, so it will still work just fine.
Check out my YouTube channel for more and some videos.
Olla Bowls – The Alternative
I did not have access to an Olla when I first started looking for them. A little hard to find in this part of the world on short notice. However, there is an alternative to this, that works. I was in need of something in a hurry, so I decided to try out the alternative. Something for someone who didn’t know how to make pottery yet. Enter the clay pot!
The premise is that the water in the pot permeates through the unglazed clay. Allowing the roots to get the water from the underground reservoir. Clay pots generally come with a hole in the bottom. This has to be plugged. A little cement in the bottom works the best, but any thing that plugs the hole works. For a longer lasting reservoir, the water needs to go through the sides, not out the bottom.
Olla Bowl Installation – The Bowl (Pot)
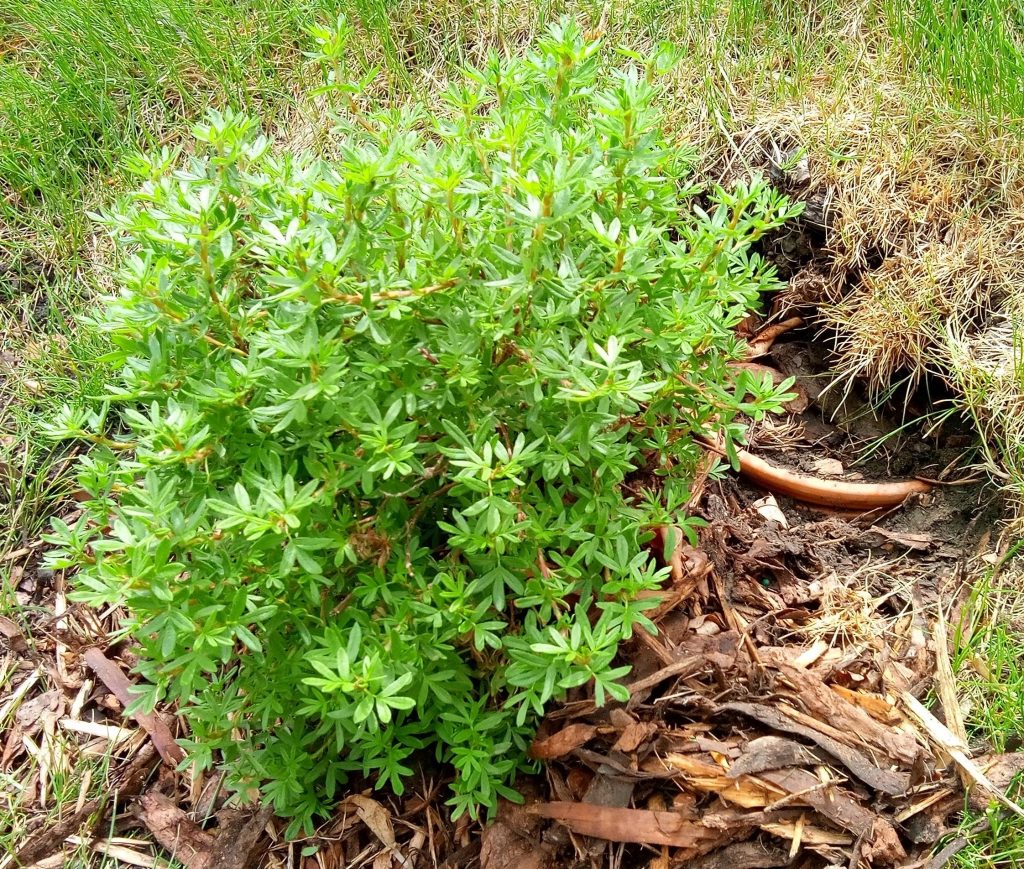
The Potentilla in question is on the side of a steep hill. The owner likes the Potentilla, but is unable to water it regularly to establish the transplant. I dug into the side of the hill to place the olla bowl beside the Potentilla roots, on the uphill side. It being a side hill made it easy to install it without disturbing the grass that is actually beside the Potentilla and above the Olla Bowl.
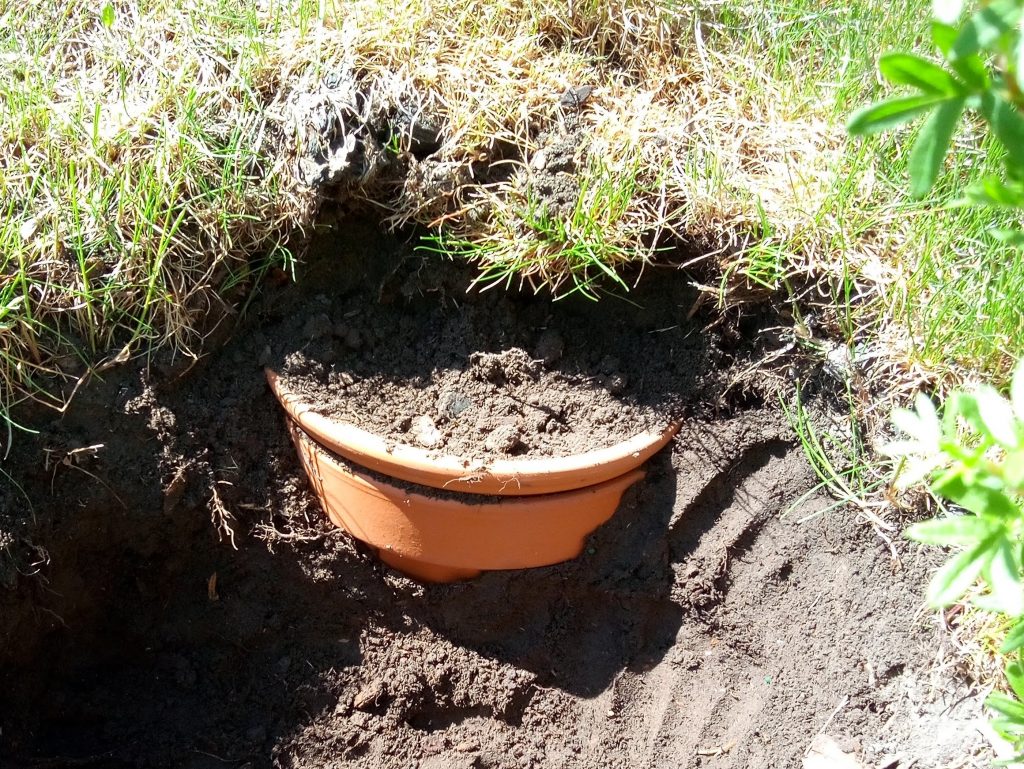
The installation is pretty easy. I kept the lid on while burying the pot and planting the Potentilla. Once everything was settled the pot is filled with water and the lid is put back on. Because this one is in such a side hill, the lid has been covered partially in soil. When watering happens I am careful not to disturb the soil collected on the lid (saucer). I lift the lid just enough to get the water jug lip over the pot lip, and slide it back in place when I’m done.
Olla Bowls Save Water – The Water
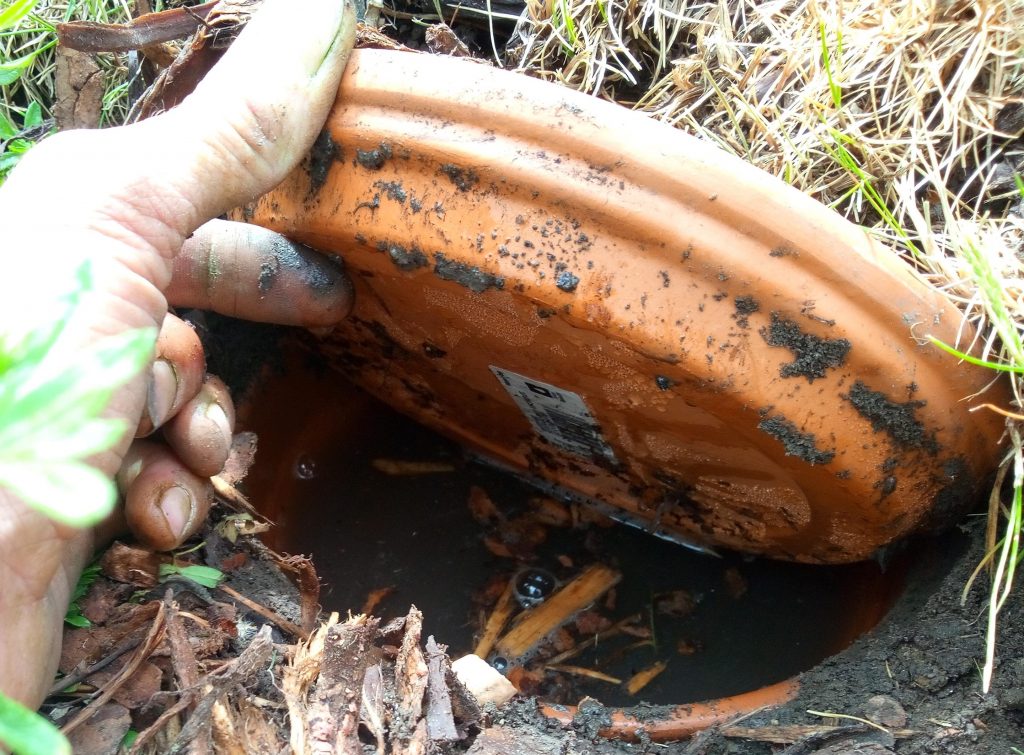
There is wood mulch around the base of the plant, and when it is put back in place after watering, the Olla Bowl is not in the sun at all. Nothing lost to evaporation.
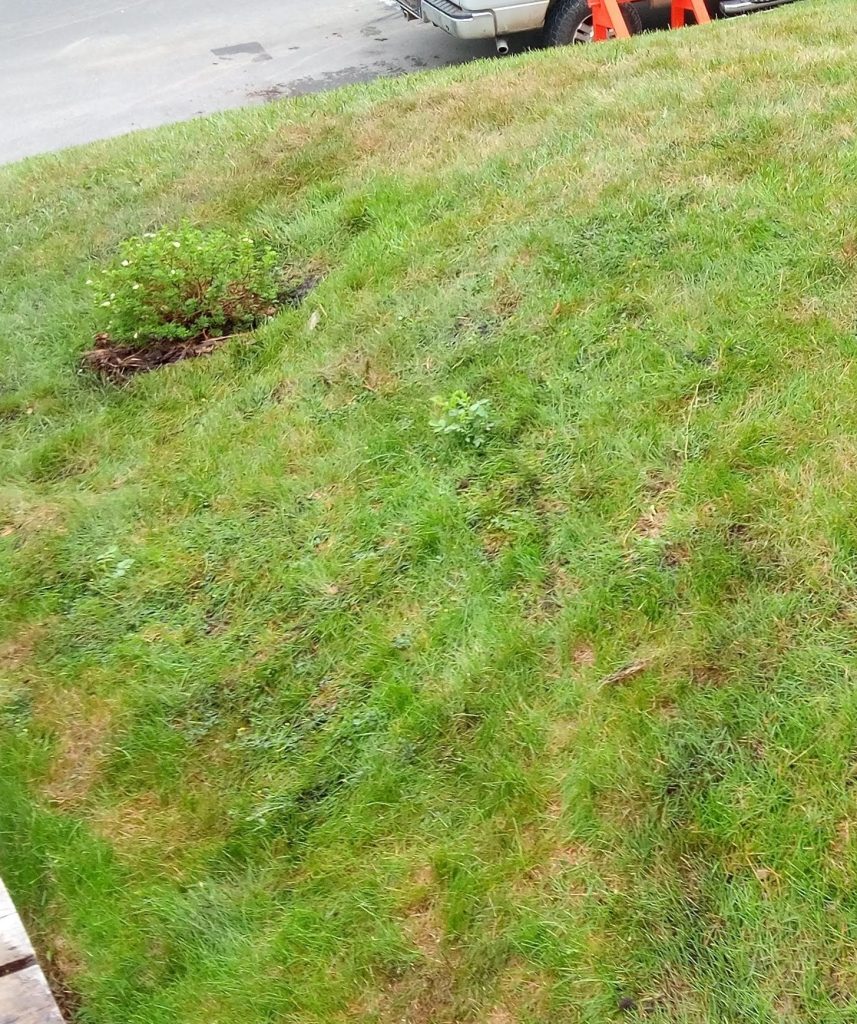
See what I mean about the hill! Fill the bowl weekly. Once the little plant is established, it wont need it. Potentillas are drought tolerant. But, good to have for super dry spells. So far, a success!