Posted on

Water Regulating Garden Bed

Water Regulating Garden Bed

Water Regulating Garden Bed – They are also referred to as self-watering beds.  But, this is misleading.  They are self regulating.  They will only fill so much before draining.  However, they do still require water input.  The result of the water being stored under the soil, is less water wastage due to evaporation.  The plant roots are also being drawn deeper into the soil.  This action will make them stronger and more drought tolerant.

Usually raised garden beds, wicking beds are simply a style of garden bed.  They use a method of gardening where the garden bed has its own reservoir of water under the soil.  This is achieved by placing a waterproof barrier in the frame of the bed.  Then filling it with material that promotes the soils natural tendency to wick moisture up.

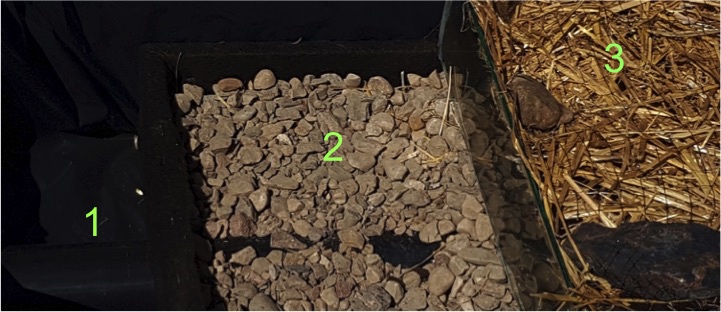
three layers of a wicking bed

A wicking bed primarily consists of 3 layers. The container (usually a raised garden bed, but not necessary), the reservoir and the planting/wicking material. The main container could be anything from a small potter to a large field. Literally, anything sturdy that will hold water.
Water Regulating Garden Bed – Enhanced Raised Garden Beds

The basic idea is that the water “wicks”. The water is pulled up from below into the empty pore spaces in the planting soil. This is known as capillary action. The difference in pressure in the soil allows the water to raise. A good illustration of this is a river bank. Look at the soil. You will notice it wet about a foot above the water level of the river. That’s wicking in action.
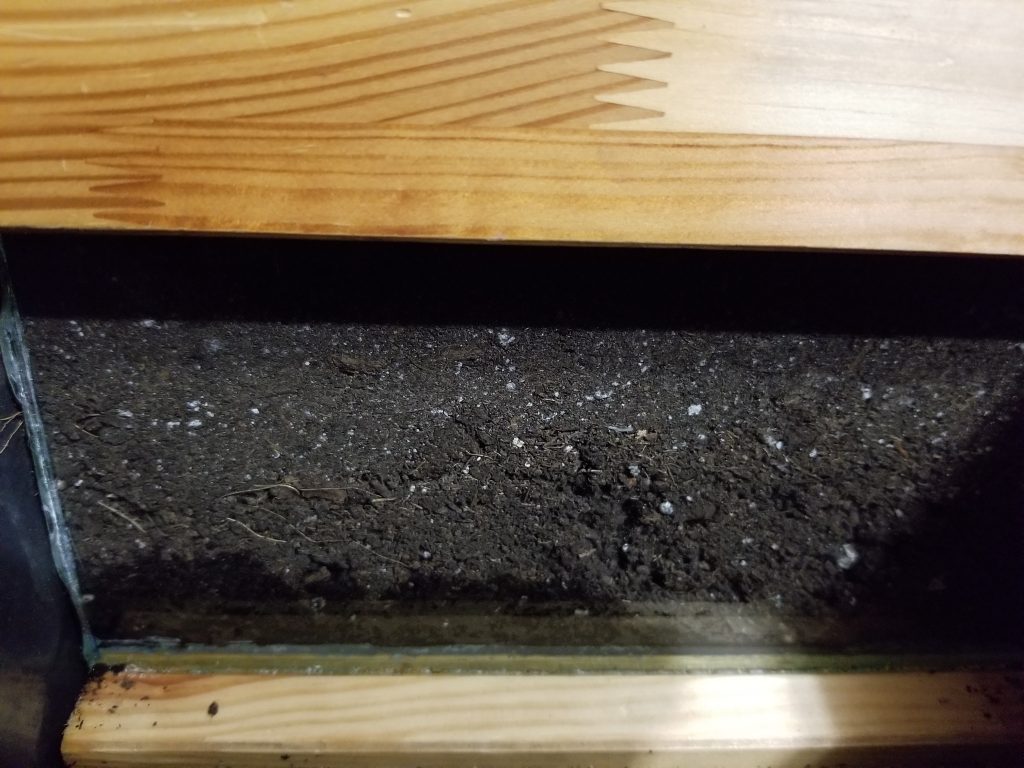
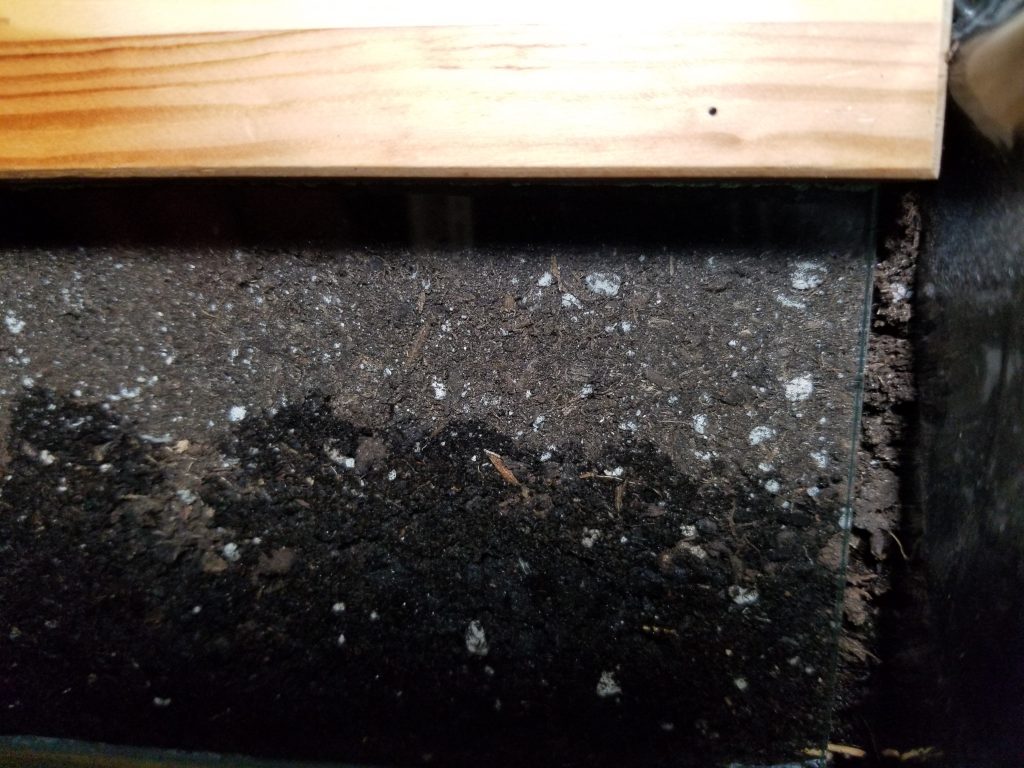
wicking started in wicking bed
wicking midway wicking beds

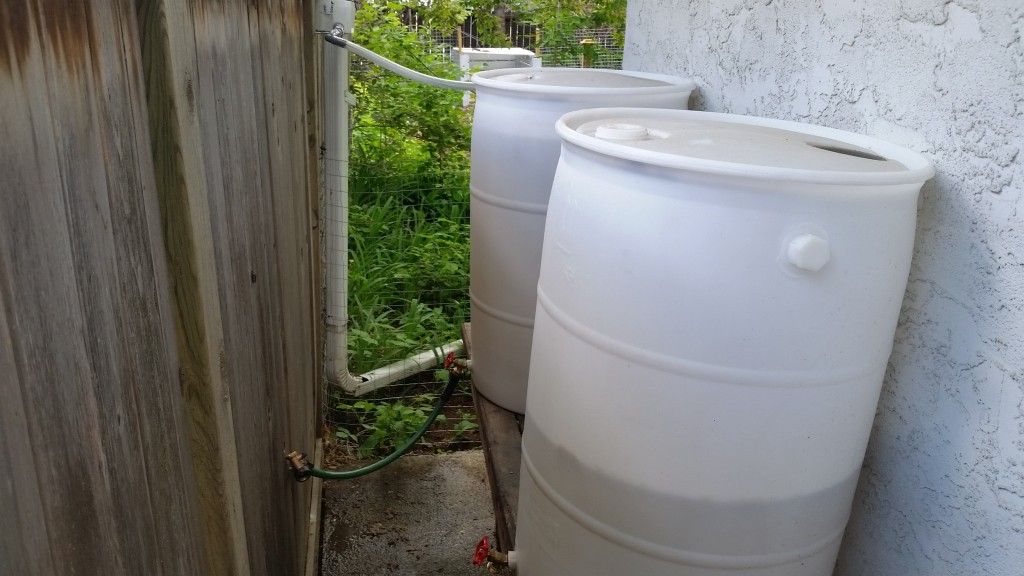
The reservoirs are the same as rain barrels in principle. From the overflow, the water can go into another bed. They can be plumbed together on the same grade, though the piping may get in the way of access. Therefore, it is much simpler design have the water flow down hill from one bed to the next.
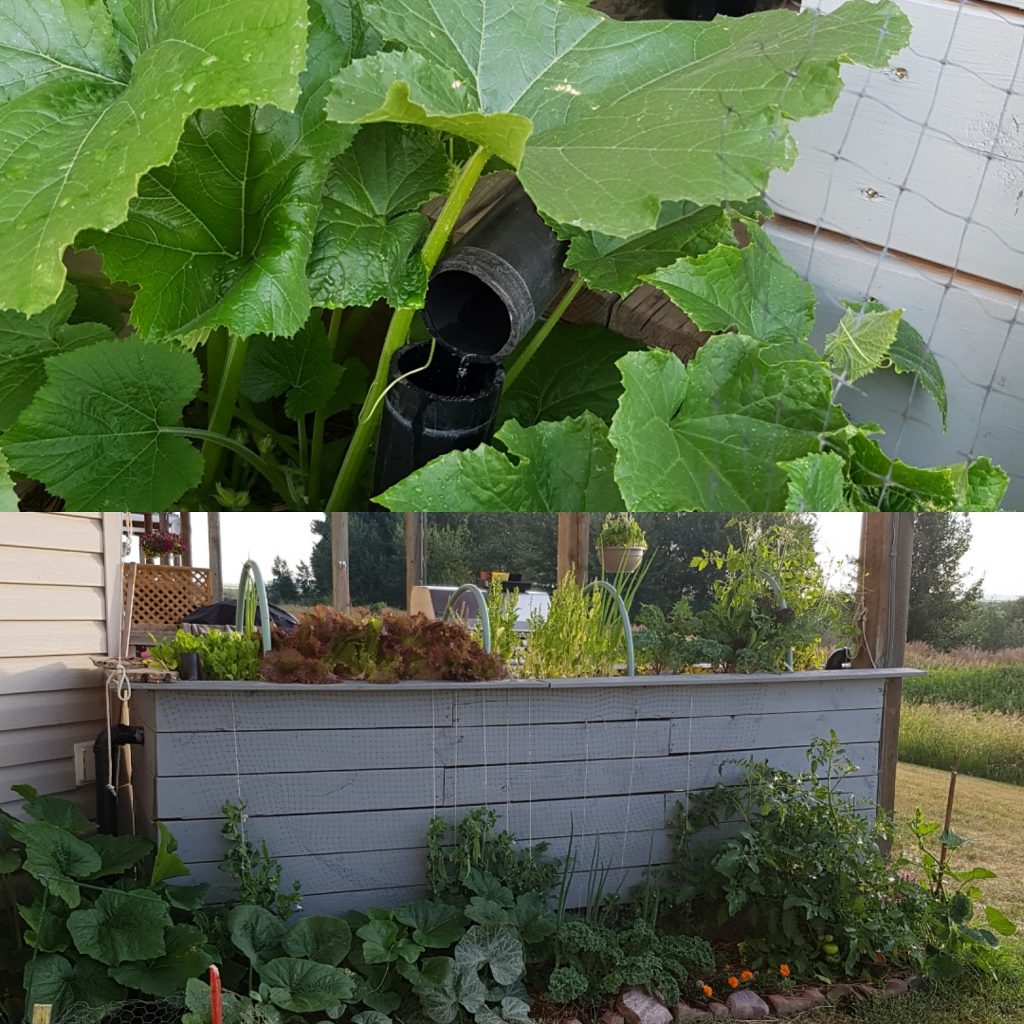
raised garden bed

To store and use as much rainwater as possible, before it leaves your property is the target.

wicking beds dogwood hedge

Once you decide which container you want to use, filling it up is what makes it a “wicking bed”. What I do, is keep everything within 2 feet. That is 1 foot for the reservoir material, and 1 foot for the growing material. Most vegetables and annuals that like moist soil, will do just fine in 1 foot of beautiful soil. Especially when it is kept just at the moisture level they like.
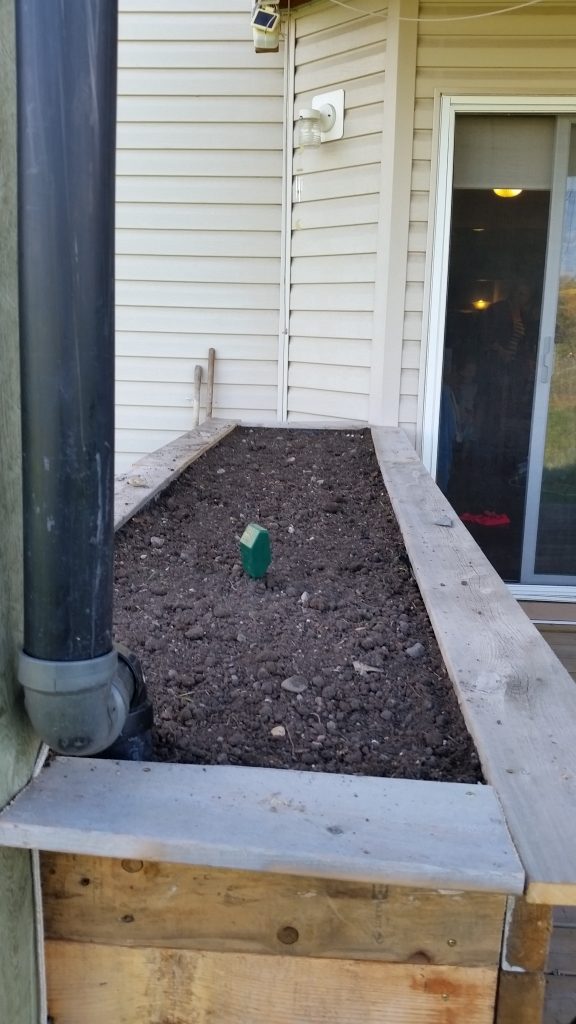
filled up with soil wicking beds raised garden bed

Water Regulating Garden Bed – Some things to remember.

1. You want to keep the roots of plants, especially any perennials, out of any pipe installed or they will eventually clog it.

2. Water will only wick up so high, and not all soil materials wick the same.

3. Plant roots can only sense the water so far. If there is a space between how far up the water will wick and how far down your sprouts’ roots can “smell”, then things won’t work.

4. As the growing material absorbs the water, the soil level will go down. Have extra handy for a top-up before planting.
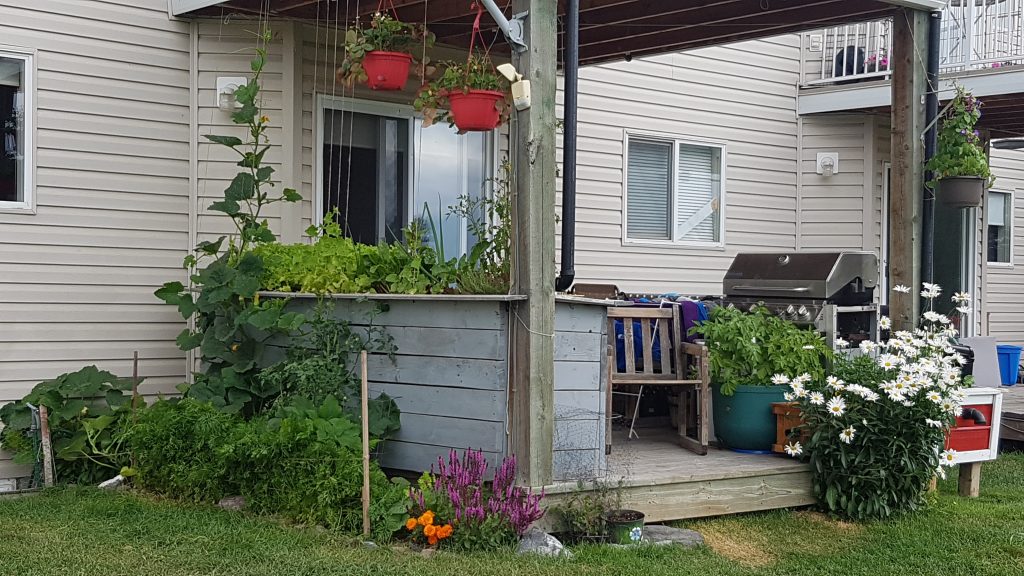
raised garden bed - enhanced

Check out the Wicking Bed pages for more information, descriptions, walk through a build, and then, see it all in action.

Posted on

Essential Oils for the Garden

Essential oils for the garden.

The weather is warming up and things are beginning to awaken from their winter slumber. Many of us are wanting to get out and start making our property beautiful again. While the first buds are sprouting, and the insects are staring to buzz around the warm corners of buildings, now is the time to finish preparing for the outdoor season.

Although each garden is different. Many of the insects pest that wreck havoc on our peaceful places are similar. Organic Land Care teaches us how plants deal with these pests. We can aid in their processes without releasing a toxic cloud of chemicals that drift through our neighbourhoods. When the balance is off in the soil and the plants become weak, insect populations may explode overnight. When that happens, it is time to step in to help.

Before you run to the hardware store or garden centre for chemical sprays and powders. Have a look below for DIY garden sprays for the most common garden pests. Sprays will work to keep the pests away in the short term, but the plants need to be healthy to keep them away for good.

The mixtures can work out to less than $2 a bottle, and are only harmful to the specific insects. They all have benefits for us in different ways.

Check out www.eatmyshrubs.com to learn more and purchase top quality essential oils.

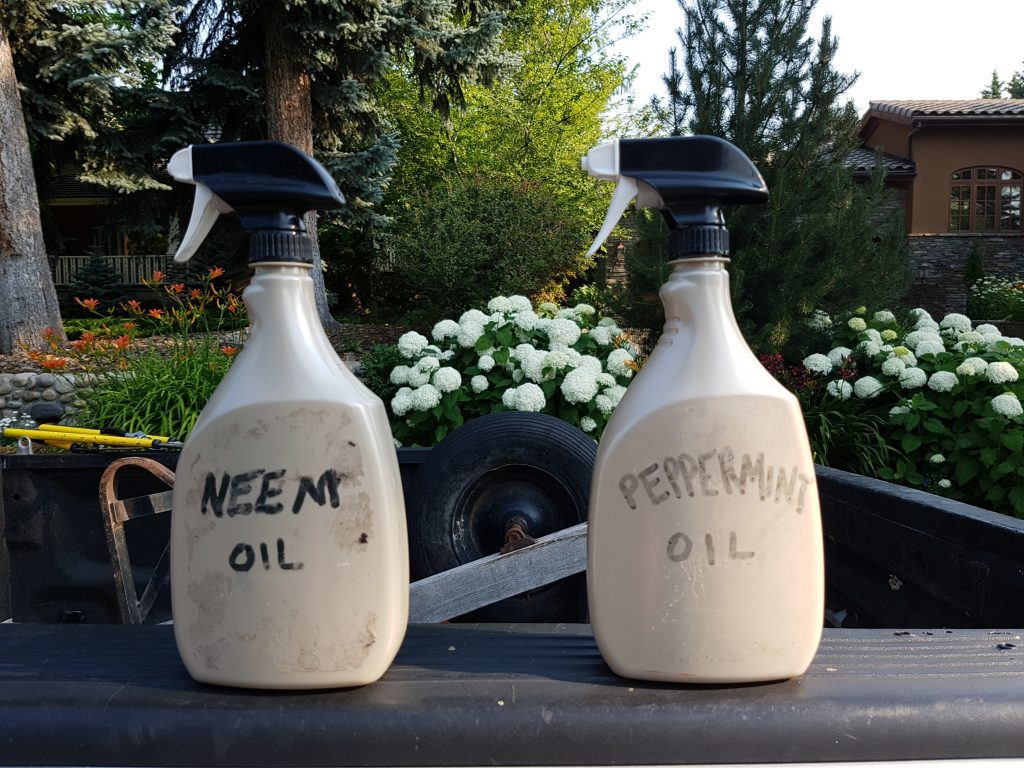
essential oil pic

All Purpose Essential Oil Pest Spray

In 1 Litre of Water add 10 – 15 drops each of

Rosemary Essential Oil,

Peppermint Essential Oil,

Clove Essential Oil,

& Thyme Essential Oil,

Add

1 Tablespoon of Castile Soap

Mix all the ingredients into a spray bottle (preferably glass if you are going to leave the mix in the bottle for an extended period of time) & spray liberally to the effected plants and surrounding soil.

essential oil bottles spring fever

Peppermint Spray for Aphids

In 1 Litre of Water add

15 drops of Essential Oil

1 Tablespoon Castile Soap

Mix the ingredients into a spray bottle & apply liberally to the effected plants.

Substitute Different Oils For Different Pests

Ants – Peppermint

Aphids – Peppermint, Sandalwood, or White Fir

Beetles – Peppermint, or Thyme

Caterpillars – Peppermint

Chiggers – Geranium, Lavender, Lemongrass, or Thyme

Cutworm – Thyme

Fleas – Lavender, Lemongrass , or Peppermint

Flies – Basil, Clove, Eucalyptus, Lavender, Peppermint, Rosemary, or Geranium

Gnats – Patchouli

Mice – Peppermint

Mosquitos – Geranium, Lavender, or Lemongrass

Moths – Lavender, Peppermint, or Geranium

Plant Lice – Peppermint

Scorpions – Basil

Slugs – Fir, or Cedarwood

Snails – Patchouli, or Fir

Spiders – Peppermint

Ticks – Lavender, Lemongrass, or Thyme

Weevils – Patchouli, Sandalwood, or Cedarwood

EMS logo for Terms and conditions page
Posted on

Indicator Plants (a.k.a weeds)

indicator plants

Now that the snow has seemingly slowed for the foreseeable future. At least where we are here, south of Calgary, Alberta. We can start to think about growing things in our gardens again. The first thing for many people, especially in urban settings, is the lawn. Grass being one of the first things to turn green and make us think about summer and being outside…..6 feet from everyone else of course.

As the new green shoots of grass come up through last years brown. The broader leaved plants begin to show up as well. This is the time to spend looking at what is growing around your yard. The plants that will do the best are the plants growing in soil that is suited for them, in an area of light that follows suit.

By identifying what plants are growing, we can then decide what we need to do to either, enhance their growing, or changing something to deter them from growing, and encourage something else to grow.

Some indicator plants that are common in our lawns & gardens are listed below with a few things that they may indicate about the soil. I also included some benefits that these plants actually bring to the soil.

They are there doing a job after all. If we remove them, we now have to do that job. Best to know what the job is.

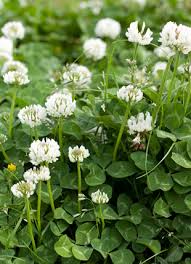
White Clover

white clover insecticidal plants indicator plants

Indications: High Magnesium & Chlorine levels. Good drainage. Compacted soil

Benefits: Fixes Nitrogen in the soil, helps to loosen compaction, suppresses other plants from growing, edible plant and flower

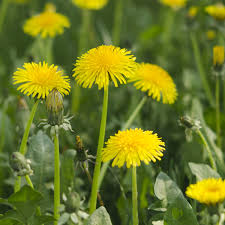
Dandelions

dandelions indicator plants

Indications: Very low Calcium level. High Potassium and Chlorine levels. Compacted soil with low hummus levels.

Benefits: Puts Calcium in the soil, helps to loosen compaction, some of the first food sources for pollinators in the spring, edible plant, flower, and root.

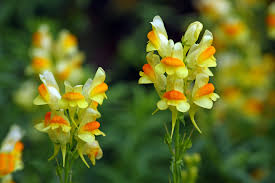
Toadflax

toadflax indicator plants

Indications: Low Calcium level. Low hummus levels and very little bacteria in the soil.

Benefits: Though some species are invasive, they bring nutrients and ground cover to bare and discarded land. Medicinal uses and the bees love them.

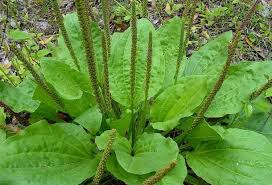
Plantains

plantain indicator plants

Indications: Low Calcium except broadleaf variety which indicates a high Calcium level. High nutrient levels but low hummus and moisture levels.

Benefits: Brings nutrients to the soil and provides ground cover, helps to loosen compaction, many medicinal uses as well.

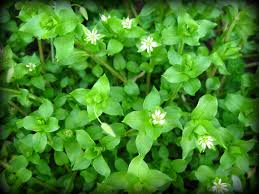
Chickweed

chickweed indicator plants

Indications: Low Calcium levels but high Magnesium. Low hummus levels and sandy soil.

Benefits: Helps to loosen compaction, improves soil fertility, provides ground cover and erosion control, edible plant and flower.

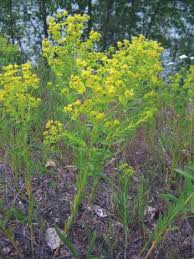
Leafy Spurge

leafy spurge

Indications: Very low Calcium and Phosphorus levels. High in Magnesium and and Potassium. Low hummus in sandy soil. High Aluminum level.

Benefits: Though considered invasive in many places, it will grow where most other things won’t, provides erosion control, ground cover and brings nutrients to bare soil.

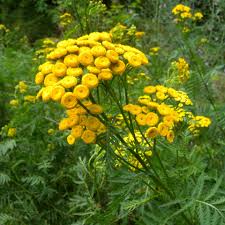
Common Tansy

Tansy indicator plants

Indications: Low Calcium and hummus levels. High magnesium level. Low soil porosity, bacteria levels, and poor drainage.

Benefits: considered noxious in some places, the scent will confuse insects away from vegetable crops, accumulates potassium in soil, many medicinal uses as well.

Knotweed

knotweed indicator plants

Indications: Low in Calcium but high in Magnesium. Anaerobic, compacted soil with poor drainage.

Benefits: Helps loosen compacted soil, good for wind protection and erosion control, it will grow anywhere and can be very invasive. This plant will grow through a crack in concrete or asphalt.

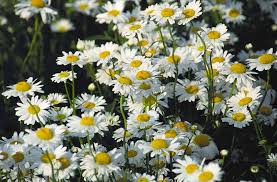
Ox-Eye Daisy

ox-eye daisy indicator plants

Indications: Low Calcium but very high Magnesium levels. Low hummus and bacterial activity.

Benefits: Great food for pollinators, brings nutrients and ground cover to depleted soil, many medicinal uses as well. Considered noxious in some places.

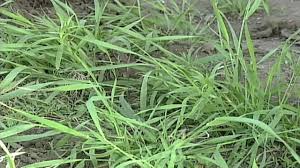
Crabgrass

crabgrass

Indications: Low Calcium but very high Magnesium levels. Low hummus levels with poor drainage.

Benefits: Provides ground cover to bare, salt damaged, degraded soil. Will grow where most plants won’t.

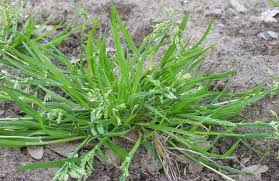
Quack grass

Quackgrass

Indications: Low Calcium but very high Magnesium levels. Low hummus level. Anaerobic, compacted, sandy soil.

Benefits: Helps control soil erosion, Provides ground cover to bare, salt damaged, degraded soil. Will grow where most plants won’t.

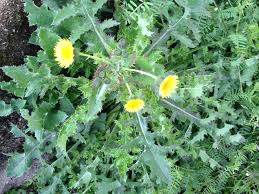
Perennial Sow-Thistle

perennial sow thistle

Indications: Very low Calcium but high Magnesium levels. Low hummus level but good drainage.

Benefits: Brings a number of nutrients into the soil including Calcium, and Potassium. Provides ground cover to bare soil, many medicinal uses as well.

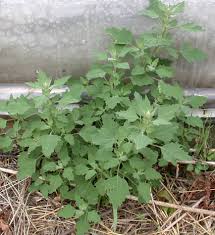
Lamb’s Quarters

Lamb's quarter

Indications: Low Potassium and Phosphorous levels in particular but, degraded soil.

Benefits: A dynamic nutrient accumulator and nitrogen fixer. Provides ground cover to bare, degraded soil, edible leaves and many medicinal uses as well.

Many of these indicator plants have other benefits not listed above. Every plant can be an indicator, as they will grow best in soils and locations best suited for them. The healthier the plant, the better the conditions are for it. This is true for plants we want to grow as well as those we do not. Check out some of theses pages as well.

Ground cover plants

Insectary plants

Insecticidal plants

Plants that perform double duty

Plants deer do not like

Aromatic pest repelling plants

SOUL logo Organic Urban Land Care
Posted on

Aerating & Power Raking

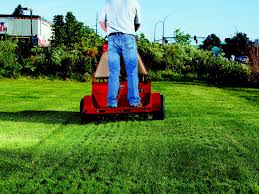
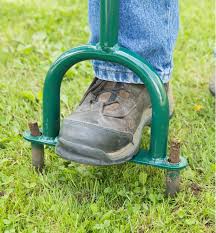
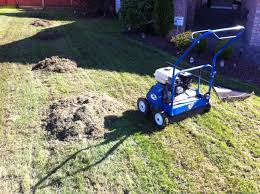
Aerating

Aerating is the process in which plugs, or cores, are removed from the soil. This increases the soils air supply and can aid the plants respiratory actions. Carefully timed in the spring, just as the grasses are starting to grow roots, aerating can be very beneficial to an urban lawn. Primarily if the soil is compacted, or low in beneficial microorganisms.

Having said that, cutting cores out of the soil does deliberate damage to the root systems of the plants. If not kept in check, over-aerating or aerating too often, with big heavy machines, will have a detrimental effect on the soil. Really, aerating should be an occasional thing to relieve compaction. It can also be a means to inoculate the soil with beneficial microorganisms. Annual or semi-annual aerating is not only unnecessary, but will damage the soil in the long run.

At Eat MY Shrubs, we recommend to aerate in the early spring. Only if the soil really needs it. While the holes are open, top-dress with a good quality compost, or a compost soil mix, compost tea, or effective microorganisms.

*Special note* compost tea and effective microorganisms do not really like strong ultra violet rays. So, if going that route, best do it on a cloudy day, or late in the day. This will avoid killing everything you are adding to the soil, before they can take cover under the surface.

Power Raking

Power raking on the other hand, is not necessary and WILL damage your soil in a very short time. It is non-discriminate. The power rake tears up both dead and living plant material. By cutting, ripping, or generally disturbing living roots, it effectively kills more grass. Power raking begets more power raking. Don’t do it. If really necessary in a localized area of the lawn, a hand thatch rake can be used.

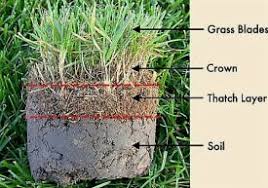
To much thatch in a lawn can be an issue as far as water and air getting to the soil. But, if there is an overgrowth of thatch in the lawn, that is telling us there is not enough microbial activity in the soil. The thatch on the soil surface, made up from dead plant material, should be broken down, eaten, and decomposed by these microbes and other small creatures. Therefore, returning all those nutrients back to the soil.

I recommend aerating in this scenario. While the holes are open, top-dress with a really good quality compost, and take every effort to ensure it gets into the holes. There are also specific microbes that you can add to your compost that especially consumes thatch. If you really wanted to go the extra step I would time it so that the final stages of cleaning up happen as a light rain starts.

compost tea into aeration hole

Use a sprinkler that aerates the water as much as possible, and gives the water as much time in the air to allow the chlorine to escape.

If you are using a municipal water supply remember that chlorine will kill all the microorganisms in the compost.

Collect rainwater people! If for no other reason but to irrigate your property. You will be less likely to need aerating and power raking in the future

Posted on

Spring Lawn & Garden Tips

Spring is only 19 days away!

Spring lawn & garden tips

Even though there is STILL snow in the forecast and the ground is STILL frozen, I can’t help but look outside and see the trees starting to bud, and the Canada geese back on the river. Soon the robins will be picking worms out of the lawn. The bees will be buzzing around the windows, especially we start diffusing orange essential oils.

Lately, here in the Alberta foothills, the blanket of snow is starting to reveal the sleeping gardens that have been hiding for the past 7 months. As humans we get excited at the first sign of warm weather and want to be outside.  Usually, the spring melt and thaw leaves behind debris and dust all over our lawn & garden spaces.  To our eye, it’s messy and we want to clean it all up.  To make our space look neat and inviting.  All good things, but….

Wait!

The warm days and freezing nights are good if you are collecting tree sap to make syrup. (Hello! New Brunswick!) If you are a bug however, sleeping soundly under a brush pile or cluster of leaves. Having the blanket taken off during a warm spring day, may have you believe it is time to get up and start looking for food. But, when the sun goes away and the temperature dips below freezing, you don’t stand a chance. Plus you are hungry because there is no food yet. No hope!

All the debris and leaf litter left behind by the fall and winter wind and snow, are homes and winter shelter for all of our tiny garden friends. We need these little beings for our plants to survive and thrive.  Little beetles still hibernating for example. Even smaller, their eggs waiting to hatch in the spring warmth.  All laying under that thin layer of leaves and twigs, and the first few inches of the soil.  If we are too early in disturbing their protective layer, we risk killing a good number of beneficial microorganisms that are so important to our lawn & garden health. 

 Cabin Fever?

If we don’t rake the leaves or disturb the soil, what are we to do to keep from going crazy?
Here are a few spring lawn & garden tips and ideas:

Organize, Sharpen & Clean

It is good to keep your work area organized, and your tools clean through out the season. I am often to be reminded about things that were dull or broken at the end of the previous season, when I pull them out for the first use of the season. I then have to take time to sharpen or repair the tool before I can do what I was originally set out to do. If you take the opportunity of a warm day to sit outside and organize and clean all of your garden tools and storage spaces. When the actual fun of gardening gets rolling, you will be all set for whatever comes up.
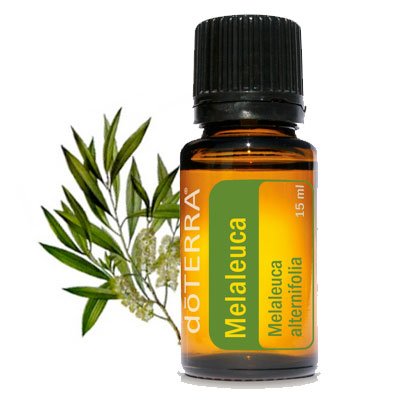
Bottle of Doterra Tea Tree oil with twig in background spring lawn & garden tips

Be sure to disinfect things as well, especially cutting or pruning equipment. Using a tea tree (Melaleuca) oil spray works well. By doing this early in the season you can catch any pests that have been snoozing in you garden equipment before they wake up.

Trade Shows & Courses

The timing is different, of course, depending on your location, and most things are still virtual. However; around this time of year a number of pre-garden season shows and courses begin to happen. Home & garden shows, spring markets, and specific classes geared to different aspects of land care. All great ways to spend weekend days when the weather starts to get nice and collect even more spring lawn & garden tips. Most of these things are inside also, so even if Mother Nature decides to remind you who is in charge that day. You can still enjoy the time. If it is a nice day, consider having lunch in a sunny corner. Experience a micro-climate of summer.

Check out your local horticultural society, or garden group to see what they have organized. Community newsletters and social media pages often will have information about markets as well.

Visit Garden Centers

Garden centers are some of the first places where it starts to feel like summer. As the days get warmer and longer, the greenhouses get fuller and fuller. (I can almost smell the clean air of a full greenhouse as I am typing.) They are usually up on the latest ideas and gadgets to make life easier in the garden. The staff can be very informative to figure out solutions or to give direction and more spring lawn & garden tips. So you can be sure of your success in the garden once you get home and start planting.

Start Plants Inside

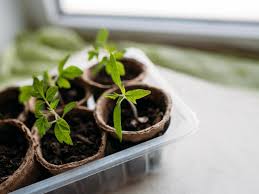
If you have a sunny window and the space by it, having plants start their growing season inside can really give you a jump on the very short summer season. Another step would be a small greenhouse. One step further would be to add some sort of grow light, but a sunny window ledge can be enough. Especially if you are a small space gardener.

sprouts for spring lawn & garden tips

Different variety of plants require different things to get started. It is a good idea to research how long the plants you want to have take to germinate, and what other requirements they have. Some seeds need to be refrigerated before they will germinate! I know right…

Once the seeds germinate, the plants requirements will change. It is good to know this in advance because new sprouts are fragile and will die easily under the wrong conditions.

Prune Trees And Shrubs At Proper Times

This heading could be a post on it’s own. The bottom line is that not all trees should be pruned at the same time. And, it should not be just at our convenience. Pruning improperly, or at the wrong time, can leave the tree susceptible to pests and diseases, and unable to fight them off. Look at pruning as “tree surgery”. It should be done thoughtfully, and cleanly. Knowing what variety of trees you have on your property will allow you to ensure your trees are pruned at the right time of year for that tree. It may also help to spread out the cost of having all your trees pruned at the same time.

Having said all that. I must say, trees in general, never need to be pruned. In nature, in the forest, trees are not pruned and live healthy and strong for hundreds of years. In urban settings, trees are often pruned to allow access for humans, or for looks. Many times, the health of the tree is not taken into consideration, or is at most, an after thought. In many orchards, trees are pruned for production as well.

If a limb is not producing more energy than it is using, the tree will discard it. The thing to remember about trees is that their life span is slow. It may take a couple of years for the limb to actually fall, but it will. No help from us.

Plan, Stretch & Exercise

yoga for spring lawn & garden tips

As a professional gardener, I can attest to some aching muscles and sore backs, especially at the beginning of the season. After spending the winter months hibernating, only coming out to clear snow really, my body is not conditioned for a day of kneeling and bending.

One of the best spring lawn & garden tips I can give is, spring clean-ups can be demanding, even if you are only doing your own. So, as the afternoons bring small bursts of warmth. Take the opportunity to go for a walk, or join a yoga class. Walk to a patio somewhere. Have a beverage and plan out what you are going to do once the spring growing season actually gets started.

Check out the Canadian Society for Organic Urban Land Care. Get involved in the movement! Click the logo to be taken to the website.

SOUL logo Organic Urban Land Care
Posted on Leave a comment

Composting for Small Spaces & Small Gardens

Composting for small spaces and small gardens can be tough. If you are a family that lives in an apartment or townhouse in an urban setting, your garden space, if any, is more than likely on the smaller scale. When this is the case, trying to squeeze in a 3-bin compost bin that measures 3m X 1m is pricey real estate to give up. Compost is by far the best thing you can add to the soil in your garden. Hands down. No argument. So what is a person to do?

Compost inside!?!

But, if you can’t fit a 3-bin system in your yard, can you fit one in the kitchen?

Just kidding. I am talking about composting inside, year-round, with worms.

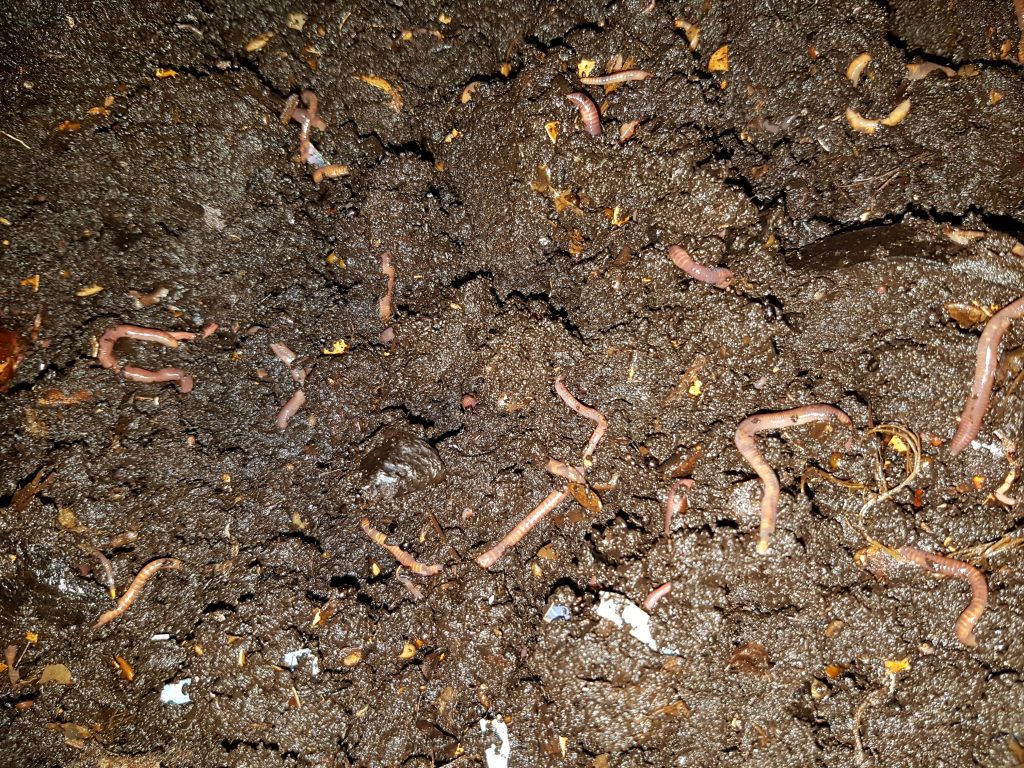
worm close up composting for small spaces

Wait!!!

Don’t Go!!! Just wait!

A lot of people I have talked to, love seeing the worm bins at the market and in classrooms. But, when it comes to having them in our house. Many people get a little…squeamish.

worm compost for small places

“How do I get the compost out? ” & ” Do you have to pick out each worm?” Are questions I get asked a lot.

If you have not seen them before, allow me to introduce you to the migration system for worm composting!

Worm Composting – The Migration System

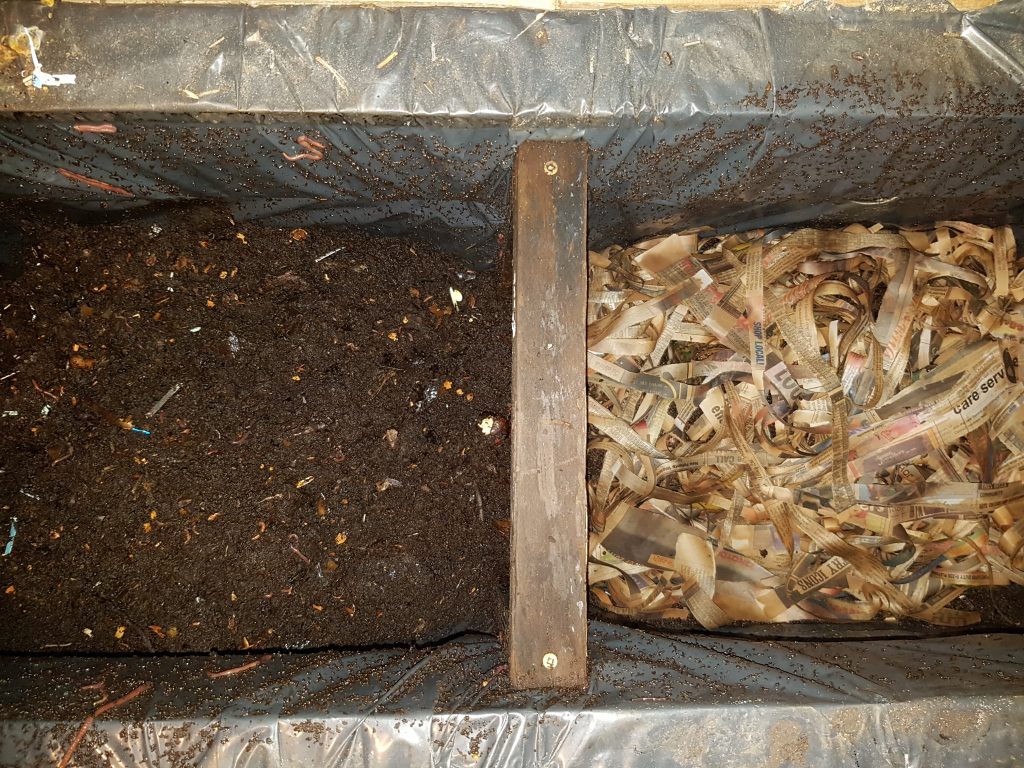
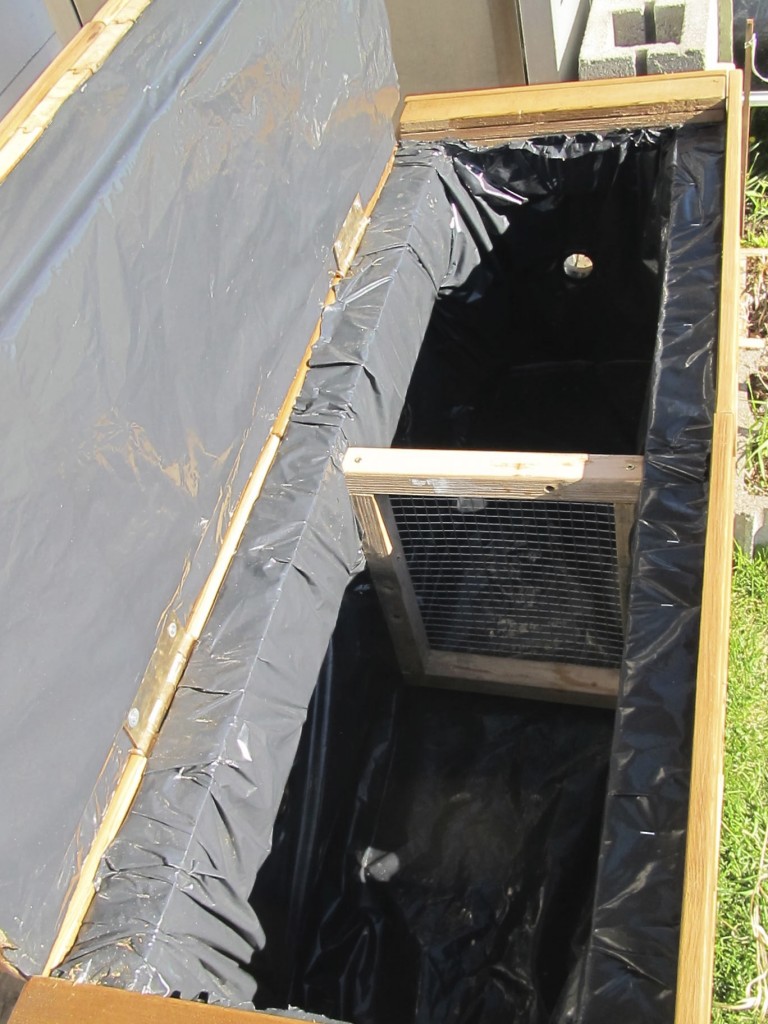
The migration system of composting with worms takes all the squeamish work out of harvesting the finished compost. Though, I would still recommend a pair of gloves, it is a great way of composting in small spaces. The key aspect to this system is the screen divider that splits the bin in half. Because of this divider, the worm farmer (that’s us) can use the natural tendency of the worms to move, or migrate, toward a food source.

The inside is lined with a poly film to protect both the wood from moisture but also, I have heard the worms don’t like cedar, so its a double purpose I guess.

How it works.

Really, the migration system can be used in any worm composting container. Simply make a screen divider that will fit snuggly into your worm bin. I construct bins to have a permanent divider built in. This just allows for more aggressive turning of the compost as it is being made. With the divider in the midway point in the bin, it is easy to divide the compost bin into 2 halves.

The worms do not know the difference!

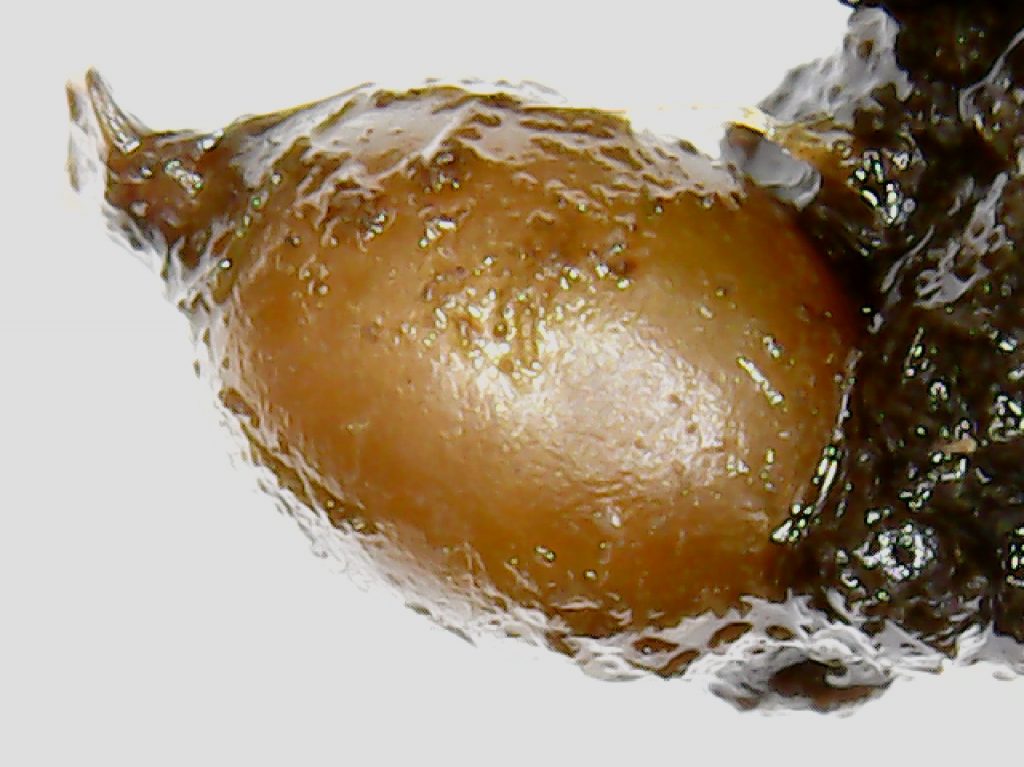
I have been composting with worms for about 12 years. I have looked at them under microscopes and collected eggs from under layers of plastic when a hole was found in a liner. My kids do everything but name the worms as we feed them, so I can say this with a lot of confidence.

worm egg compost for small spaces

I’m pretty sure the worms have no idea the screen is even there!

divider compost for small spaces

It’s just a way for us to divide the working compost from the finished compost.

Feed the worms on one side of the screen and then, when that side is getting full, start feeding them on the other side of the screen. The worms will migrate to the new food source as the old food source is eaten. This will leave finished compost, virtually worm-free.

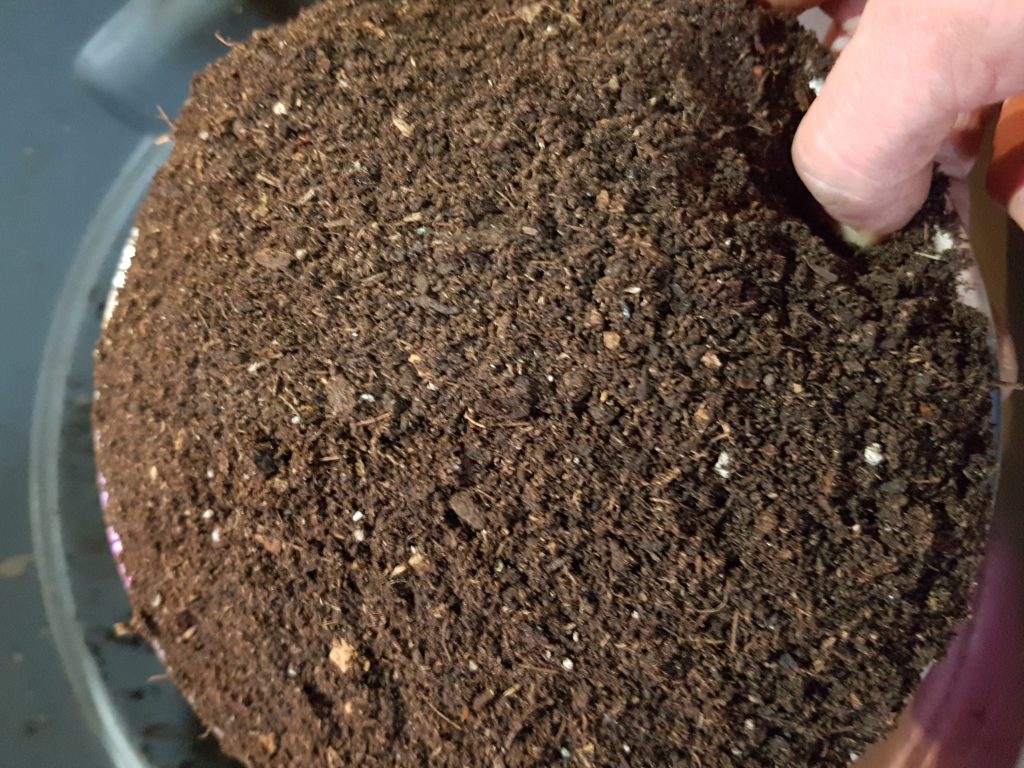
Finished compost close up

Basically, once you get into a rhythm, just move the food source from one side of the screen to the other. It’s actually kind of fun to watch the worms move from one side to the other. It is as close to communicating with the worms as (I think) we can get.

Worm composting can be a great addition for kids around 10 years old as well. They can have a thousand little pets! They need to be fed once a week at the most, but can go 3 weeks once they get established. It all depends on the quantity of food. The worms will never run away. They will only survive for a few minutes out of the compost. And, every few months you empty their bin of some of the best, organic soil amendment money can buy.

For free!

Visit eatmyshrubs.com to learn more about composting with worms (and other methods)!

Posted on Leave a comment

Seaweed in the Garden

Seaweed in the Graden

Seaweed in the Garden?!!

While chatting with a friend the other day, the subject of seaweed came up. Living in the eastern foothills of the Rocky Mountains, seaweed does not come up in conversation very often! It reminded me of growing up in New Brunswick and the semi annual trip to the beach to collect seaweed for use in the garden.

More to the point of our story though.

My friend has a friend who has some seaweed become a temporary rodent restaurant. It could no longer used for its intended purpose, and rather than send it to the landfill, they figured it could be used in the garden. The question was more if it should be composted first, or added directly to the garden. When that should happen, and should it be tilled into the soil or not?

seaweed in the garden

Using seaweed in the garden has many benefits actually.

Use it as a mulch

A 4-6 inch layer (10-15 cm) of seaweed will suppress unwanted plant growth, and aid the soil in retaining moisture. Slugs, snails, and other pests do not like the salty, sharp edges of seaweed. Seaweed does not dry out in the same fashion as other forms of mulch making it less of a fuel source for sparks. If you live in an area prone to dangerous fire threat conditions, seaweed may be an alternative ground cover mulch.

Feed the soil

Seaweed is full of nutrients and minerals that aid in other plant growth. Nitrogen, Magnesium, Potassium to name a few. There are also a host of micronutrients in seaweed that will become available as the ground cover decomposes. Something you do not get with bark mulch. Seaweed will also aerate the soil, and deter some fungi and diseases as it adds all those nutrients to the soil. If seaweed is added around the same time as some brown mulch, say leaf litter, the nitrogen in the seaweed is balanced by the carbon in the leaf litter.

Put it in your compost

The local variety and quantity of seaweed available will dictate how best to use seaweed in the garden. Kelp, Dulce, Rock-weed, and other forms all have different consistencies and some are better suited for mulch. Others, are more algae than vine, and are better suited for composting. The more algae varieties can still be used as mulch. They will breakdown faster, and require more volume to get the same coverage as a mulch.

Put it in your Tea!

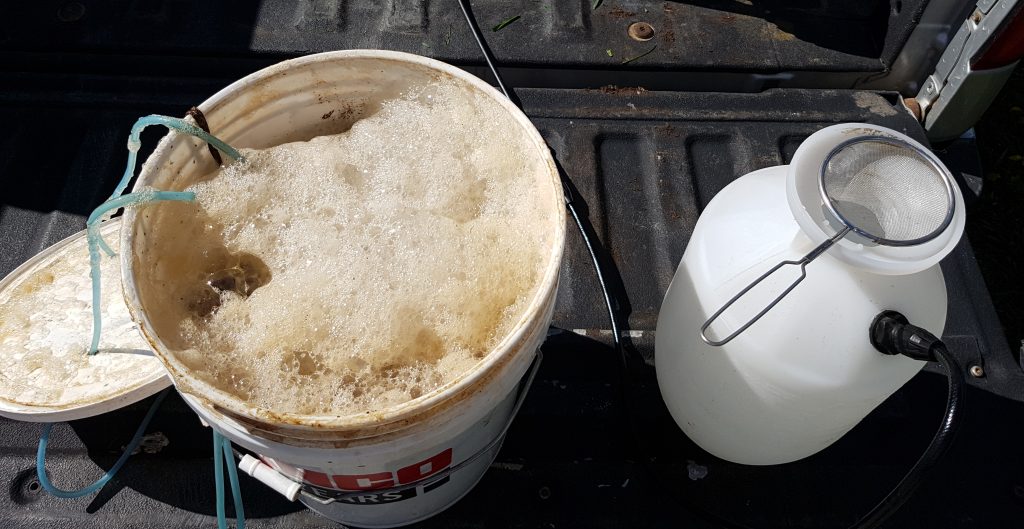
Compost tea set up

Adding kelp or seaweed to your compost tea will help feed the beneficial microorganisms both in the tea, and in the soil. I use a kelp extract in the teas I brew. It is easier to find around here than the raw product. If you have actual seaweed, you can add a couple of handfuls to the tea to get a lot of the nutrients out during the brewing process.

Special note on collecting seaweed

Be respectful of the ecosystem. Only take what you need. Only take when there is an abundance around. Do not take it all from one area if you can. The beaches and the creatures in that ecosystem also need the seaweed. Always check that where you are going to collect from is not a protected area of some kind. Many localities are protecting their beach habitats and have placed certain rules and regulations on the collecting of anything off the beach.

Posted on

What Does Organic Mean?

I have the privilege to sit on the board of directors of the Canadian Society for Organic Urban Land Care (SOUL).

I have been a member for a couple of years. Although the call was cut short due to technical issues. It made me think of this page from my website www.eatmyshrubs.com.

The term “organic” has a political aspect to it now. A buzz word of sorts. Therefore, I do not mean to get into a debate with people here. Good, better best is the something we say a lot in this house, especially when purchasing things.

What we all should ask ourselves when buying anything that claims to be “organic” is this.

What definition of organic does the manufacturer mean? (because it literally could be either of the following).

A chemical definition:

chemical carbon atom for what does organic mean

“relating to, or containing carbon compounds” (Miriam Webster)

A biological definition:

boi def for what does organic mean post

“of, relating to, or derived from living organisms” (Miriam Webster)

A cultural definition:

cultural def for what does organic mean post

“an ecological management system that promotes and enhances biodiversity, biological cycles and soil geological activity… a holistic approach which emphasizes the importance of relationships between living organisms and their environment”. (SOUL Organic Land Care Standard).

When it comes to land care there is only one definition that matters. Some things are carbon based, most things are derived from living organisms, but the ecological management of your property is what matters.

So, find out more at www.eatmyshrubs.com.

Also, find out how you can become an organic land care advocate through SOUL.

Posted on Leave a comment

Thinking of Spring

Spring is in the air!!

Thinking of spring? The days are getting longer. The sun feels warmer on the skin and face. Well, spring…is only…..50 days away?..

That can seem like forever with snow in the forecast. So what is a gardener to do?

Right?…

Wrong!!….well…..dream, sure. But, February marks the start of the gardening classes and trade show season. As the days count down until the first of spring, and the even later beginning to the gardening season, many courses are available to expand your gardening knowledge. Check your local garden centres and Horticultural societies.

For the snowy nights, or times you can’t make it out to a course. Check out www.eatmyshrubs.com.

Ideas for your garden with organic/regenerative practices. Chemical free pest controls using essential oils and other, more friendly, compounds. Self-watering garden beds, and so much more!! There are also ideas for a more sustainable home.

We are even building an online store!!

So if your thinking about spring, check it out!

It will keep your hands busy while you wait for the ground to be warm enough to start planting!

EMS logo for thinking about spring post

Not only are they beautiful. You can Eat MY Shrubs!

Check the Society of Organic Urban Land Use for even more great information!

SOUL logo Organic Urban Land Care

Please Share this Post.