Indoor Winter Composing With Worms
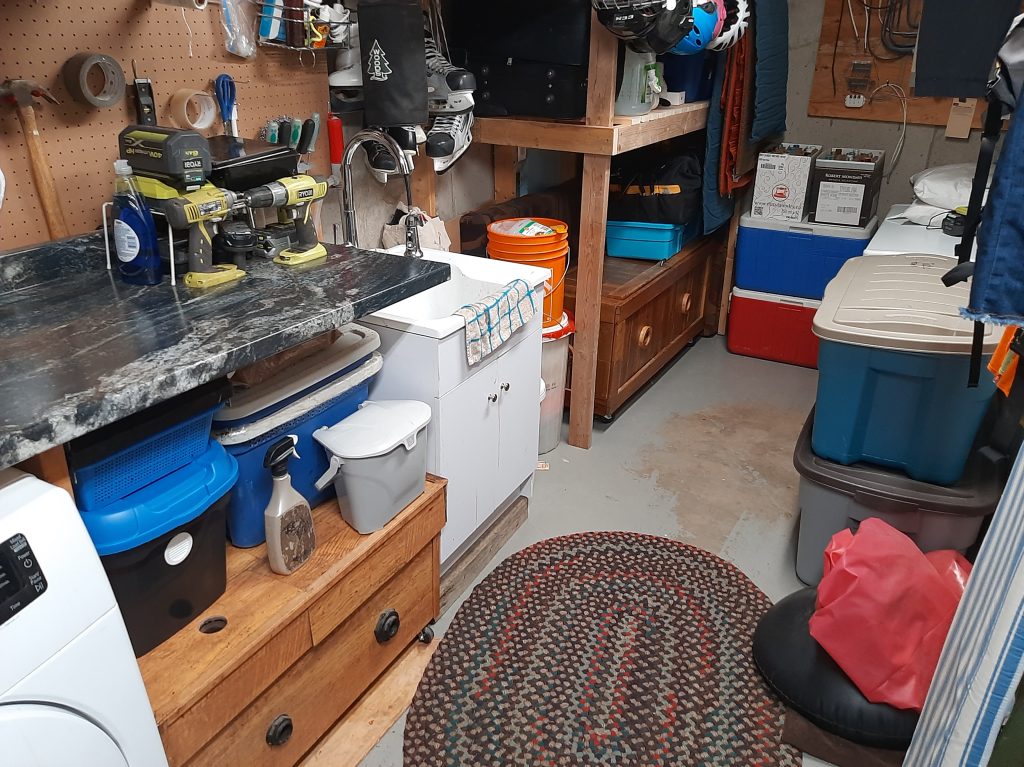
Indoor winter composting with worms can be fun and easy. Especially if you have kids that are into crawly things, gardening, or the general health of the planet. If you check out the website, or have been following along with the journey at all, you’ll know we have a few worm composting bins. I think we maxed out at 6 at one point, but right now we have 3 on the go. 2 wooden, migration style bins, and one plastic, regular 1 compartment style, bin.
A third style pictured here. The one with the 2 grey lids. A two layer system meant to release more liquid. I have had issues with this particular bin configuration. So, it gets used when one of the other bins is too wet. I can transfer the compost into that one, to drain out a bit, if needed.
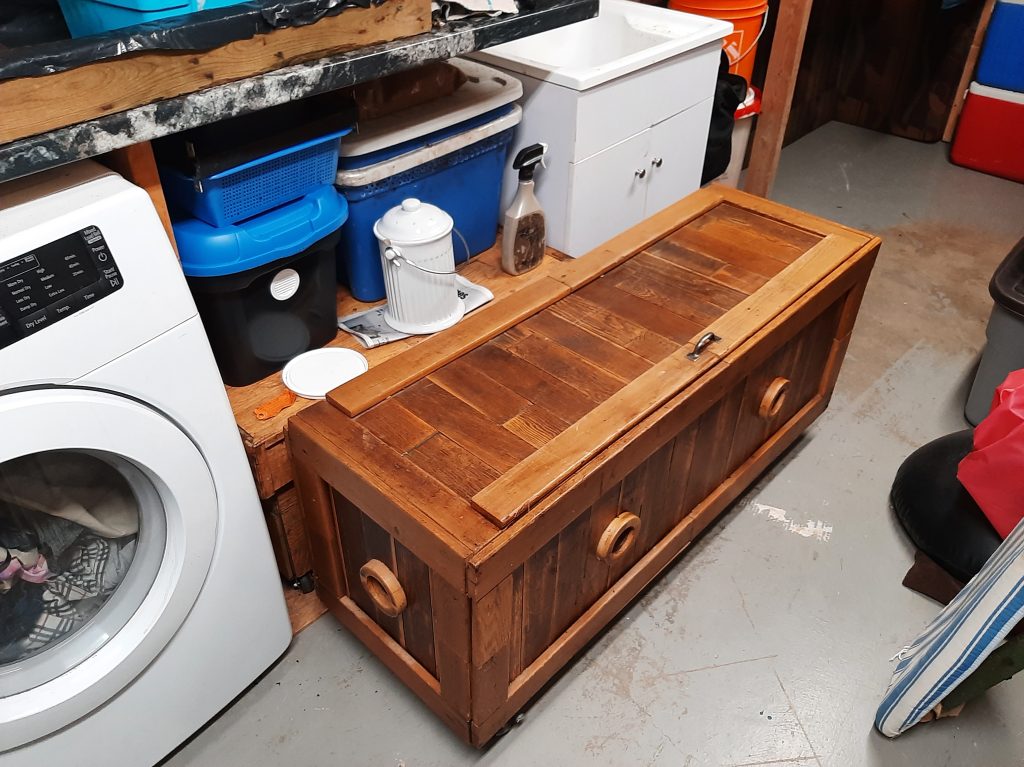
The wooden bins are made out of repurposed wood.
One is framed in with small lumber I had at the time, and finished with some laminate hardwood flooring scraps. They came left over from the floor renovations, at the old condo. The larger bin, is made from a cedar walkway I was contracted to remove after the 2013 flood. To be honest, I’m not even sure it was originally from the property I removed it from. But never the less, here it is.
There are other pages about the bins specifically, and a YouTube video on how to build one of your own.
The Feeding
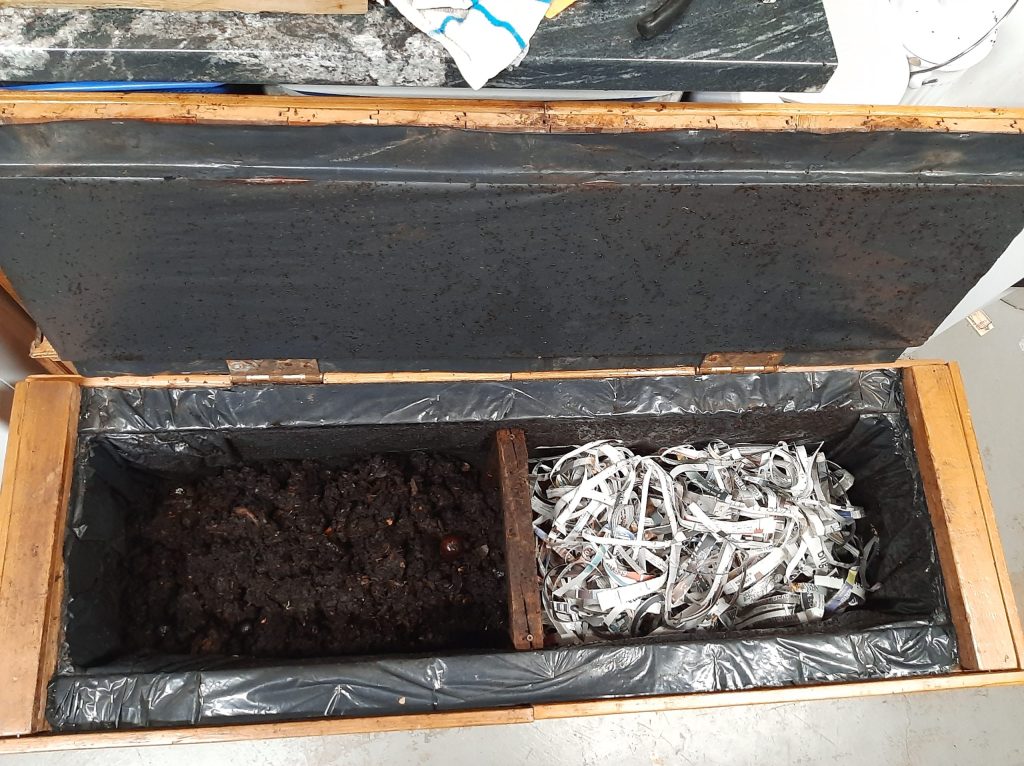
In the pictures below, the side with the shredded paper is the side I am “feeding”. The side without paper is the side that I am trying to harvest. The paper acts as a secondary defense against fruit flies. So, as long as I don’t allow food scraps to sit on the surface of the finished compost. I don’t usually have an issue with them.
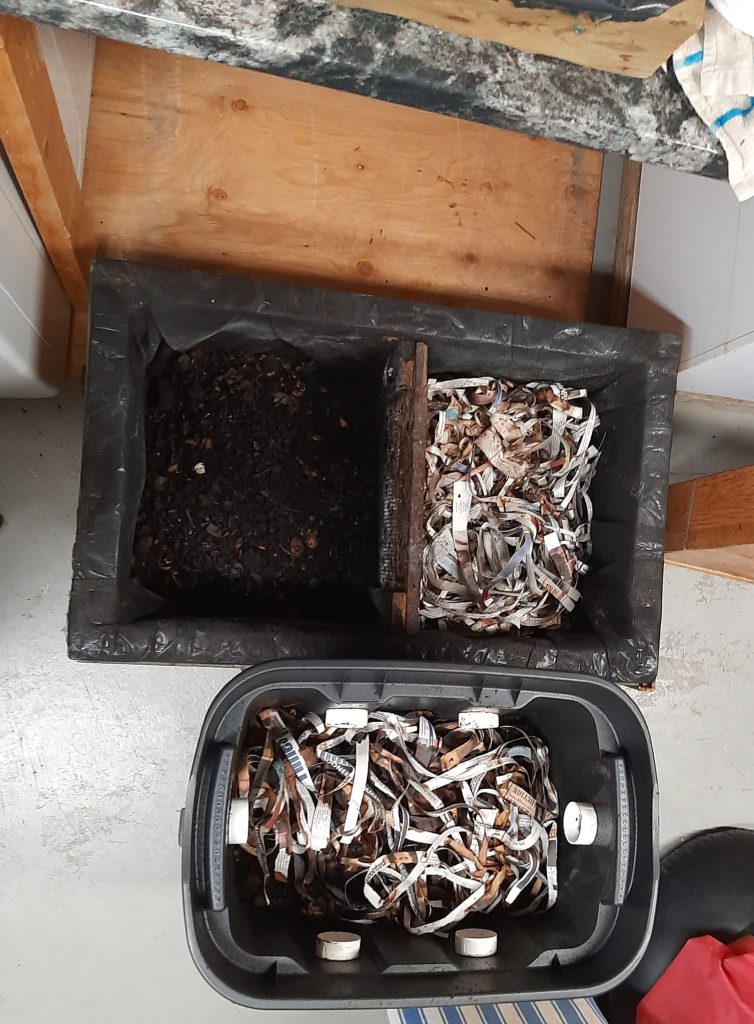
The plastic bin and the small wooden bin, have come with me on a few occasions, to speak with school groups about compost and nutrient cycling, decomposition, that sort of thing. (The plastic bins are also available for rent)
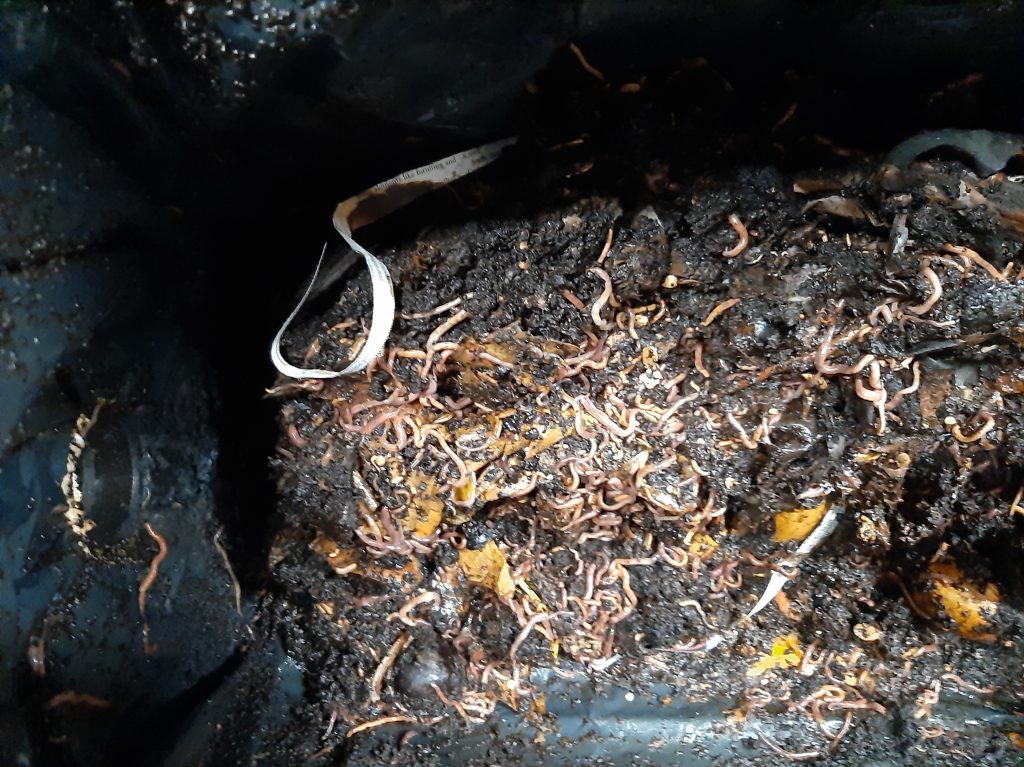
Found a group of them!! A happy little clew.
Indoor Winter Composting With Worms – The Finished Product
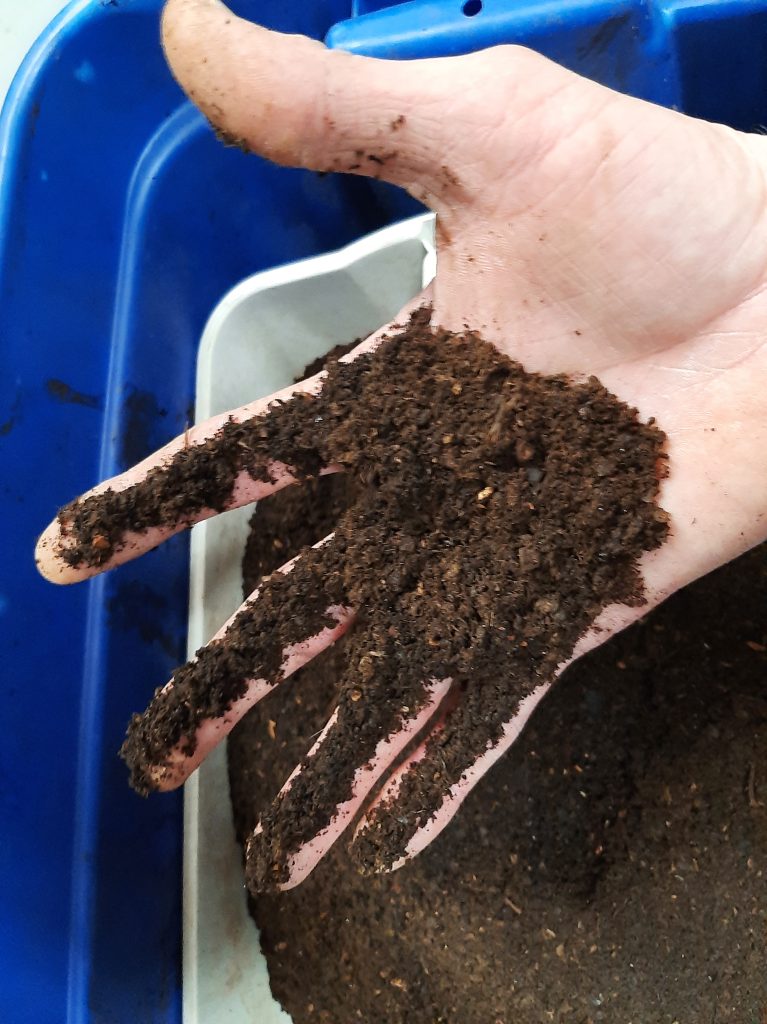
After the worms have “all” moved over to the other side of the screen. Where the buffet is. Then I can collect the mostly worm free compost on the other side, and start the drying process. There are always some straggler worms after the harvest, so I have a container with me whenever I stir it around. I’ll pick out the ones I see and place them back in the nearest bin. The new ones are so small, you just have to accept the fact that you can’t save them all.
The Drying Process
The compost dries for a few days to a few weeks, depending on the batch. After that, I start the screening process. I am working on a process so I can offer my compost to clients and at markets. For the average gardener, this step isn’t really necessary. Though if you are adding it to house plants, this might be a good idea. Just to get some easy to work with, and aesthetically pleasing material. Any sort of screen that will be strong enough to push a little through will work. I have used a dish drying rack before. It was about 1/8″ and it worked. Not for large amounts, but again, for the average gardener, in a pinch.
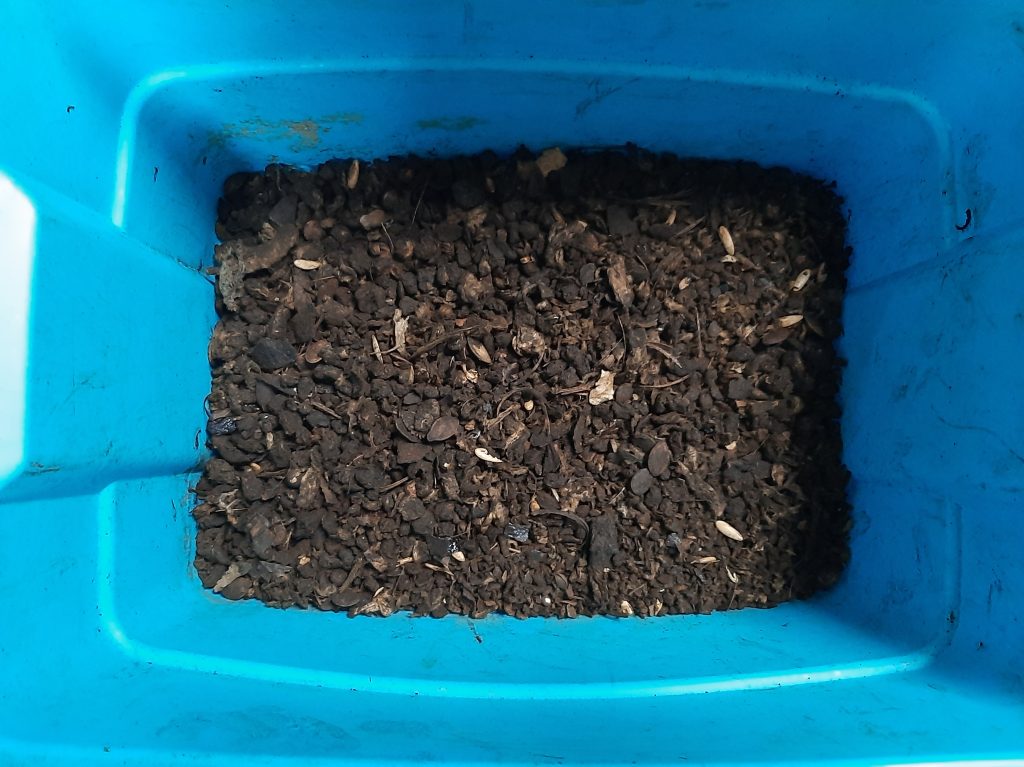
After the screening process, the left over bits go into the big composter outside. I could put them back into a bin, but there are some thicker stems from squash and the like in there, so it can go in the big one. I don’t want to sift it out again. Indoor winter composting with worms, fun.

Everything back in it’s place. I’ll come back to them in a couple of weeks. I only fed one bin, because I am going to block access to it to try out my pottery wheel.
Wait, what??
I’ll collect more food scraps in the meantime.
Check out the rest of the website for more!! Contact me with any questions, or if you have a group that would like a demonstration.